
All the following chapters assume that you are running a properly configured Just In Mac setup. If this is not the case, please refer to the related Just In Mac documentation.
Live Cut Projects
Create a Live Cut Project
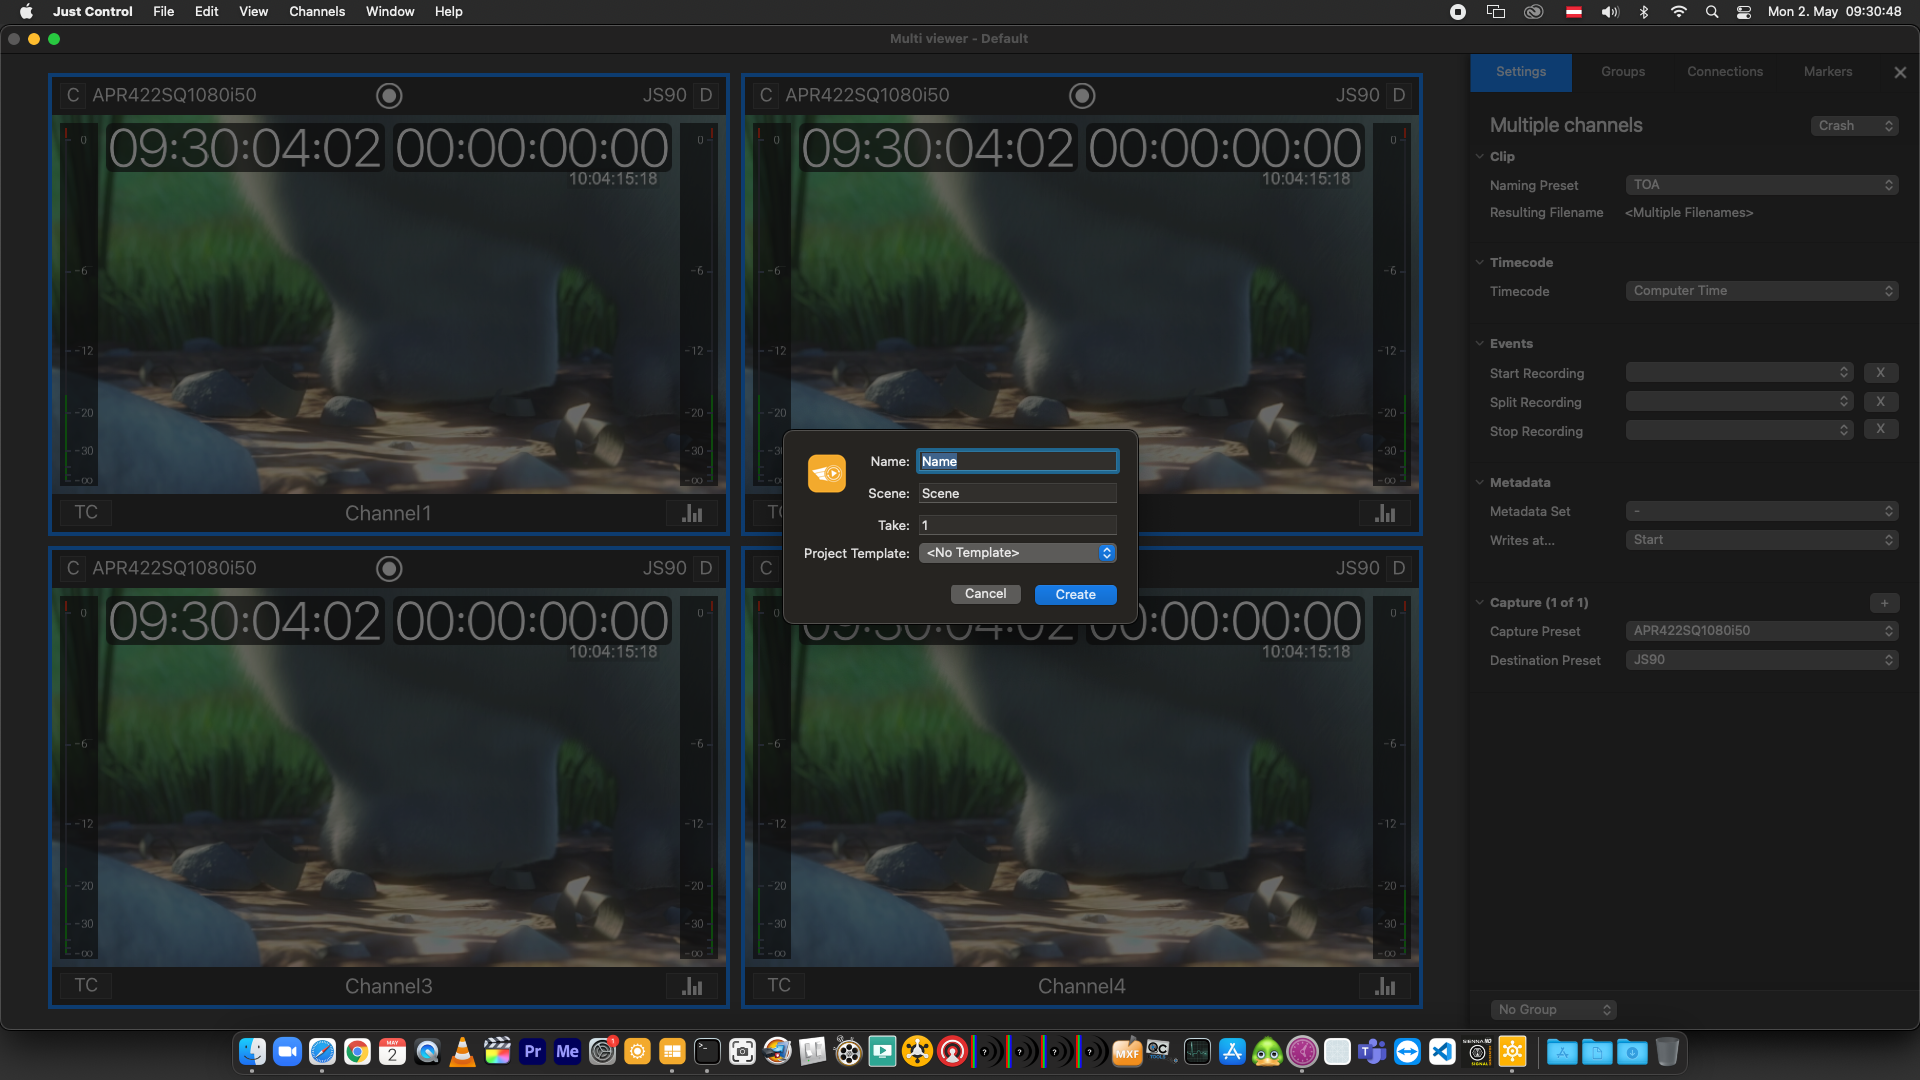
Open Just Control and select the desired Channels for your Live Cut Project and open the Inspector. You need to select at least two Channels. Select a Timecode Source and a Capture- and Destination-Preset. It is mandatory that these attributes are synchronized for all Channels used with Live Cut.

Go to the menu “Channel → New Live Cut Project”. Enter a “Name”, “Scene” and “Take” value for the Live Cut Project. A Project Template is not required at this time. Press the “Create” button when you are done.
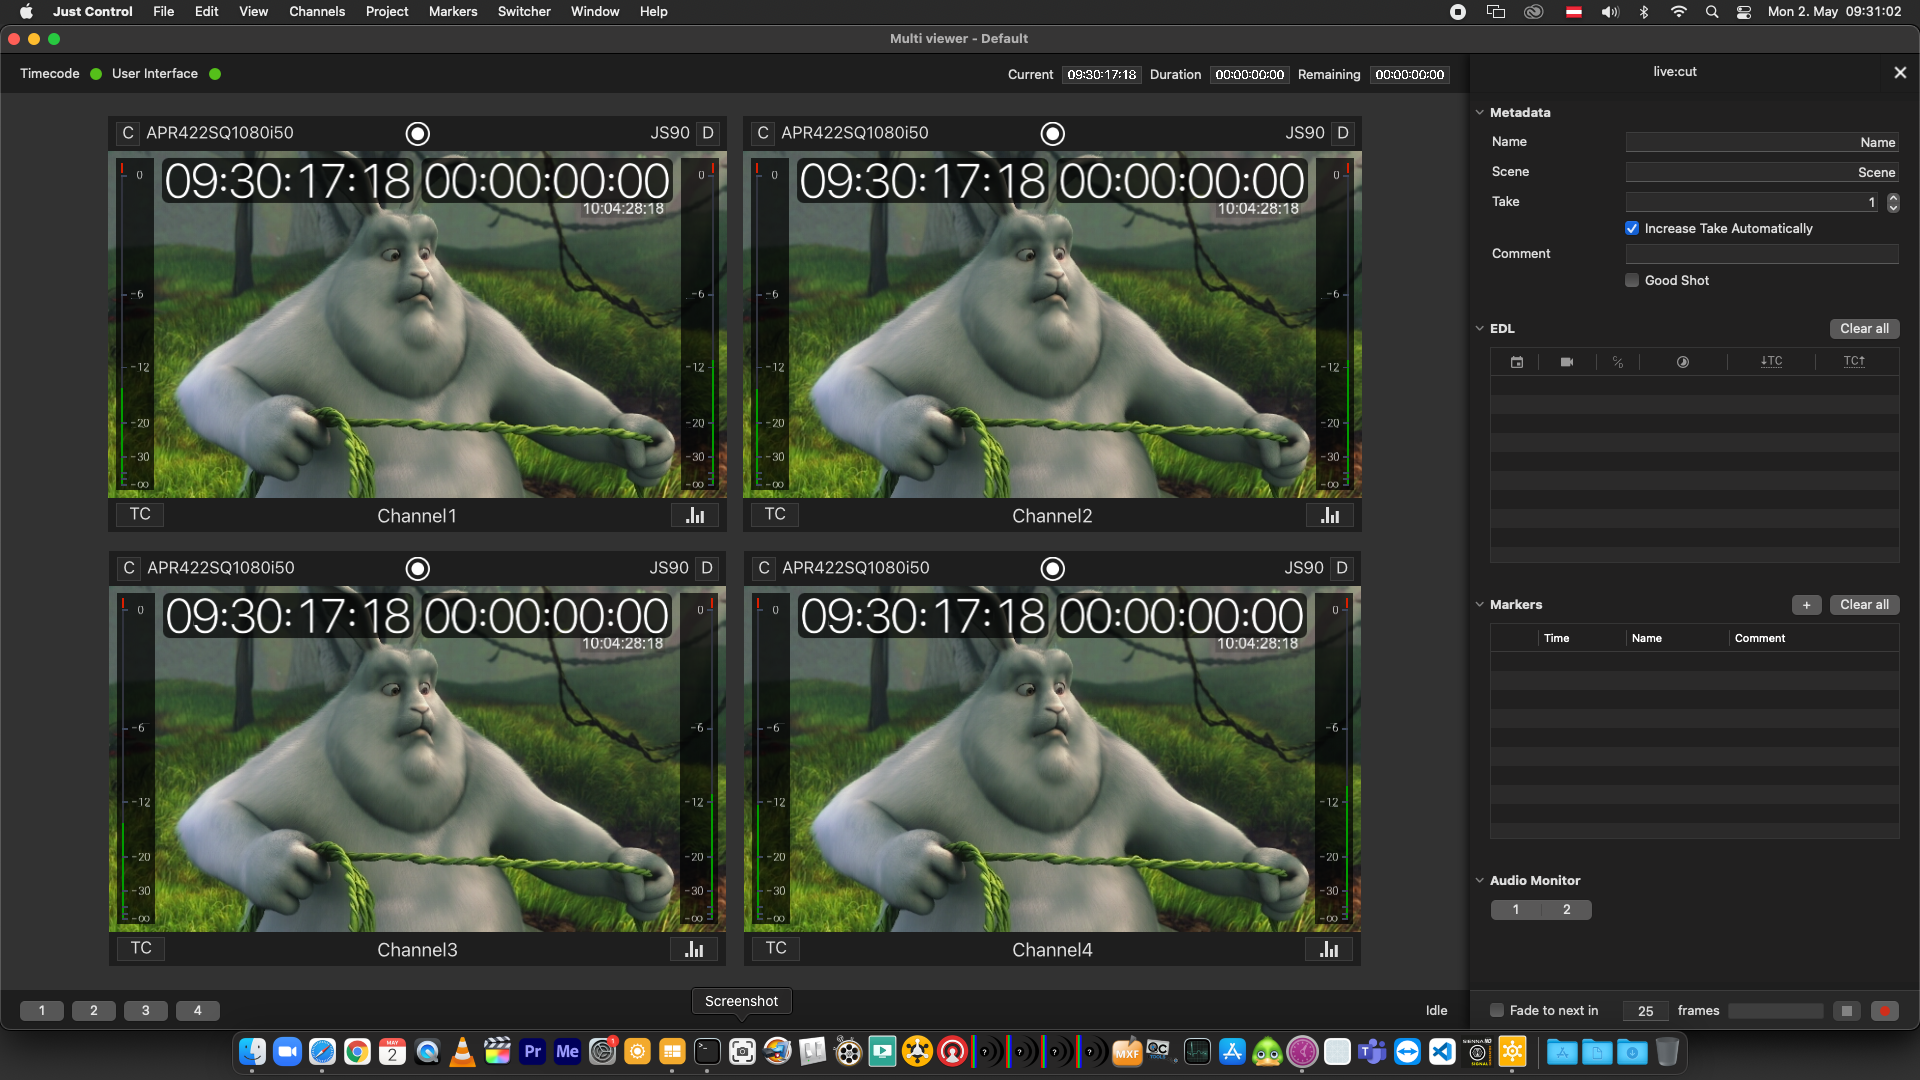
The Live Cut interface will be shown within Just Control and you can start working with your Live Cut Project.
Close a Live Cut Project
Go to the menu “File → Close Project”. The live: cut project will be closed, and the Just Control interface will reappear.
Open an existing Live Cut Project
Open the folder “~/Documents/LiveCut Documents/Projects” and double-click the Project file (*.lcproj) you would like to open.
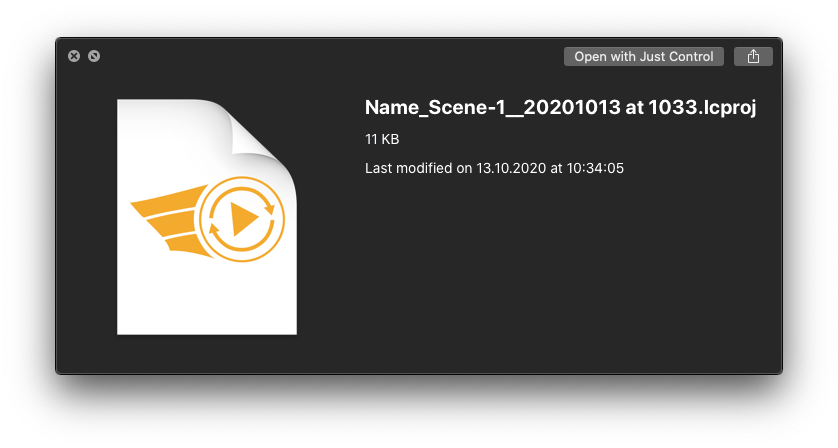
Live Cut opens the Project and displays a completed EDL. You may export the Project again by using the menu “Project → Export to …”
Live Cut Project Templates
Create a Live Cut Project Template
Make sure your are in a Live Cut Project. To open a previously saved Live Cut Project refer to the instructions above. Go to the menu “Project → Create Template”.
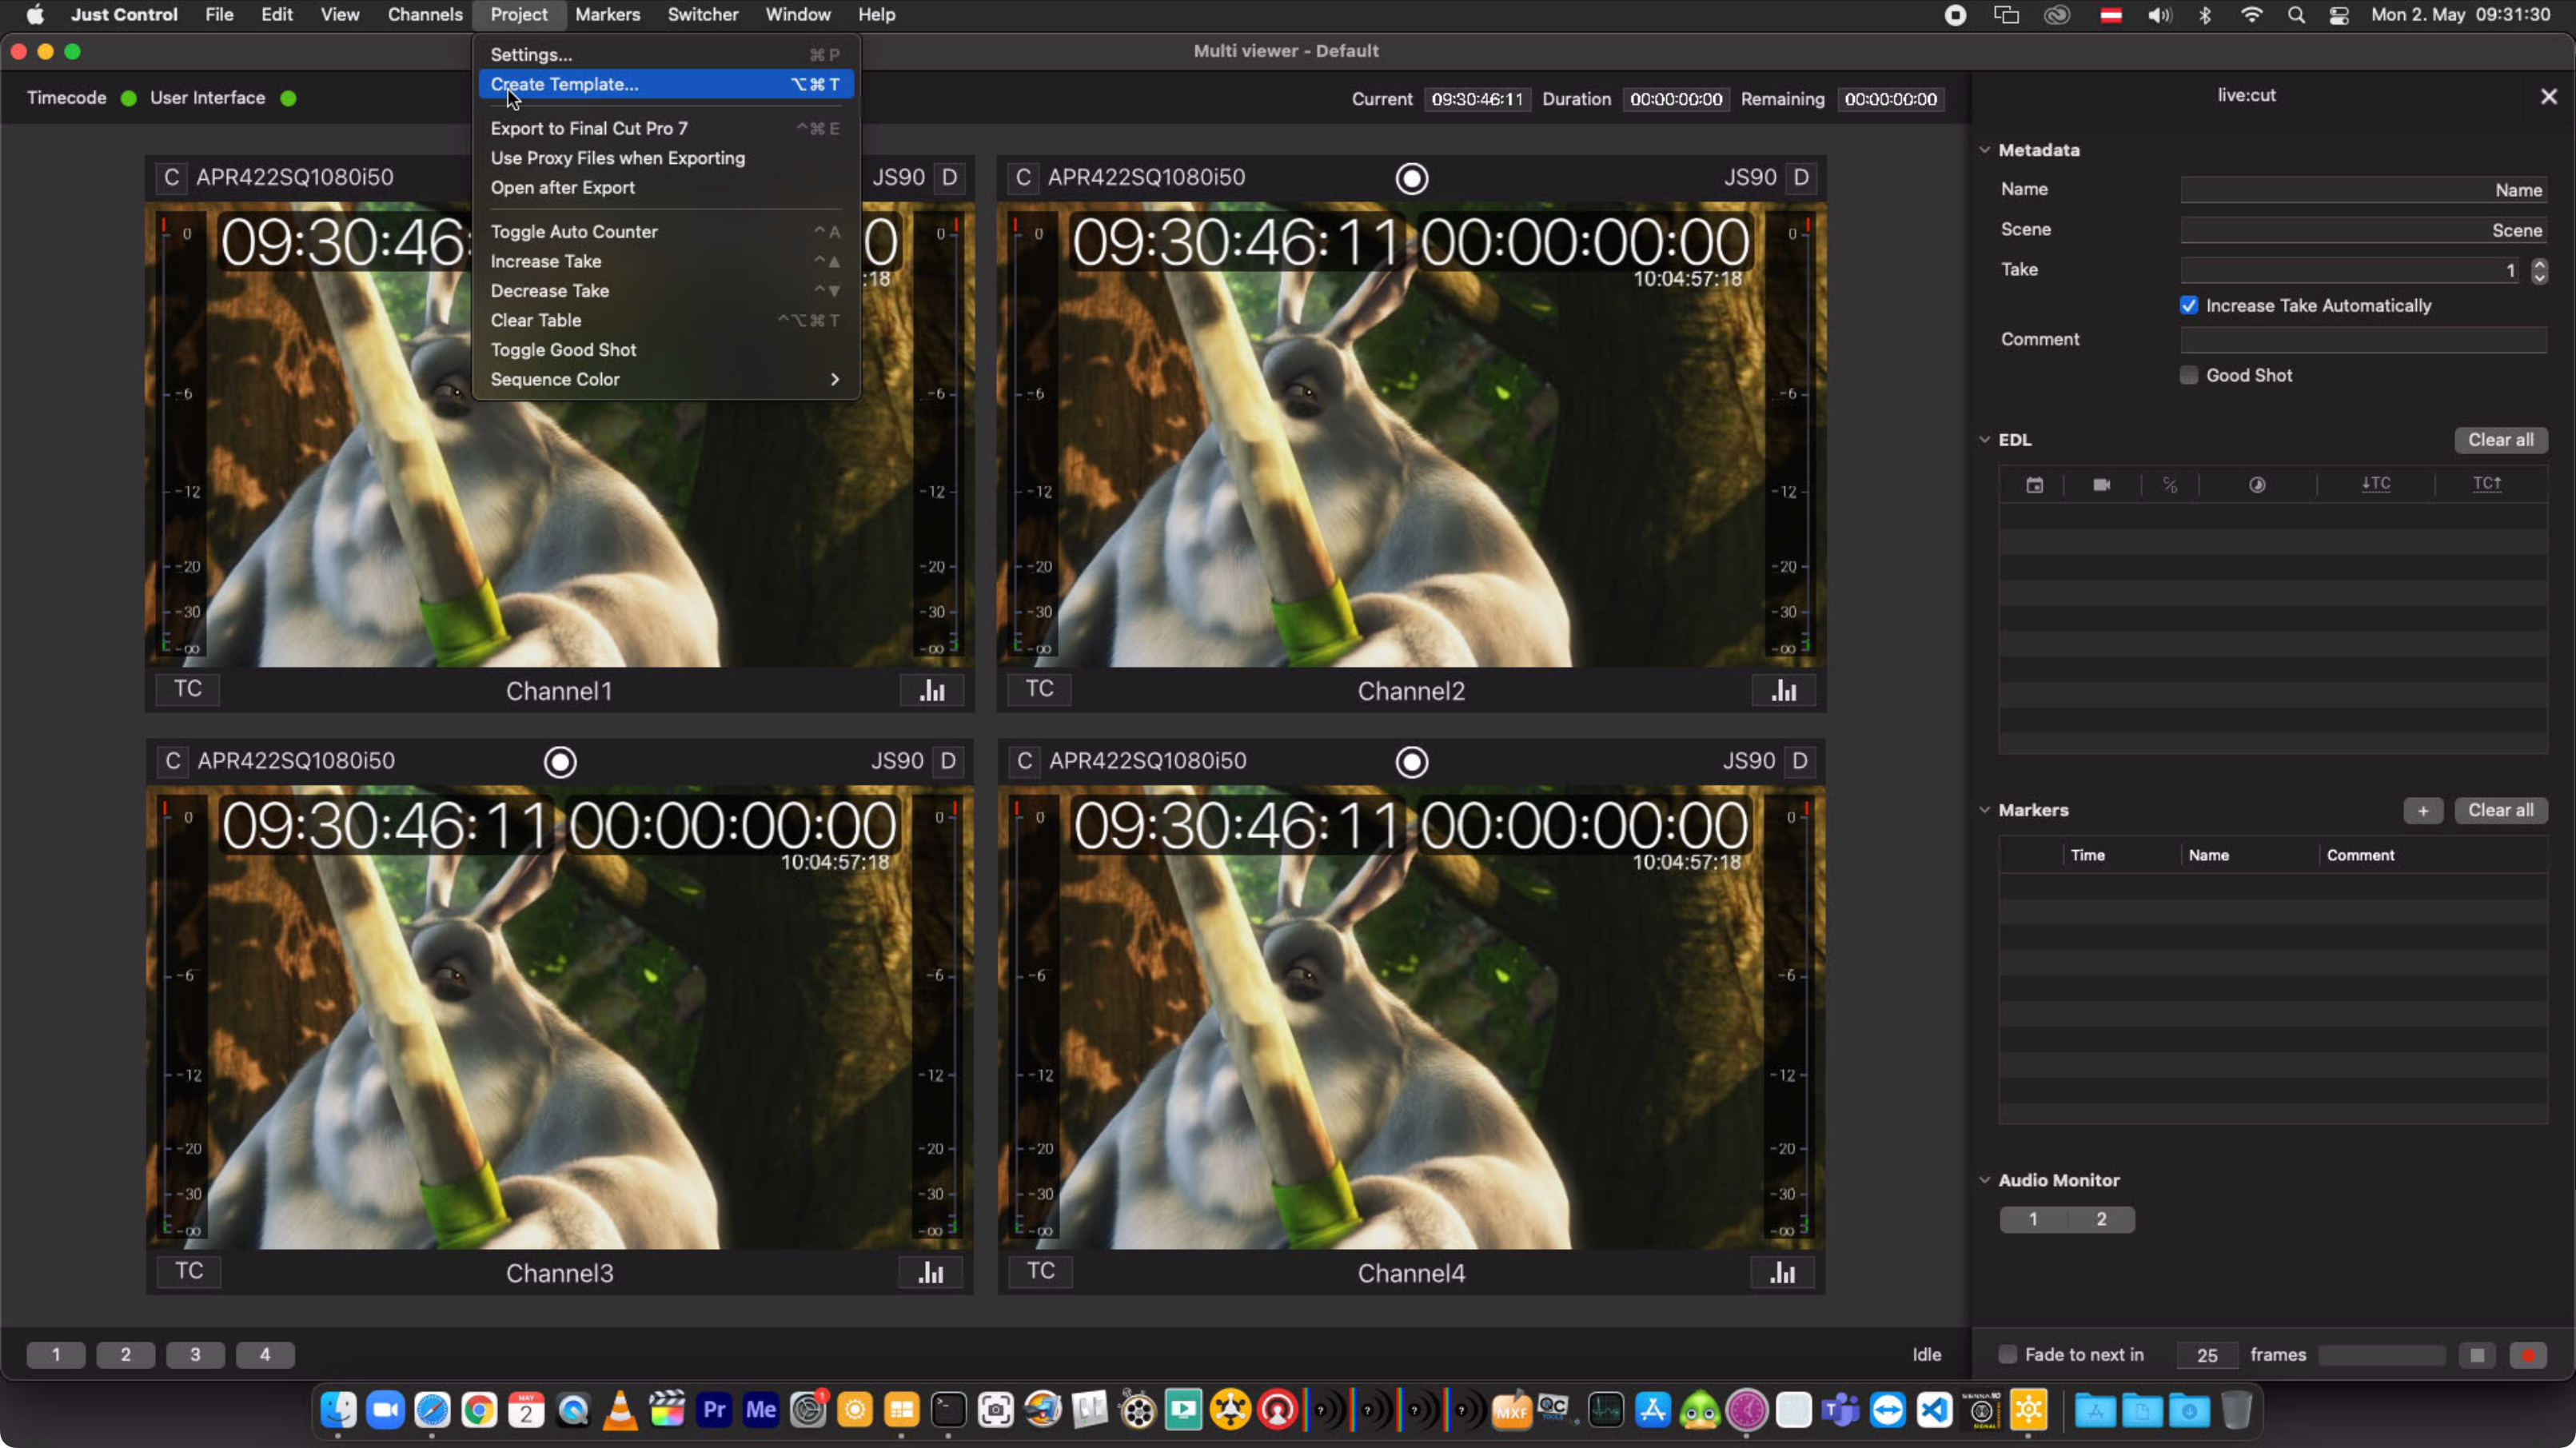
Enter a Template name and press the “Save” button. Such Project Templates can be used upon every new Live Cut Project start.

Use a Live Cut Project Template
Open Just Control, select the Channels, you want to use, and start a new Live Cut Project (Go to the menu “File → New Live Cut Project”).

Select your “Project Template” from the drop-down menu and use the “Create” button to start the Live Cut project.
Remove a Live Cut Project Template
Make sure that Just Control is not running. In the Finder navigate to your User folder. Open the folder “~/Documents/LiveCut Documents/Project Templates” and Delete the desired Project Template.
Start a Multicam Recording
Before starting a Multicamera Recording, ensure that your Live Cut Project Settings are configured properly. Refer to the chapter Project Settings.
If you have already configured the Project Settings, you can head straight to the chapter Start a Multicam Recording.