
What is Crash Recording?
Crash Recording records Video signals on the fly.
Making a Crash Recording
- Make sure to have at least one valid Capture and one valid Destination Preset in Just In Engine.

- Make sure you are connected to a Channel in Just In.
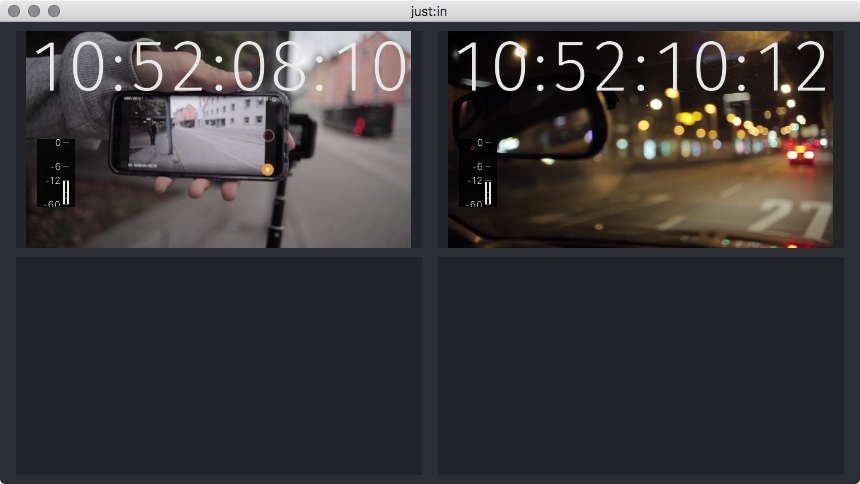
- Select Crash Mode in the desired Channel View.
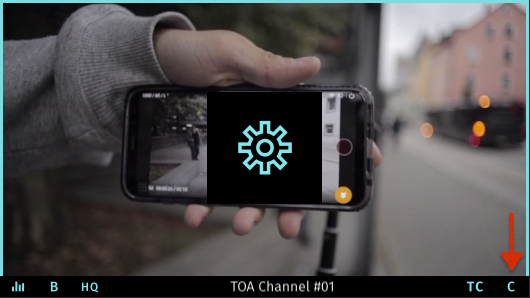
- Open the Inspector of the desired Channel.
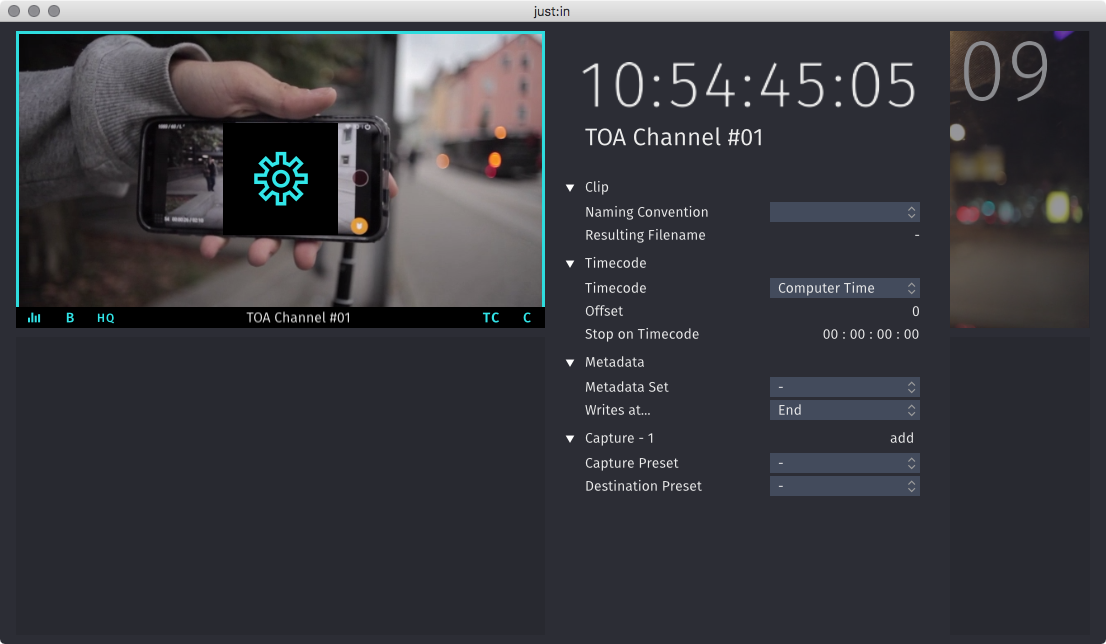
- It is required to select a Naming Convention, a Capture Preset and a Destination Preset. If you wish you may modify the other settings.

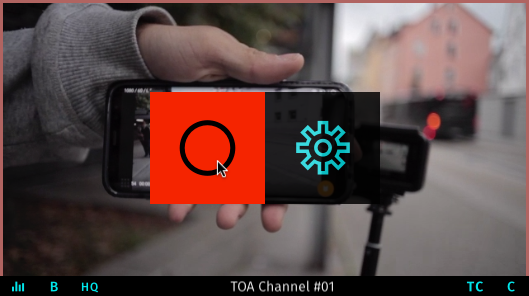
- Now hover over the Channel View. Next to the Inspector button there's a Record button. Press the this button to start the Recording (shortcut: command +R).
Note: if the Record button does not show up, verify your Capture and Destination Presets in Just In Engine.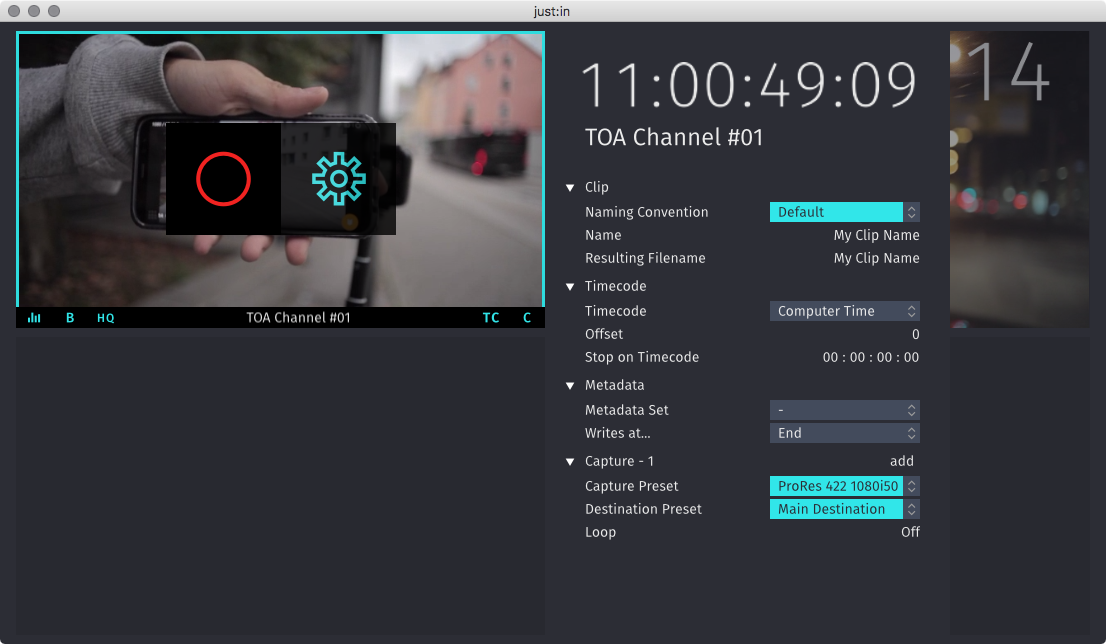
- The border of the recording Channel will continuously change colors from turquoise to red, indicating that there is a Recording in progress.
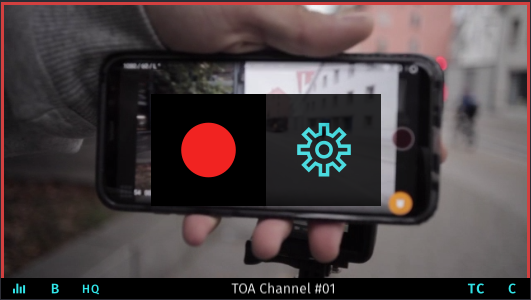
- To stop the Recording, click the Record button again.
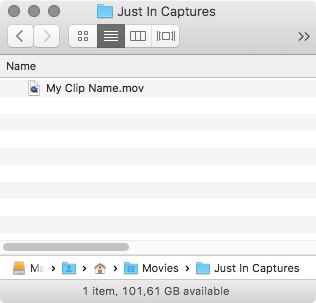
- The recorded clip will be available in the filesystem.
Splitting Clips while Recording
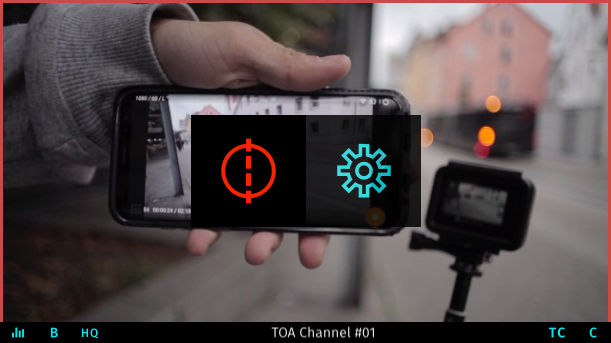
While recording you can hold the option key and press the Record button to split the recording.
End-of-Recording based on Timecode
While recording you can enter a Timecode that is in the future to automatically stop a Recording on that given Timecode.
- Start a Recording.
- Open the Inspector.
- In the Timecode area enter a valid Timecode. Press the enter key afterwards.
- Switch Enable Stop on Timecode from Off to On.
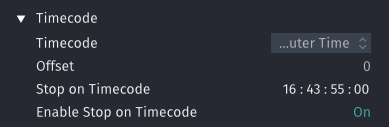
- Click the Record button to enable the Stop on Timecode feature.
Loop Recording
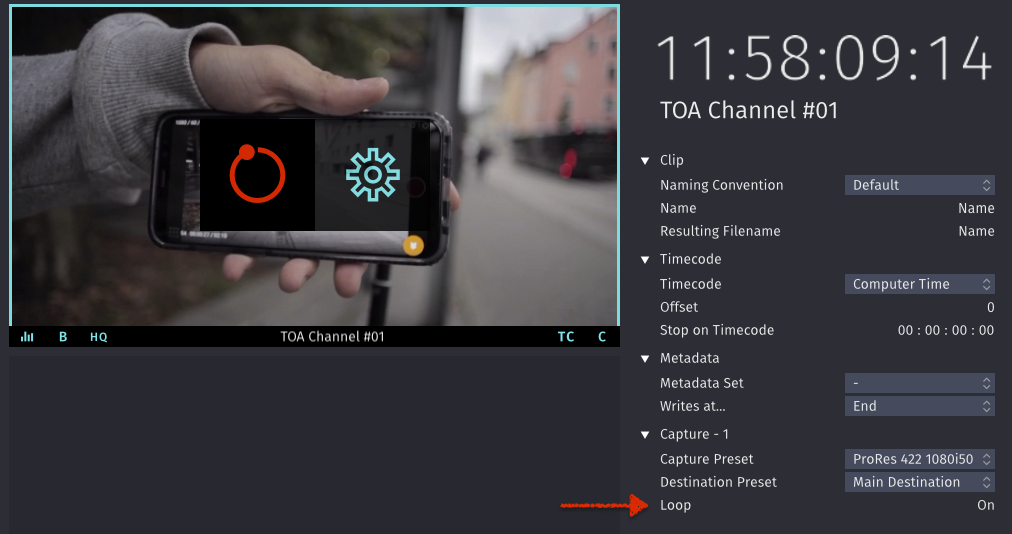
Loop Recording loops the Recording until the end of the given chunk length (up to 12 hours) and automatically continues to record (= overwrite) into the same file from the beginning.
- Loop recording can only be used with QuickTime container based Capture Presets.
- Only one Capture/Destination Preset combination can be used for this Channel.
Concurrent Capturing
You may do multiple Recordings concurrently. This feature is limited by the hardware specs of the machine running Just In Engine.
We strongly recommend to do thorough testing before using this feature in a live event.
Adding Captures
Multiple Captures are disabled when using Loop Recording.
- Open the Inspector of the desired Channel.
- At the bottom of the Inspector you may add Captures by pressing the Add button.
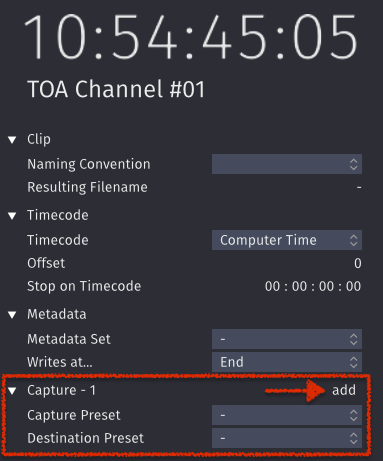
- Select a Capture Preset and Destination Preset for each Capture.
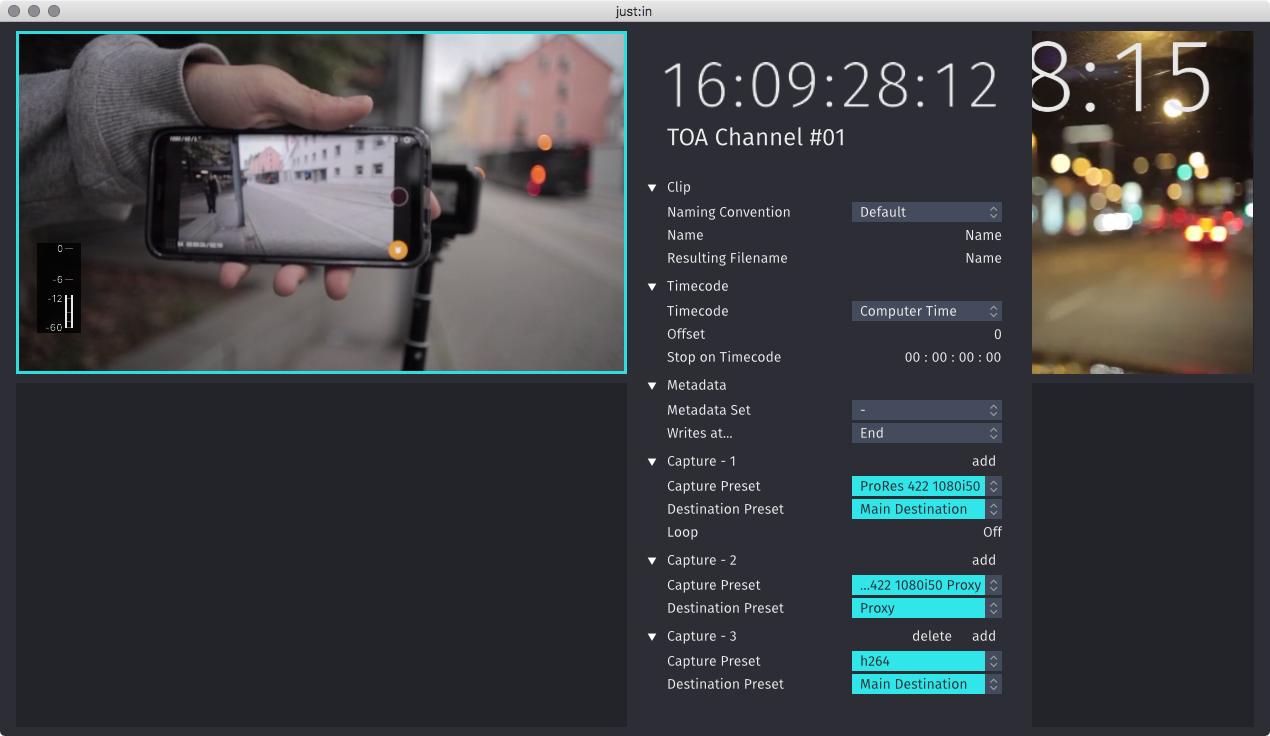
- Now you can press the Record button in the Channel view to start the Recordings.