
Important: Before you Install
Just In comes as a disk image (DMG). To open the disk image the Security settings of the system must be changed.
- Open the System Preferences.
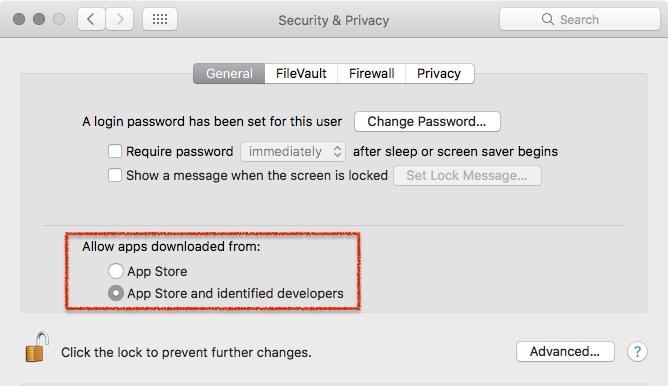
- Go to Security & Privacy.
- Click on the General tab.

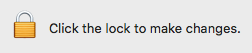
- Unlock the Preference Pane.
- Change the setting to Allow apps downloaded from App Store and identified developers.
- You can now head to the point Download & Installation below.
Further reading (external link): → macOS Sierra: Open an app from an unidentified developer
1. Download & Installation
- → Download Just In from our Online Helpdesk (free account required).
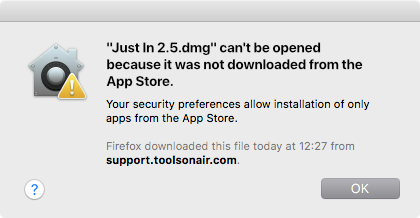
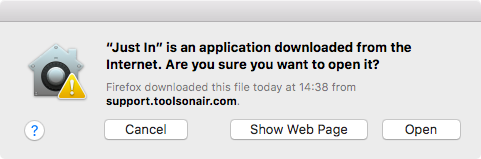
- Extract the downloaded ZIP archive. If this dialog appears refer to → Important: Before you Install.
- The Just In disk image will show up.
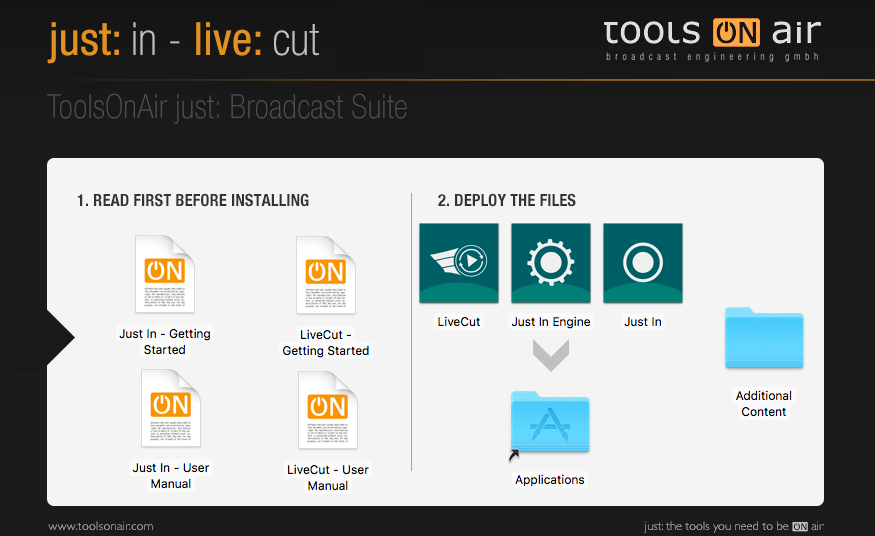
- Copy Just In and Just In Engine to the Applications folder.
- If desired, add the Applications to your Dock.
2. Start Just In Engine
- Got to the Applications folder.
- Start Just In Engine. The operating system may display a window which says Verifying "Just In Engine". This process can take up to three minutes and will only happen once. If the verification process should not be possible, refer to the Known Issues (Just In v2.5).

- When the verification process is done another dialog may appear. Press the Open button. This dialog will only appear once.
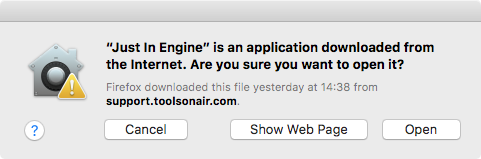
- Accept the system update dialog to continue.

- Allow Just In Engine to access the Calendar (this is required for Scheduled Recording).
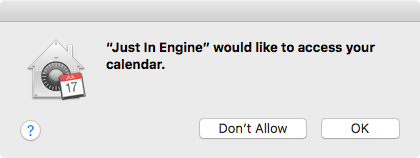
- Just In Engine will launch and display the Preferences window.
- Unlock the Preferences in the lower left corner.

- Select the desired framerate in the Engine tab.
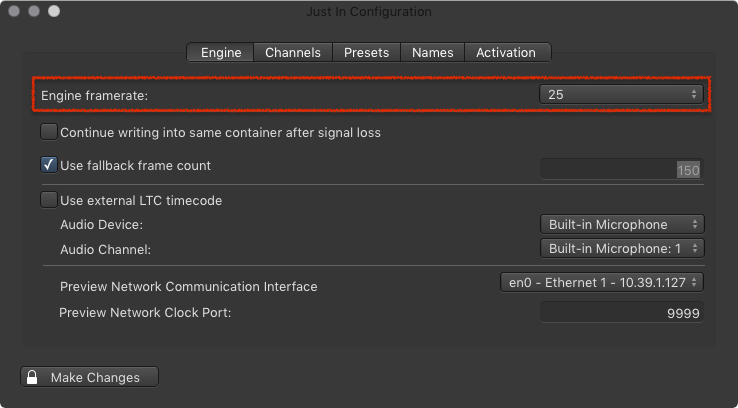
- Go to the Channels tab and configure the desired Channels. Depending on the Video device(s) the Channels tab may look different.
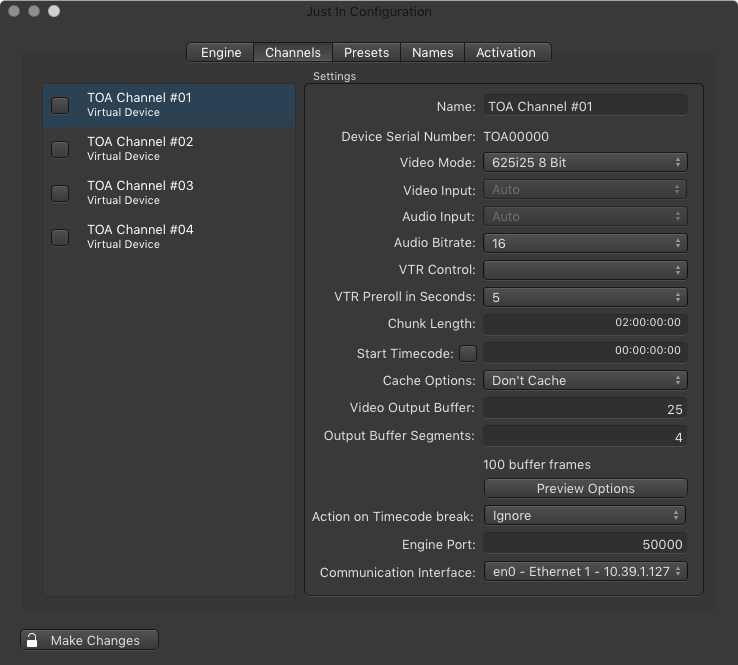
- Make sure that the Preview Network Communication Interface in the Engine tab and the Communication Interface in the Channels tab are the same.

- Enable the Channel(s) in the Channels tab by clicking the corresponding checkbox in the Channels list.

- The Diagnostics window should appear. If not use the menu Window → Diagnostics.

3. Start Just In
- Go to the Applications folder.
- Make sure Just In Engine is running.
- Open the Just In application. The operating system may display a window which says Verifying "Just In". This process can take up to three minutes. If the verification process should not be possible, refer to the Known Issues (Just In v2.5).

- When the verification process is done another dialog may appear. Accept the dialog to launch the app. Both – the verification window and the opening dialog will only show once.
- The Just In main window appears.
- Click the icon in the center to open a connection to a Channel.

- Enter the Channel IP-Address and the Channel Port, then press the Add button. In a default test setup (engine and user interface are running on the same machine) you may use the following data:
IP-Address: 127.0.0.1
Port: 50000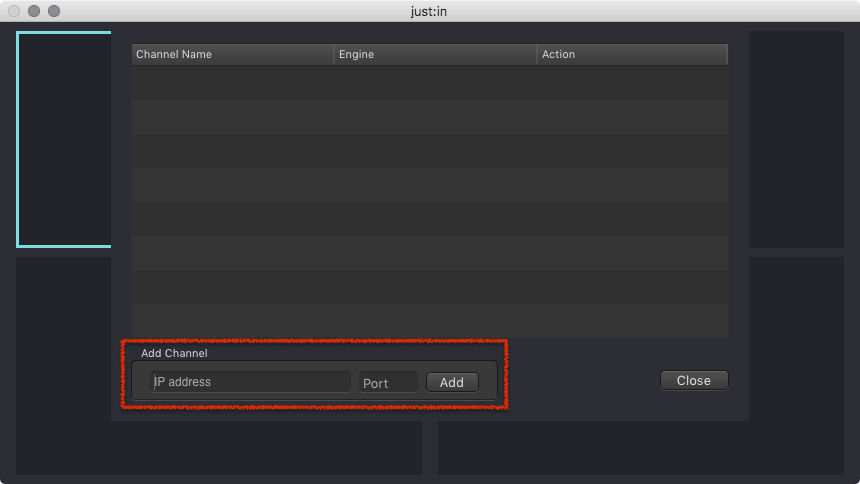
- Press the Connect button to connect to the Channel.
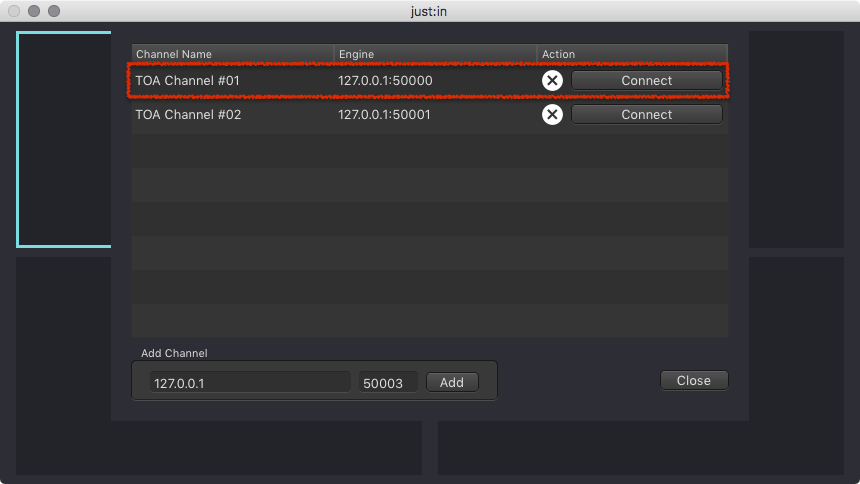
- Upon successful connection Just In displays the Channel Preview.

- Before making any Recordings you need to add at least one Capture and one Destination Preset. Read the Just In v2.5 Administrator & User Manual for further information.