
RAID Naming Convention
The "RAID1" is only a logical reference for the first RAID of the chain. If you have an expansion, it would be called RAID2, RAID3 and so on. All RAIDs will be initialized and built as RAID 6.
Preface
You can monitor and administrate Just Store with a web browser. By default Just Store is configured for direct connections using the IP address 172.16.x.10. You need the exact IP address to connect to the web administration interface.
Following animation indicates that the user interface is waiting for data. It will disappear as soon as all data has been retrieved.

Accessing the Sharepoints
- Open a web browser. We suggest using Firefox, Safari, Edge or Chrome. Internet Explorer can cause style and function issues.
- Enter the IP address or hostname of the Just Store system you want to connect to into the address bar of your web browser.
- Press the enter key.
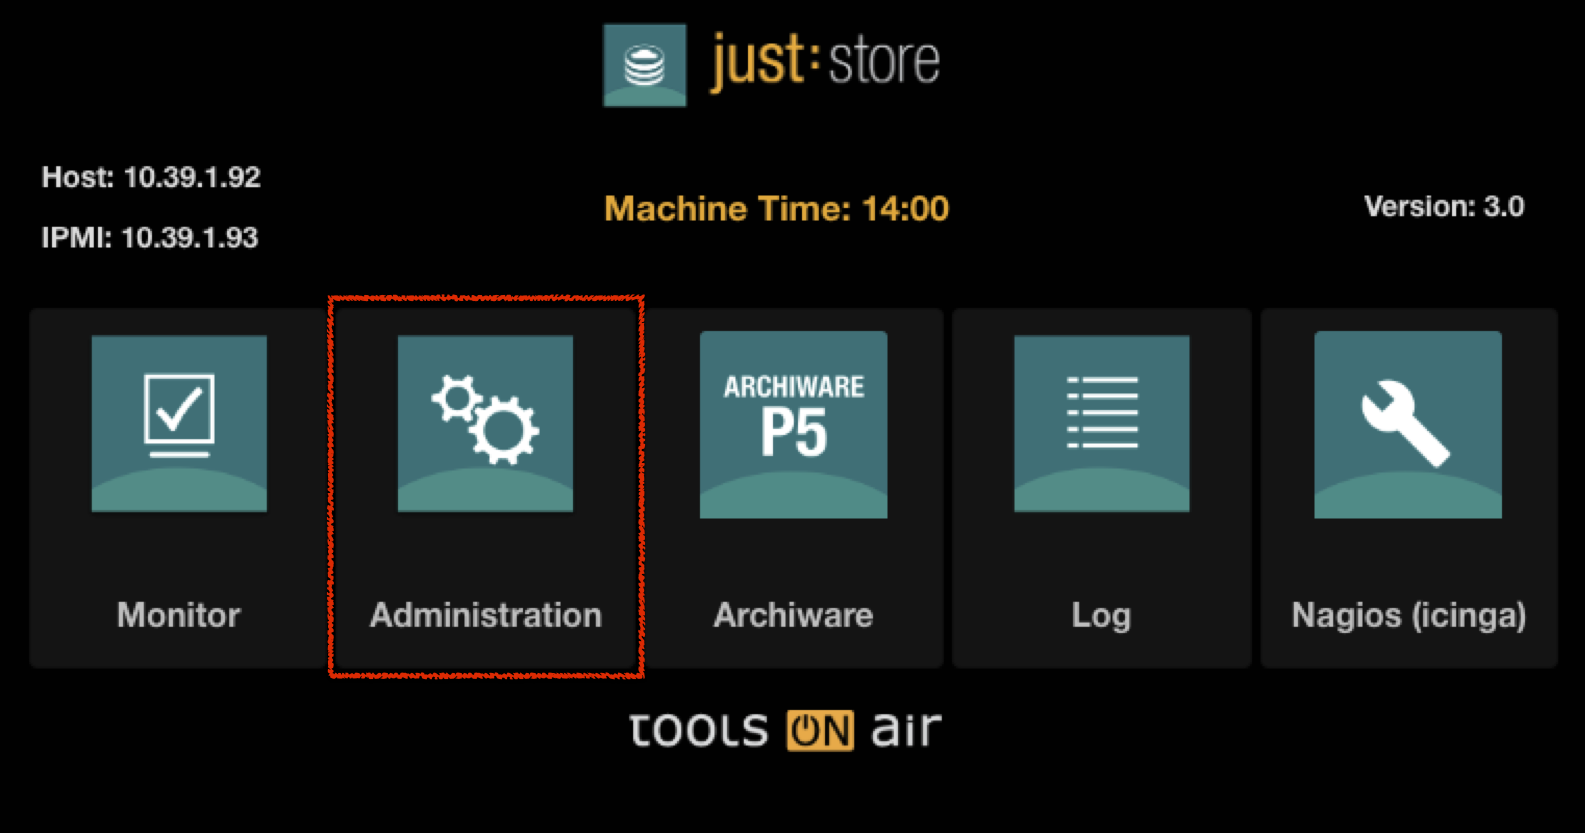
- Select Administration on the main page.
Enter your login credentials and press the Login button.

DEFAULT LOGIN
Username = Just Store
Password = Just Store
- In the upper bar click on Sharepoints.

- To show or hide a section click on the respective arrow icons.

Sharepoints

- Edit: press this button to edit the desired Sharepoint.
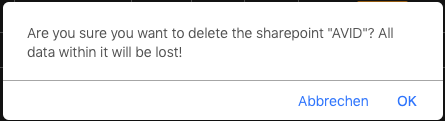
- Delete: deletes the desired Sharepoint. A warning will be shown before deletion.
- There are three Access types:
- Not Shared: no protocol is selected for this Sharepoint.
- Guest: one or more protocols are selected and user authentication is disabled.
- User: one or more protocols are selected and user authentication is enabled.
- SMB, AFP, NFS: displays which protocols are used for a particular Sharepoint.
- Disk: displays the location of the Sharepoint. If you have more than one RAID the Disks may be called "RAID1", "RAID2", "RAID3" and so on.
- Required Sharepoint: this Sharepoint cannot be deleted or edited. It contains user manuals and some backup files.
Edit Sharepoint
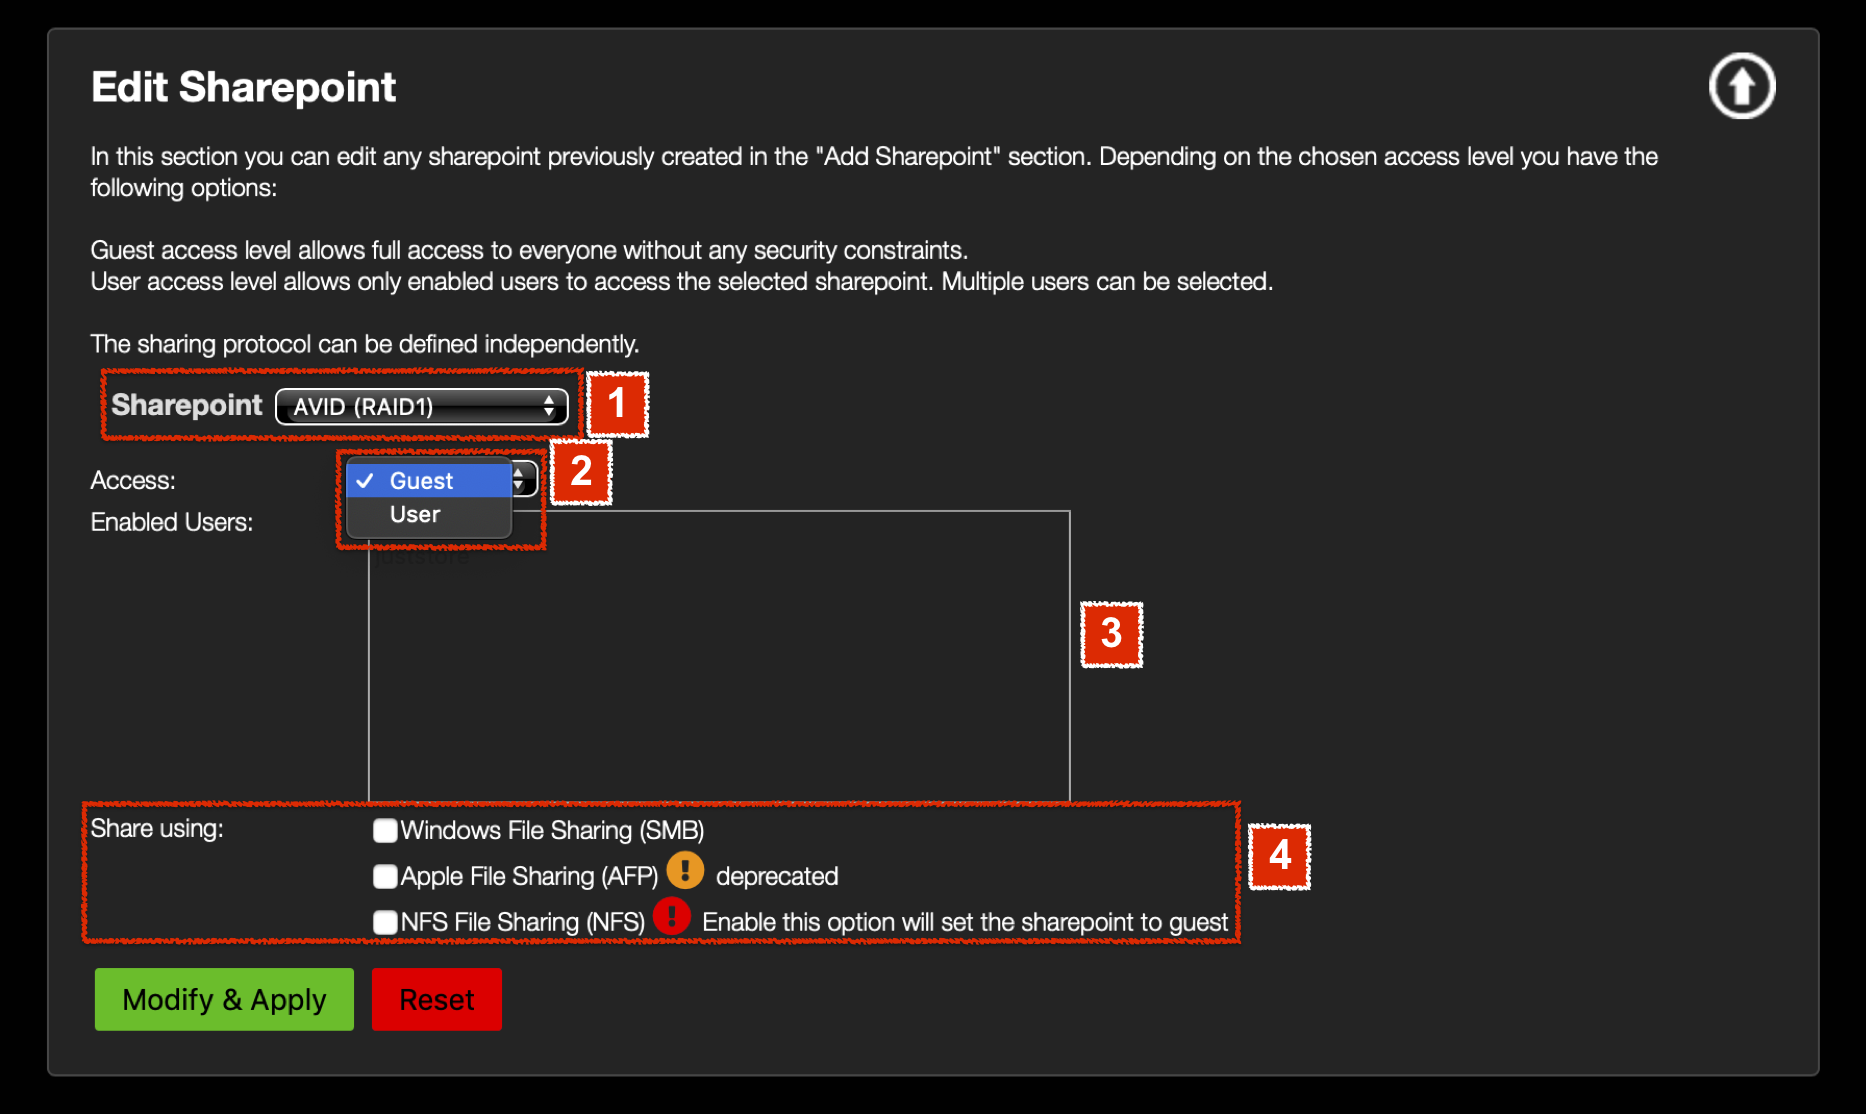
- Sharepoint: displays the selected Sharepoint. You may select another Sharepoint from the dropdown menu.
- Access: select the Access type.
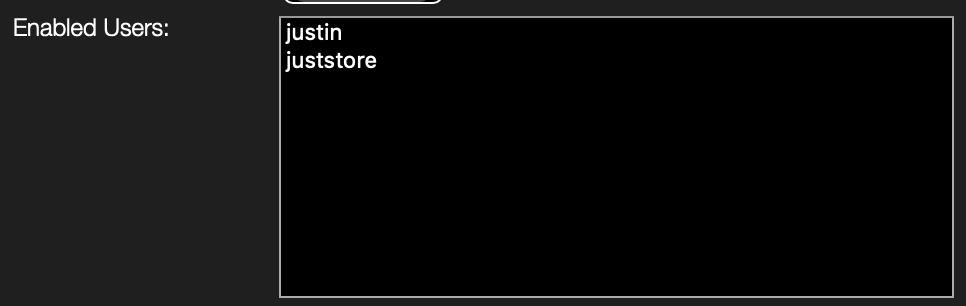
- Enabled Users: select one or multiple users if the Access type is User. Hold down the command key (macOS) or the alt key (Windows) to select multiple users.
Share Using: select which protocols to use for this Sharepoint.
We suggest using only one protocol for one Sharepoint. This minimizes access and extended attributes issues. When switching protocol permission issues may occur. Also see Correct File Handling (Just Store v3.0).
- Press the Modify & Apply button when you're done.
Add Sharepoint
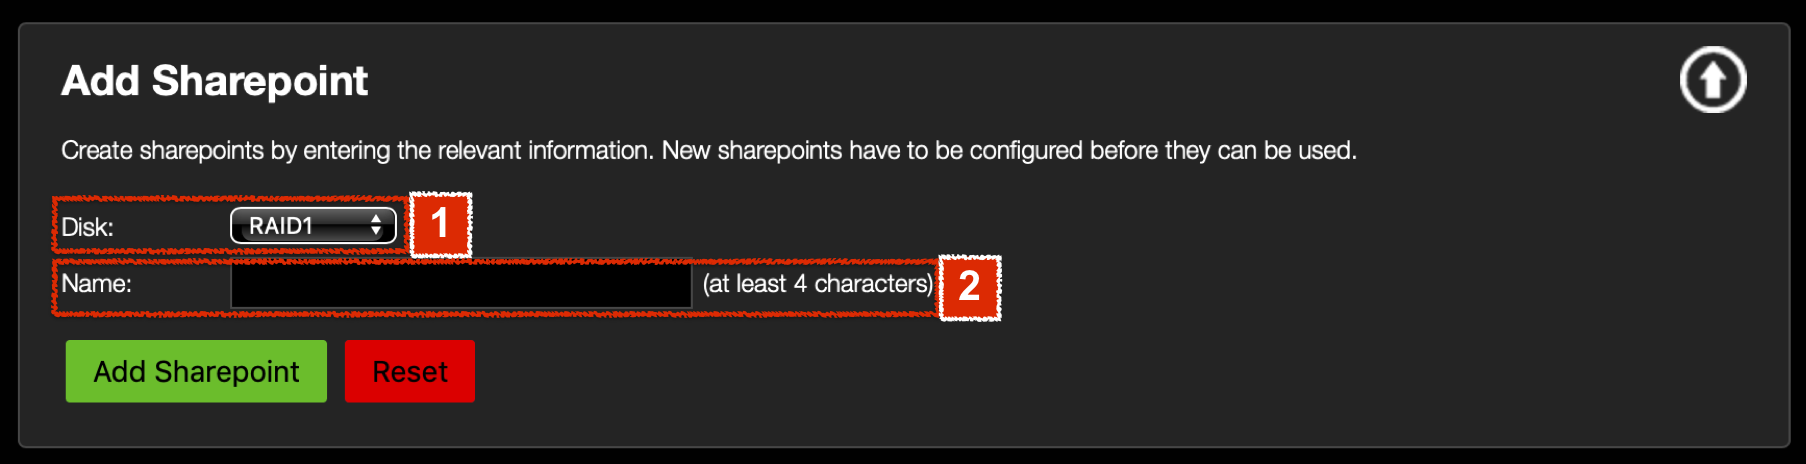
- Disk: select the RAID where the Sharepoint should be located. This is only required when there is more than one RAID.
- Name: set the name of the new Sharepoint.
- Press the Add Sharepoint button when you're done.
After a successful creation of the Sharepoint the overview will show the new one. For setting protocols and authentication see Editing a existing Sharepoint