
Important: Before you Install
Just In comes as a disk image (DMG). To open the disk image the Security settings of the system must be changed.
- Open the System Preferences.
- Go to Security & Privacy.
- Click on the General tab.

- Unlock the Preference Pane.
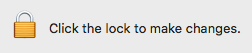
- Change the setting to Allow apps downloaded from App Store and identified developers.

- You can now head to the point Download & Installation below.
Further reading (external link): → macOS Mojave: Open an app from an unidentified developer
Download and Installation
- Download Just In from our Online Helpdesk (free account required) or copy it from the internal raid of Just In linux (/media/internal_raid/tools).
- Extract the downloaded ZIP archive.
- The Just In disk image will show up.

Copy Just In to the Applications folder.
Do not copy Just In Engine, as this is the Mac version of the Engine, which is not required when using the Just In Linux Engine.
- If desired, add the Just In Application to your Dock.
User Interface and Devices/Channels
- Go to the Applications folder and open the Just In Application.
- The Just In main window appears.

- Select a grid layout for the channel viewer. You may change the grid layout later on.
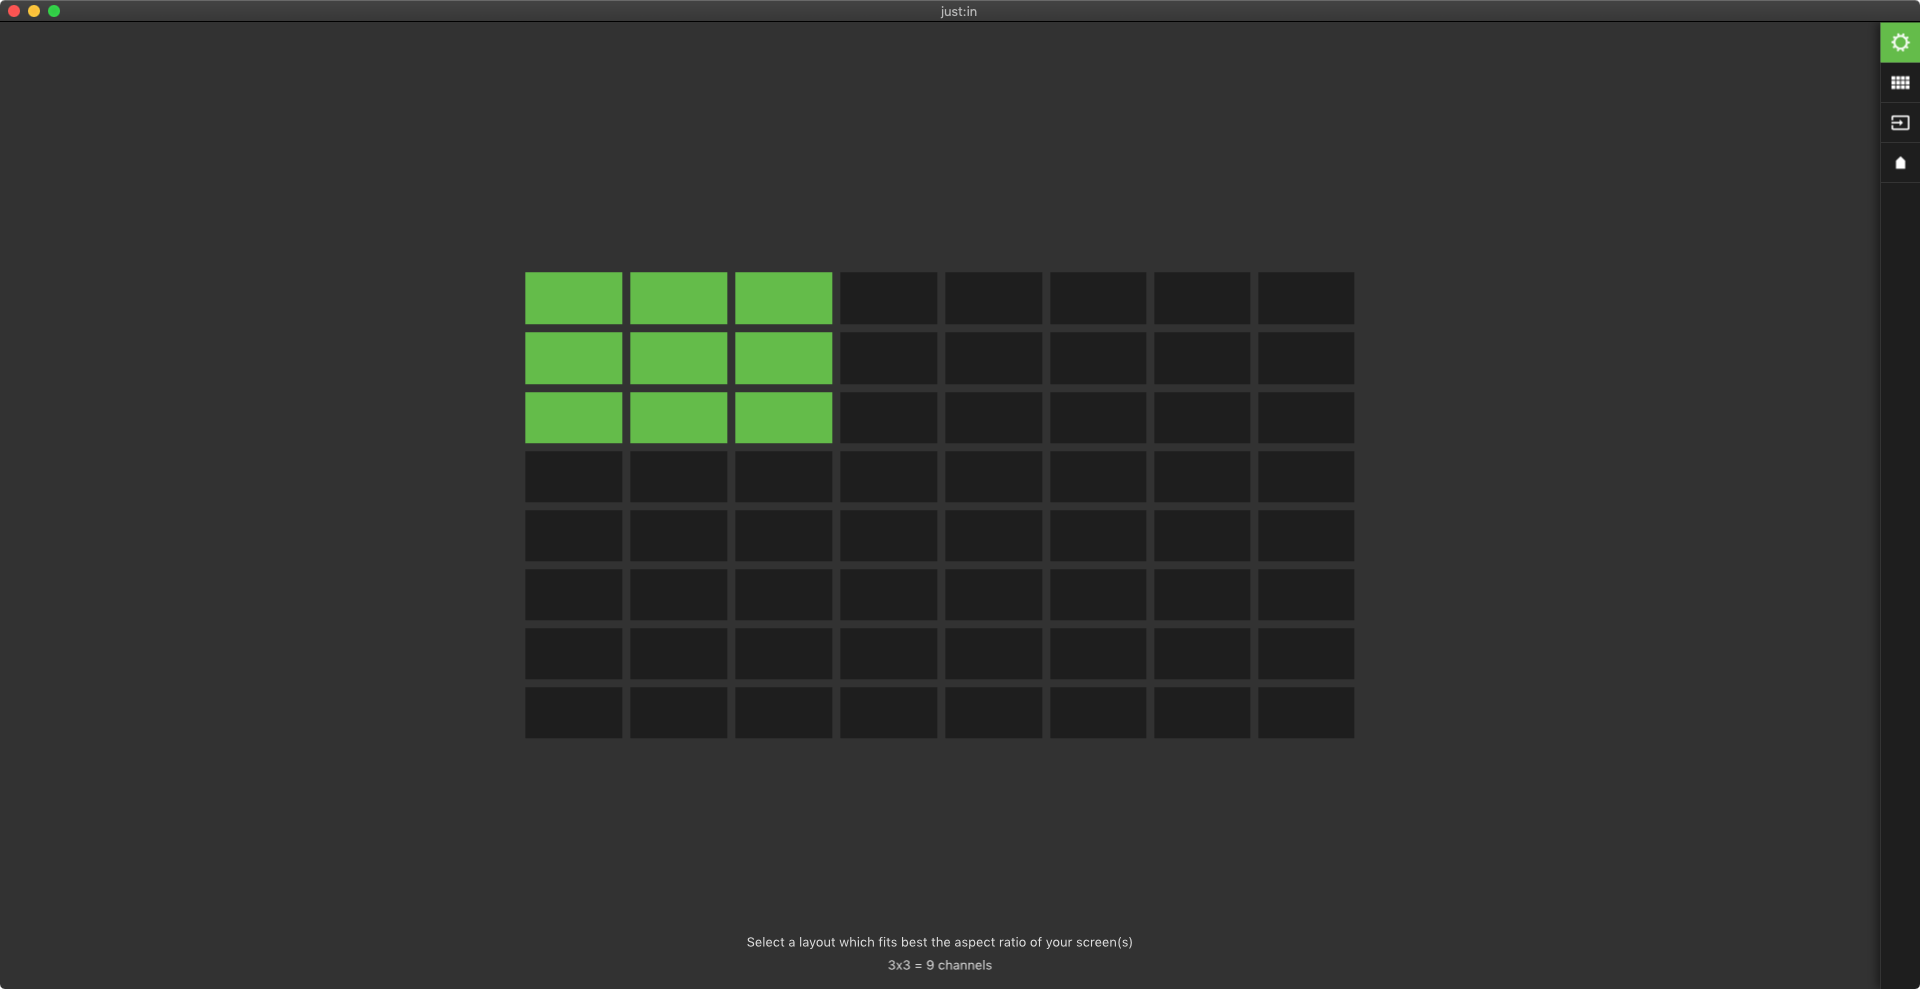
- The channel viewer shows up with the selected grid layout.
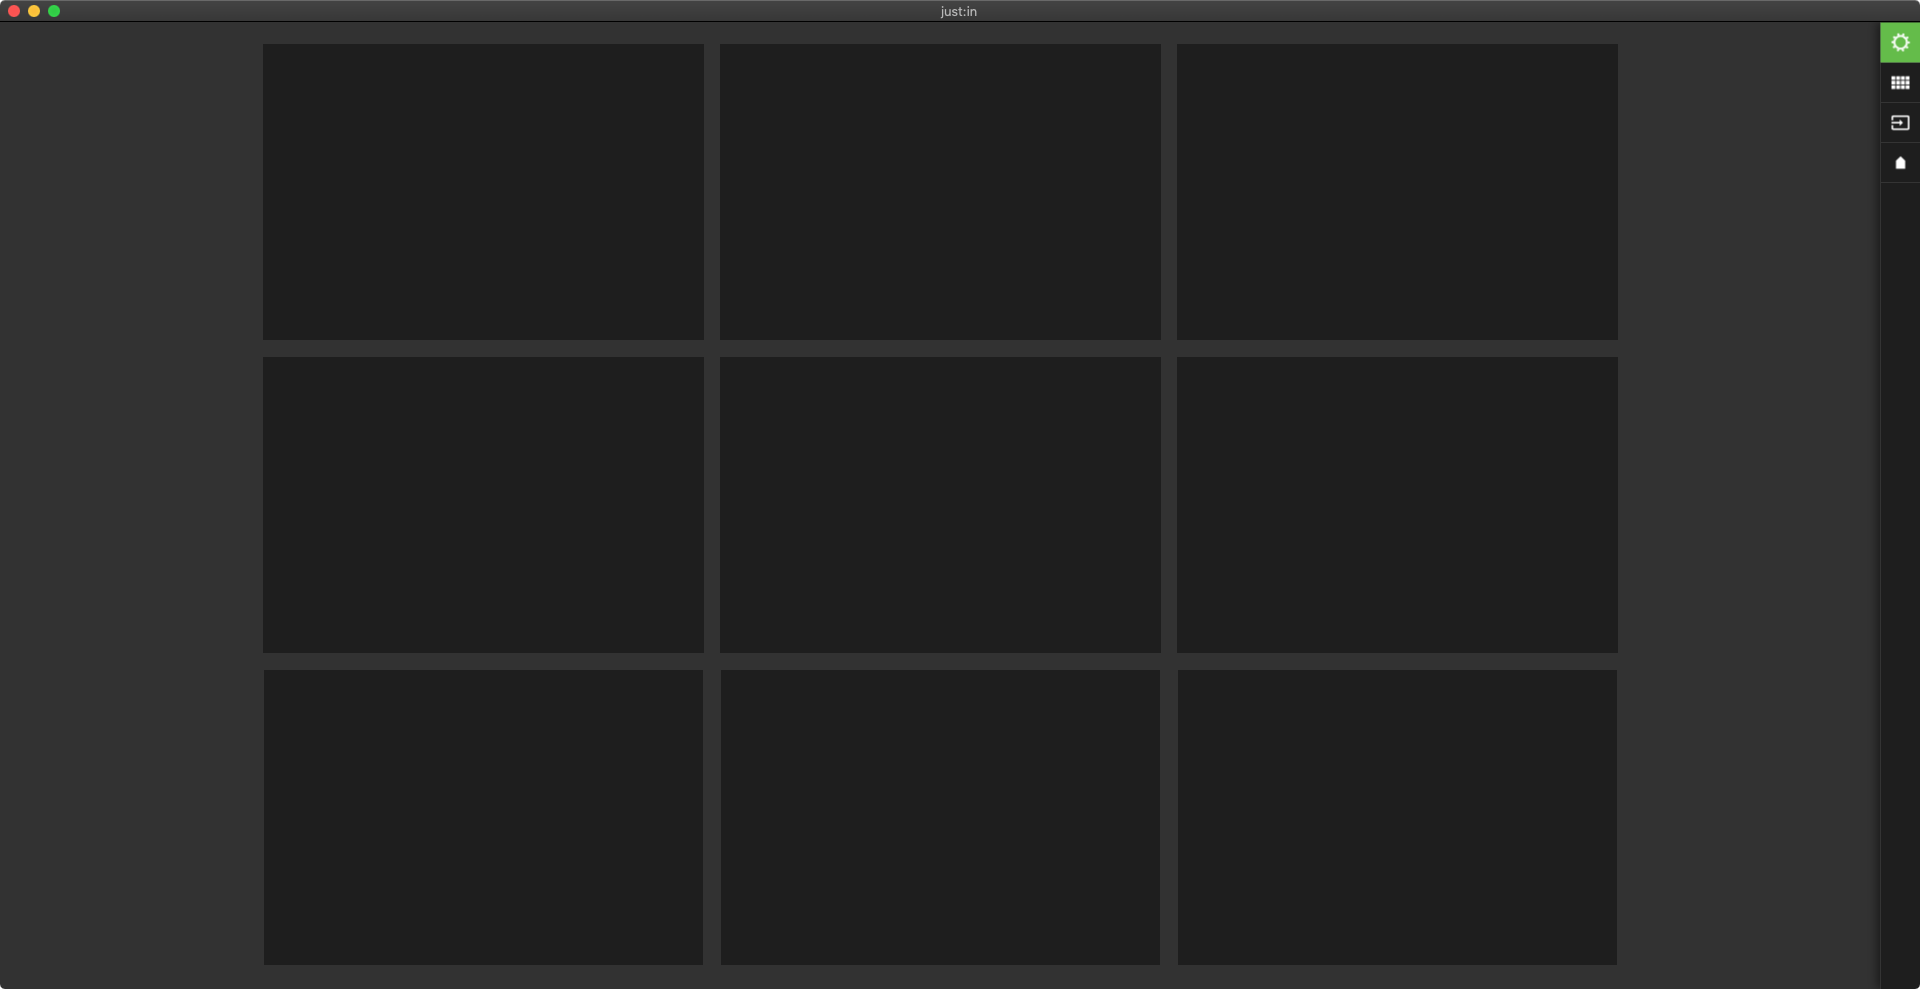
- On the right side of the user interface, open the Inspector and switch to the Connections tab.
Press the Add Connection button to open the Configuration window.
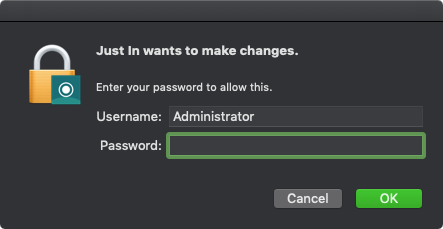
- Unlock the panel by clicking on the lock icon on the bottom left side.

- Enter the administrator credentials and press the OK button.
- Press on the plus button at the bottom of the Devices & Channels list.

- Add the IP-Address of your Just In linux server and press the Add button to establish a connection to the server (Port is by default 5000).

- The the Configuration Wizard appears, helping with the basic configuration steps.
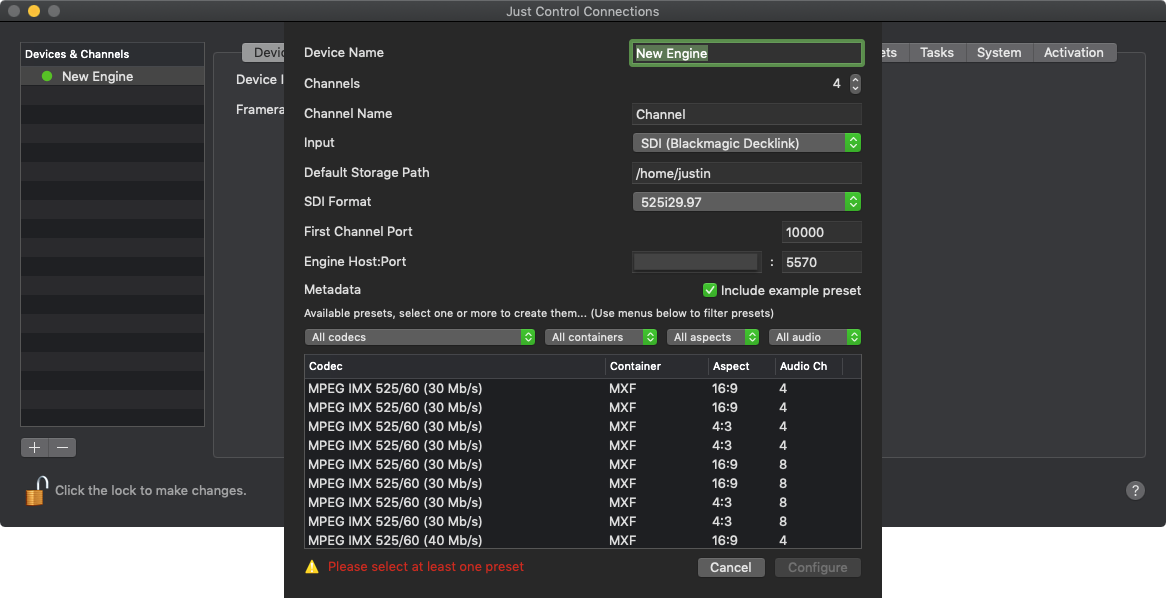
- Configure the settings to your needs. Please check with your reseller or directly with us, which video hardware is installed, and select your preferred SDI format.
Then select at least one preconfigured Capture Preset and finish the configuration by pressing the Configure button.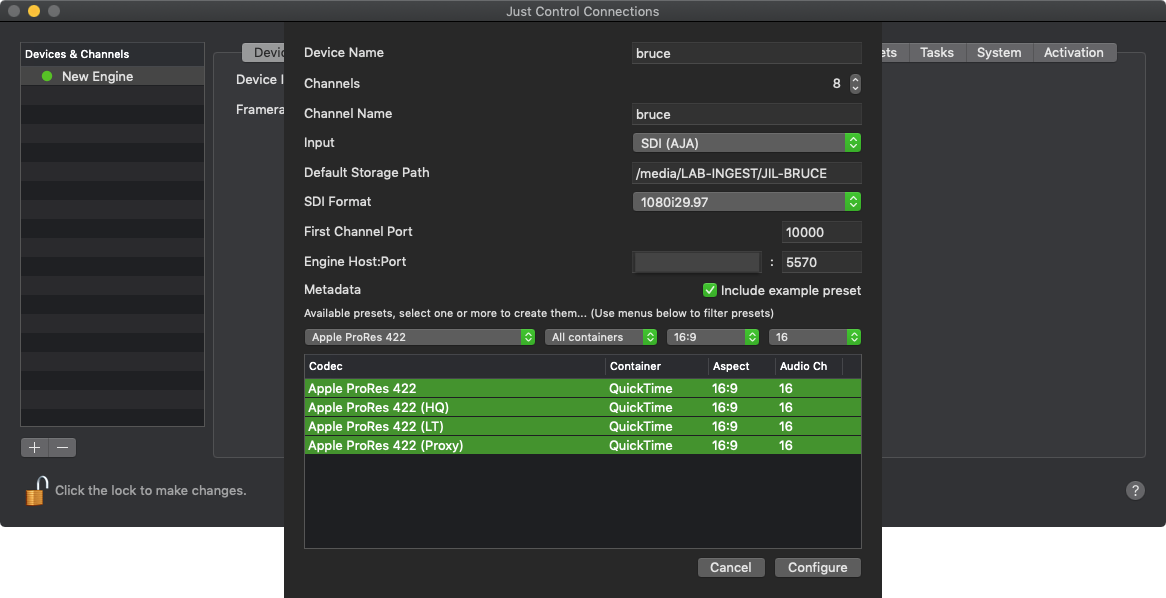
- The Engine/Device settings should show up.
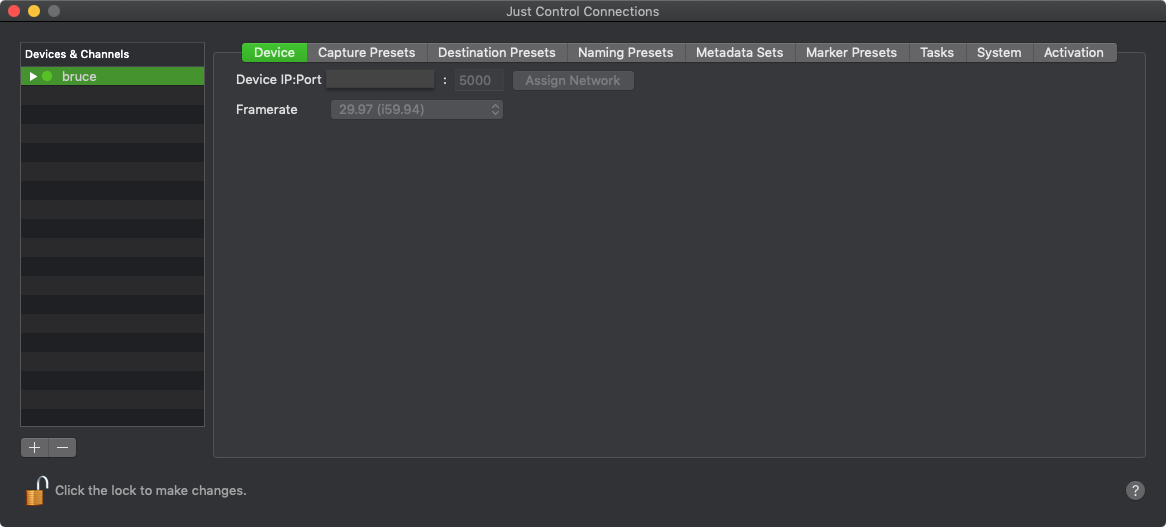
- Clicking on the disclosure triangle next to the Engine's name shows the channels of the Engine. There is no need no change anything here.

- Close the configuration window.
- Drag and drop the desired Channel(s) from the Connections tab to the Channel Viewer area. Alternatively you may also drop the previously configured Device to the Channel Viewer area. All available Channels will then be connected automatically (as long as there are sufficient Channel Viewers.
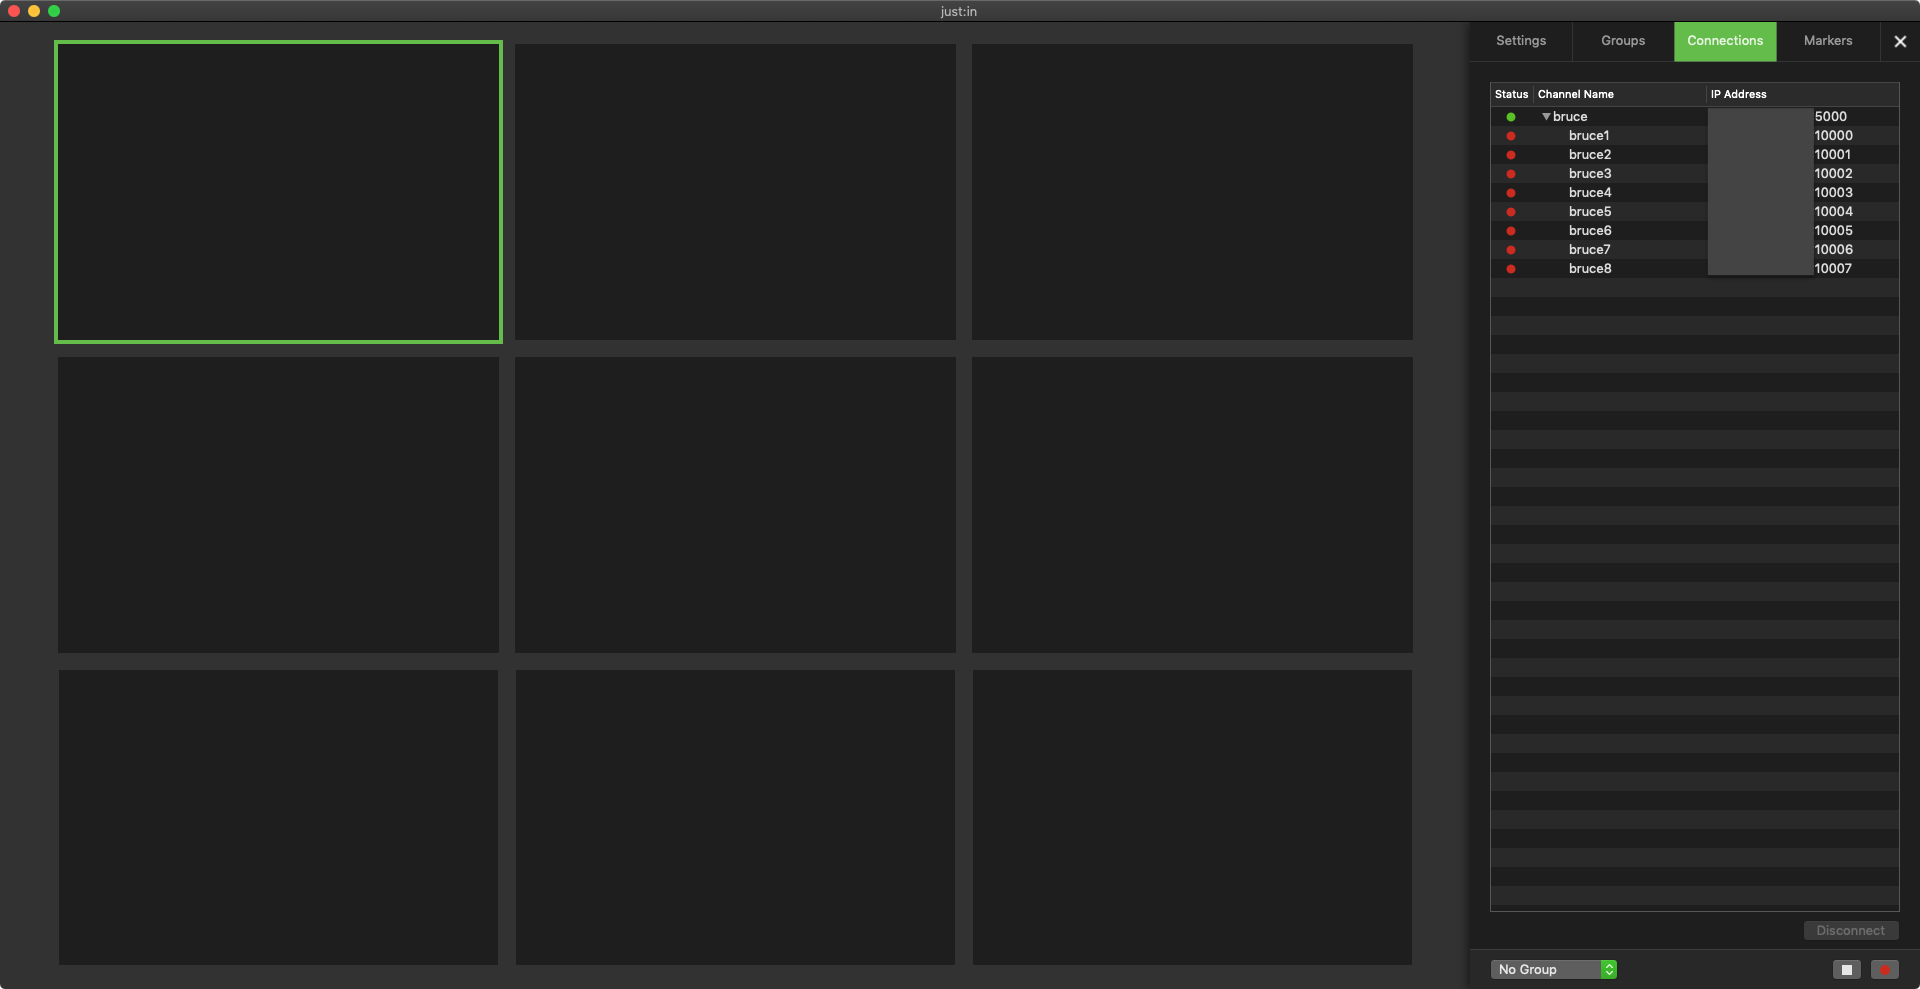
- Once the channels are connected you can check the appropriate settings.
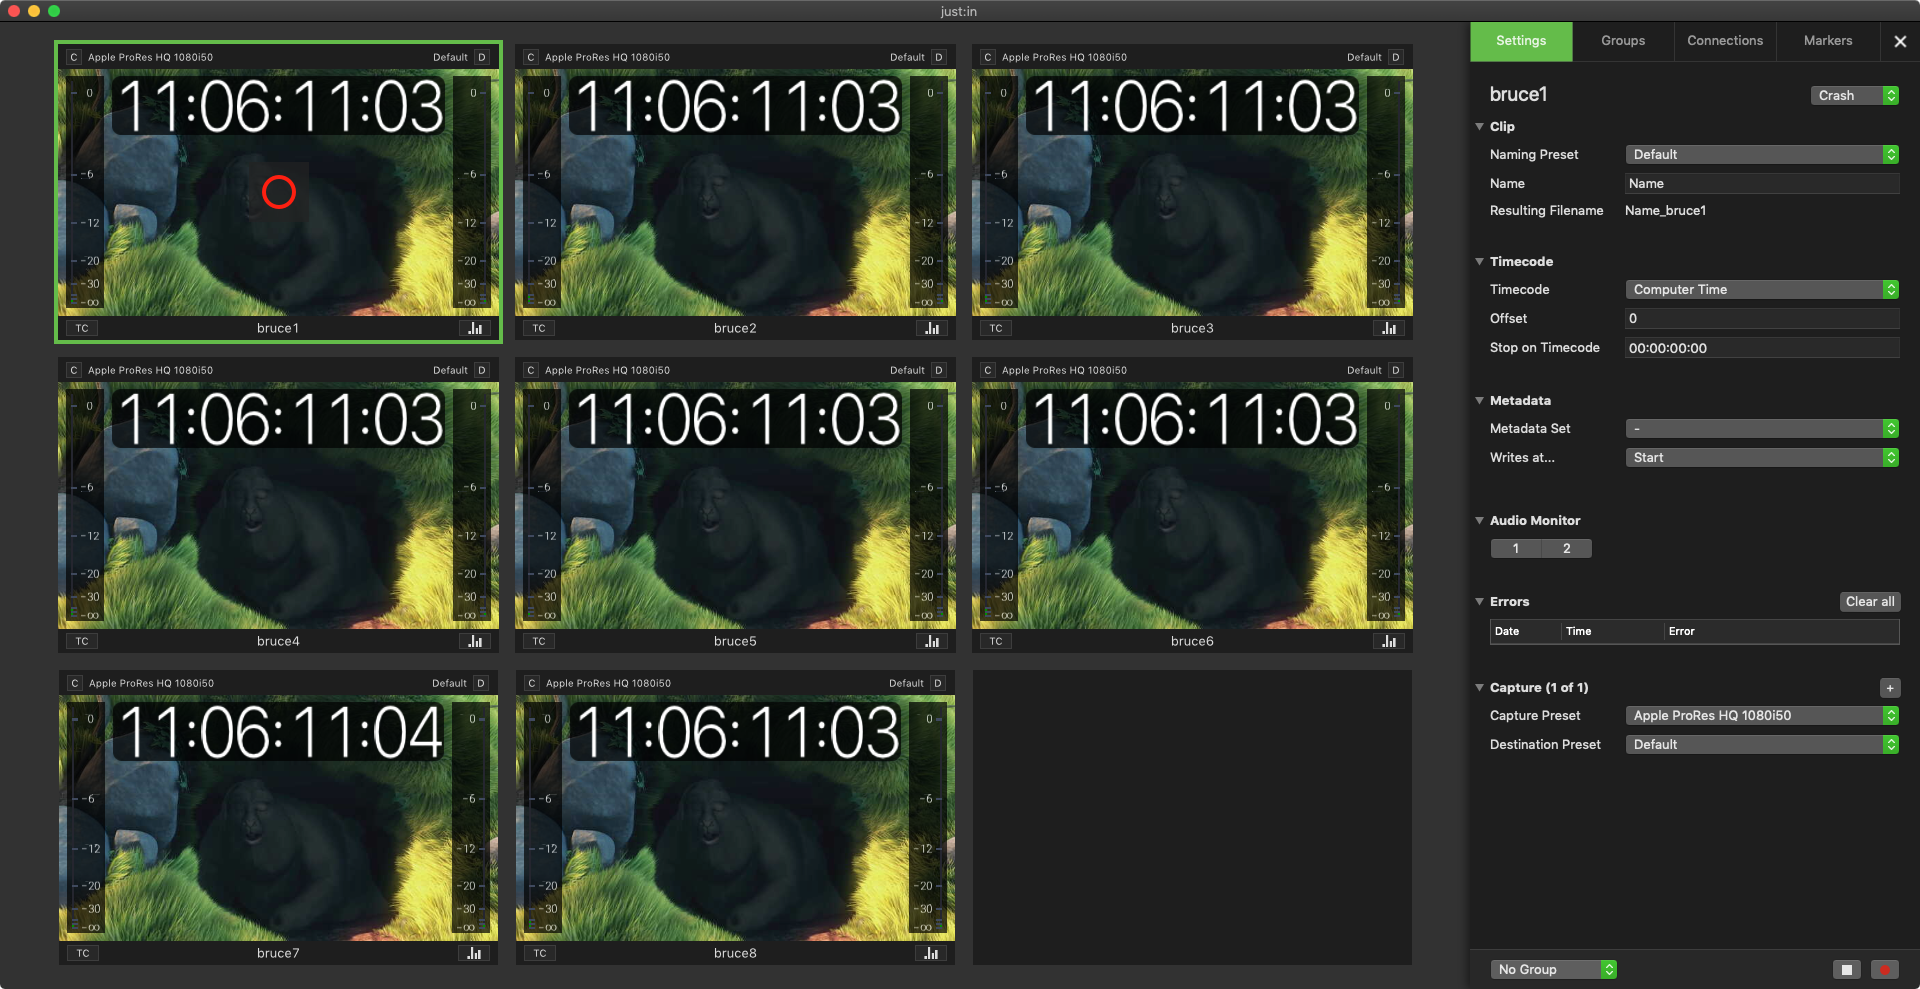
- You may then start recording for one or all channels.

The Getting Started ends here. For further information please refer to the other pages in the user manuals.