This chapter describes the initial and basic setup of Just In Engine and the Just In User Interface.
Start Just In Engine
- Got to the Applications folder.
- Start Just In Engine.
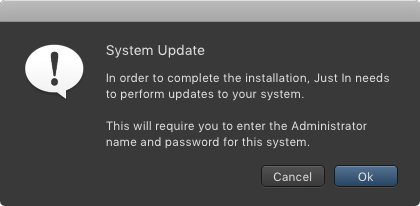
- Accept the System Update dialog to continue.
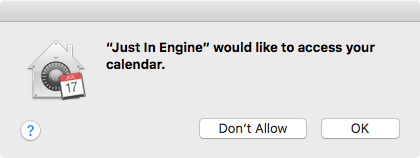
- Allow Just In Engine to access the Calendar (this is required for Scheduled Recording).
Just In Engine displays the Preferences window automatically.
If Just In Engine has been launched and/or configured previously on this system, the preferences window needs to be opened manually. Go to the menu Just In Engine → Preferences (shortcut: command + comma).
- Unlock the Preferences in the lower left corner by pressing the Make Changes button.
- Select the desired Framerate in the Engine tab.

- Go to the Channels tab and configure the desired Channels. Depending on the Video device(s) the Channels tab may look different.

- Enable the Channel(s) in the Channels tab by clicking the corresponding checkbox in the Channels list.

- The Diagnostics window should appear. You can always show it by using the menu Window → Diagnostics.

Start the Just In User Interface
- Go to the Applications folder and open the Just In Application.
- Make sure Just In Engine is running.
- The Just In main window appears.
Connecting to a Channel
Click the icon in the center of the main window to show the Connections Window which allows you to connect to a Channel.
A Channel is hosted by a Just In Engine, so – at this point – it is mandatory that one or multiple Channels are configured and running, otherwise you cannot connect to a Channel.

Enter the IP-Address and the Port of a Mac Channel and press the Add button. Repeat this for every Channel you would like to connect to from this user interface.
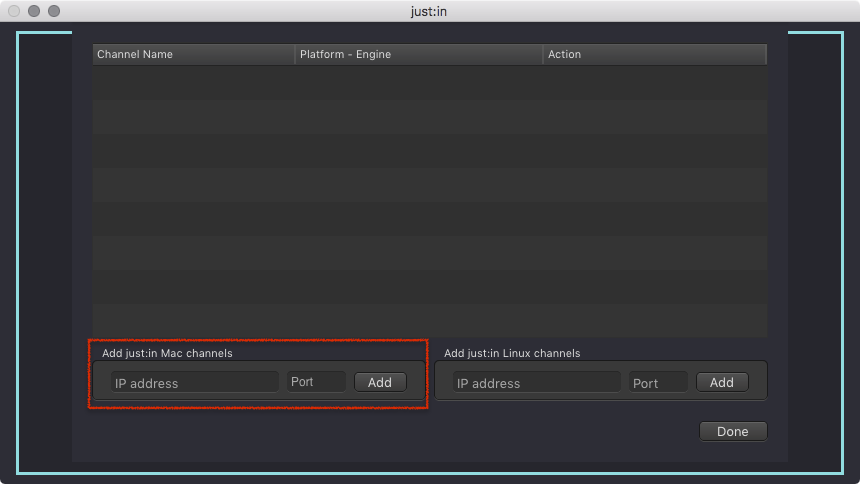
In a default test setup (i.e. Engine and User Interface are running on the same machine) you may use the following data:
IP-Address: 127.0.0.1
Port: 50000.- Press the Connect button to connect to a Channel.
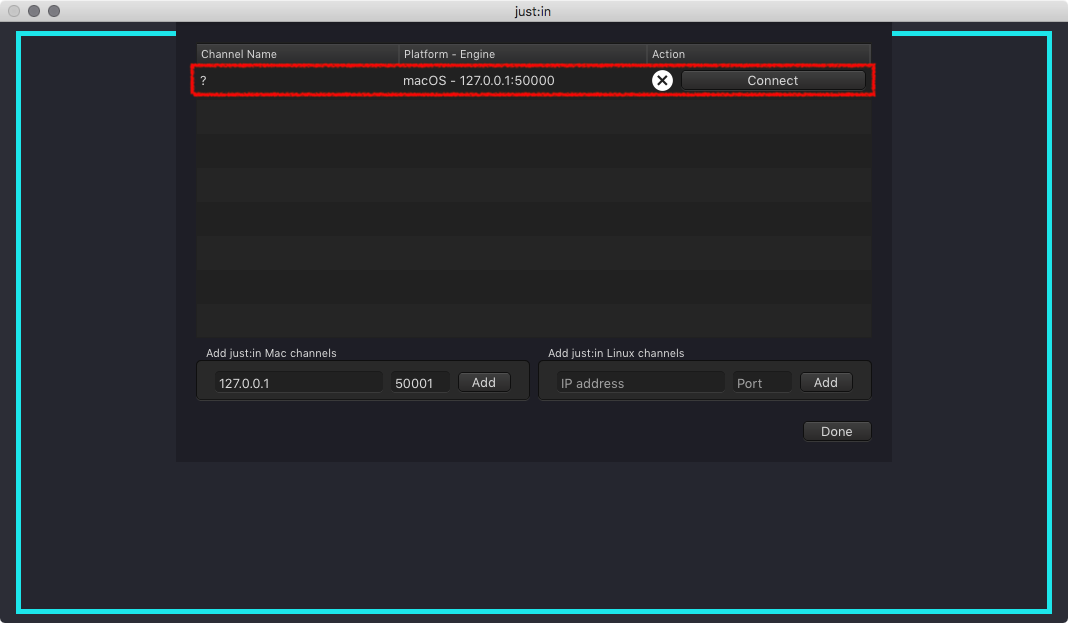
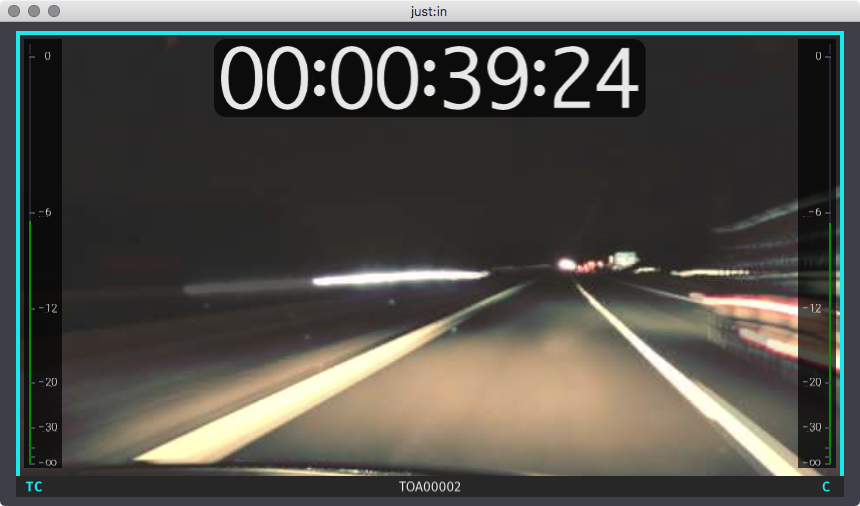
- Upon successful connection Just In displays the Channel Preview.