
All of the following chapters assume that you have a properly configured Just In setup. If this is not the case please refer to the particular Just In documentation.
Live Cut Projects
Creating a Live Cut Project
- Open Just In.
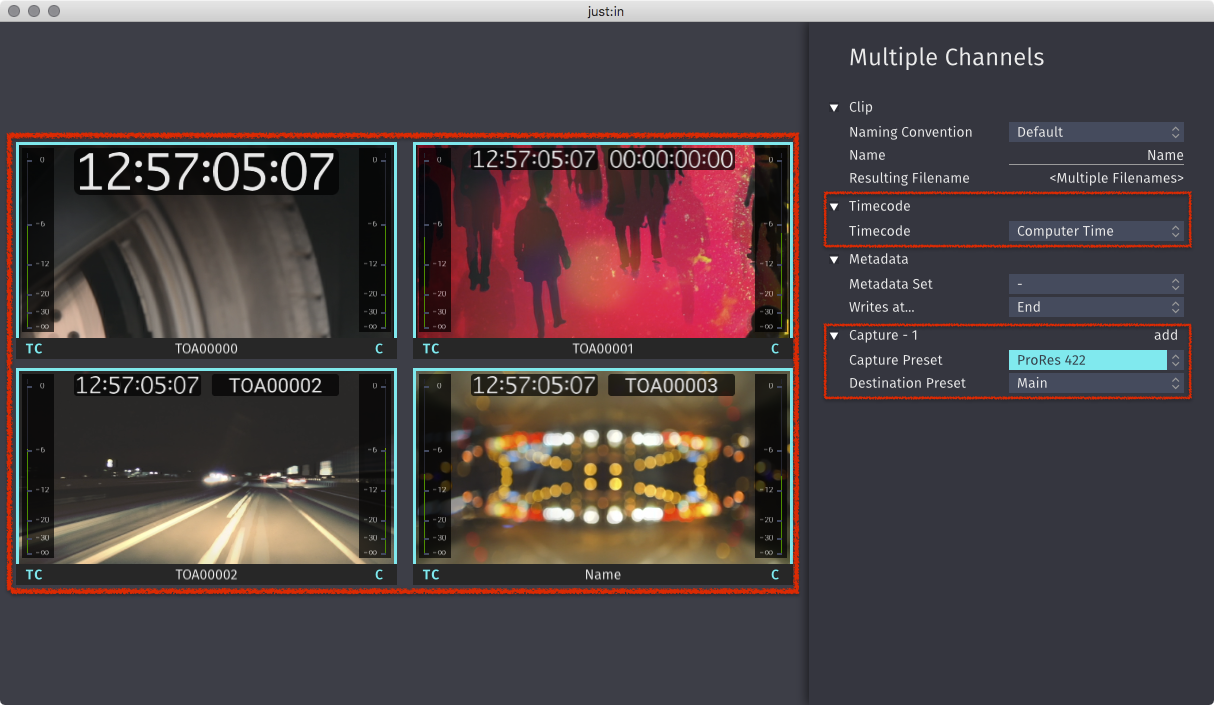
- Select the desired Channels for your Live Cut Project and open the Inspector. You need to select at least two Channels.
- Select a Timecode Source, a Capture Preset and a Destination Preset. It is mandatory that these attributes are synchronized for all Channels used with Live Cut.
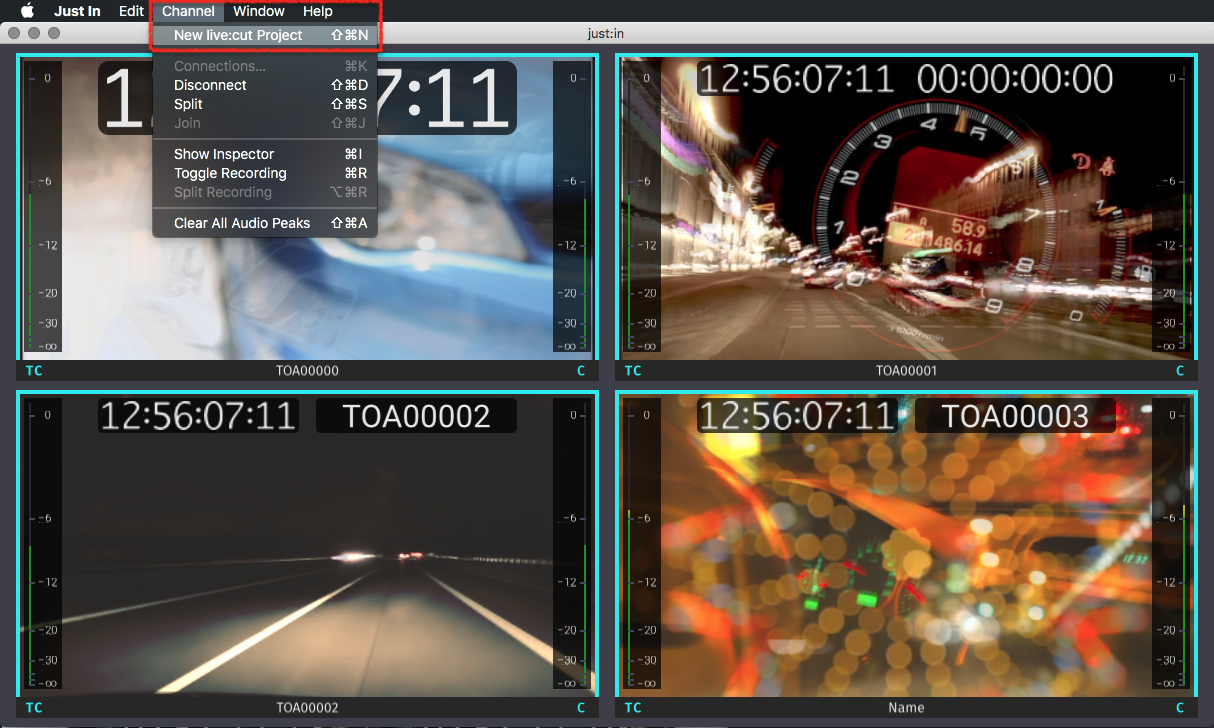
- Go to the menu Channel → New Live Cut Project.
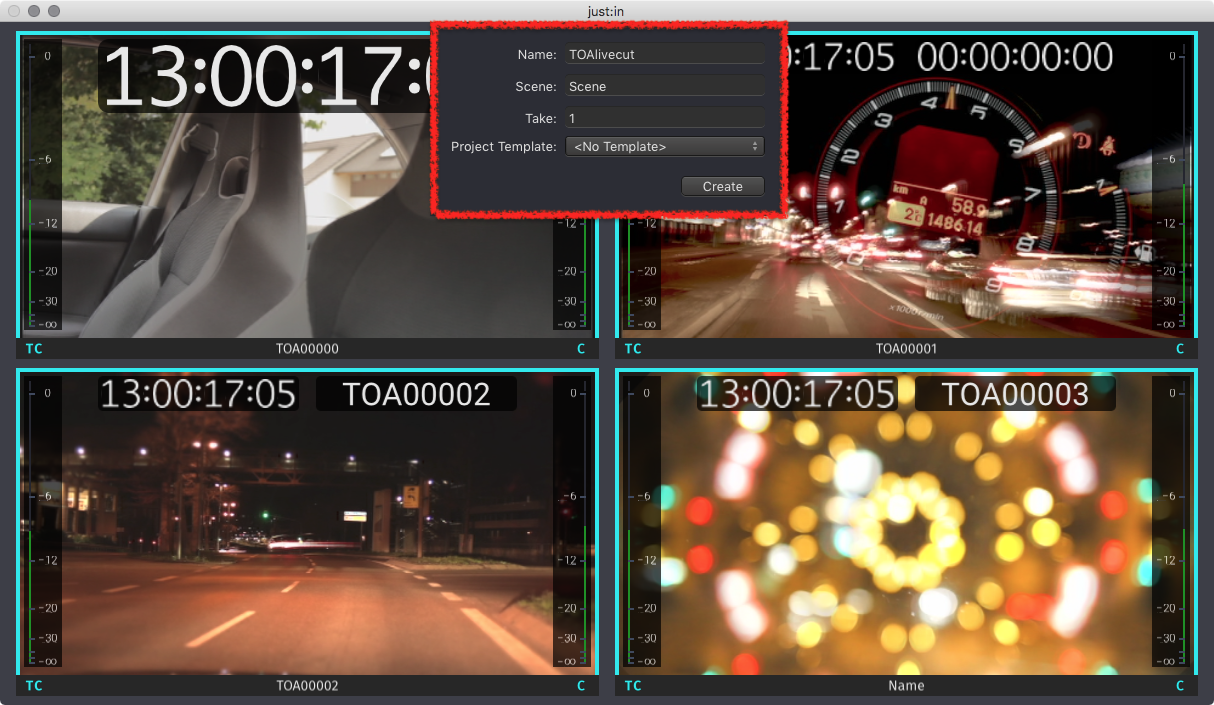
- Enter a Name, Scene and Take for the Live Cut Project. Project Template is not required at this time. Press the Create button when you are done.
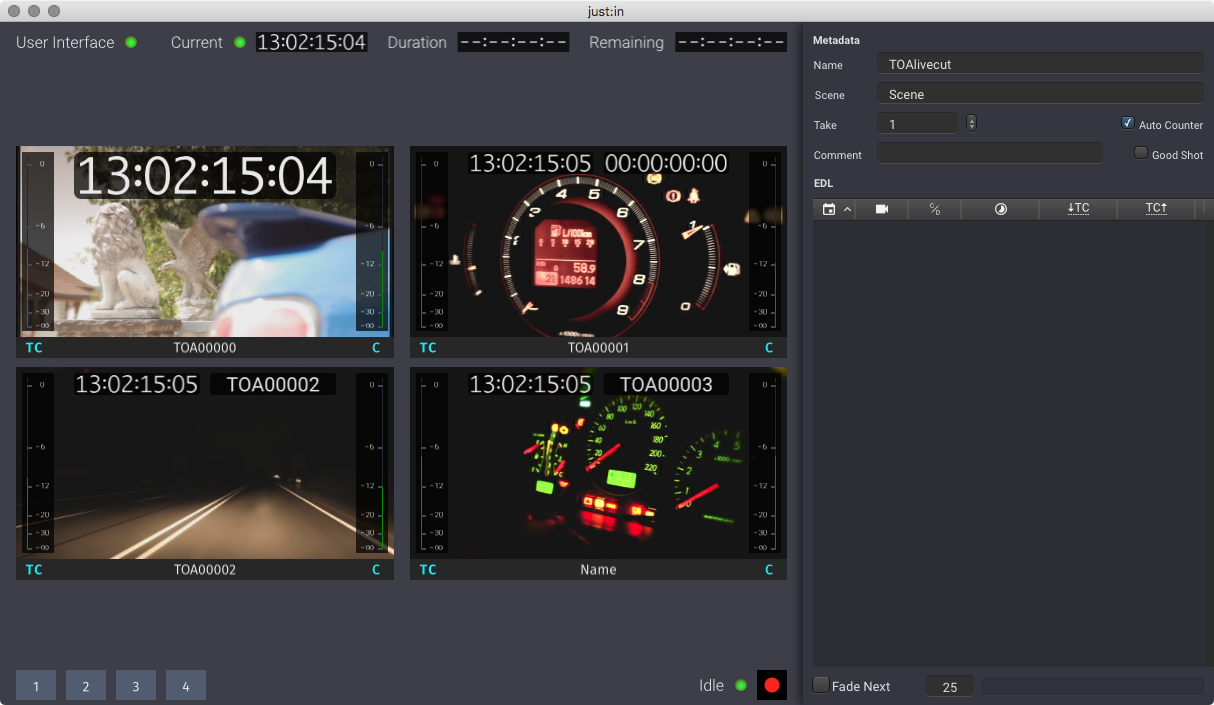
- If everything went okay the Live Cut Interface will be shown.
Closing a Live Cut Project
- Go to the menu Project → Close Project.
- The Live Cut Project will be closed immediately and the Just In User Interface appears again.
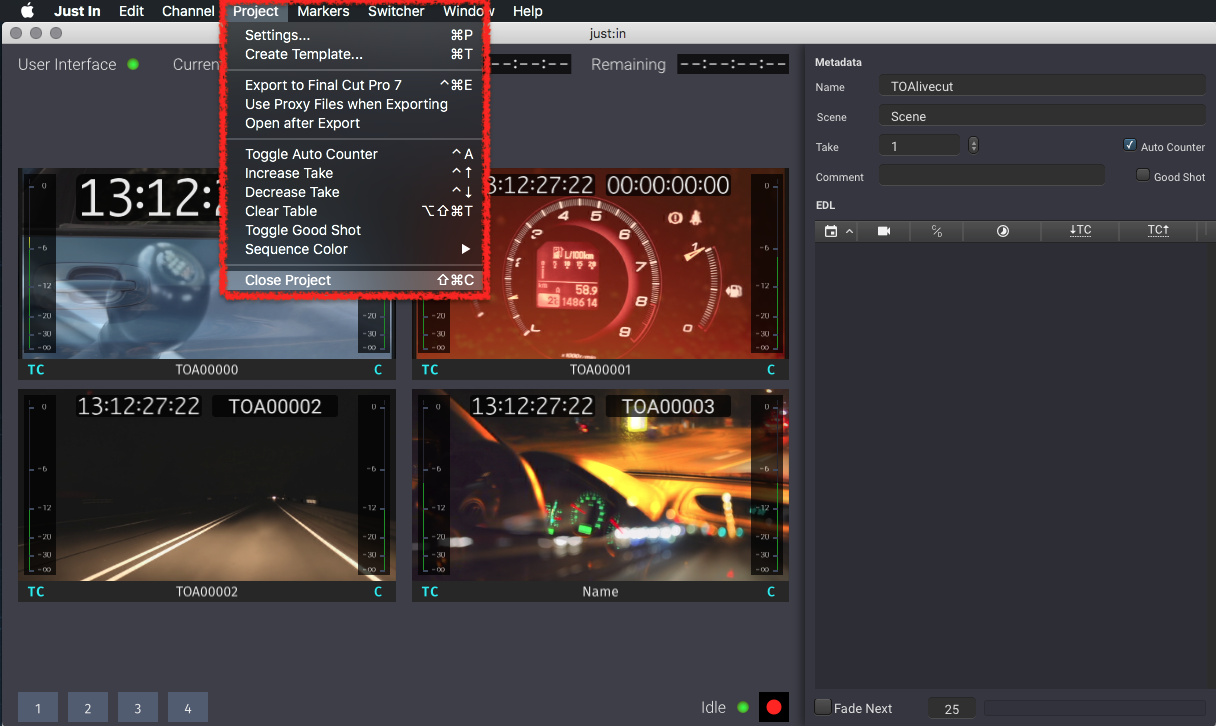
Opening / Reopening a Live Cut Project
- In the Finder go to your User folder.
- Open the folder ~/Documents/LiveCut Documents/Projects.
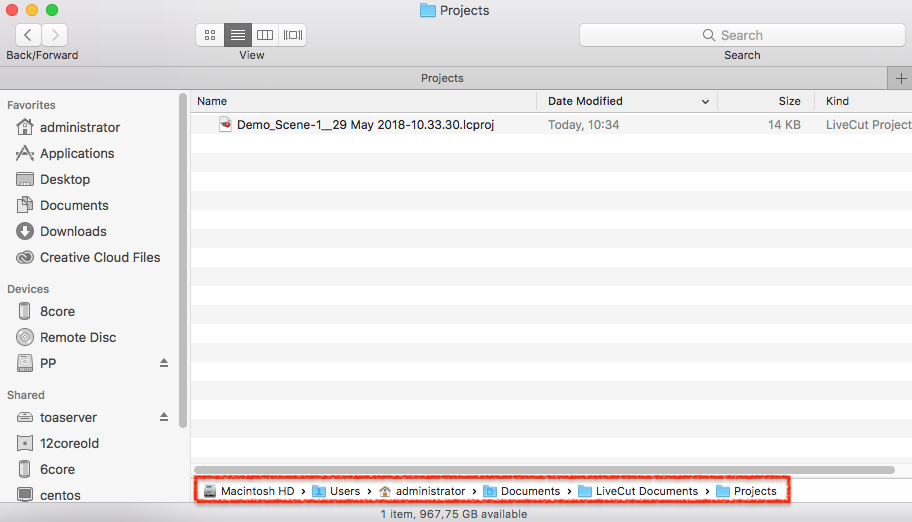
- Double-click the Project file you want to open.
- Live Cut will open the Project and displays an already filled EDL. You may export the Project again by using the menu Project → Export to …
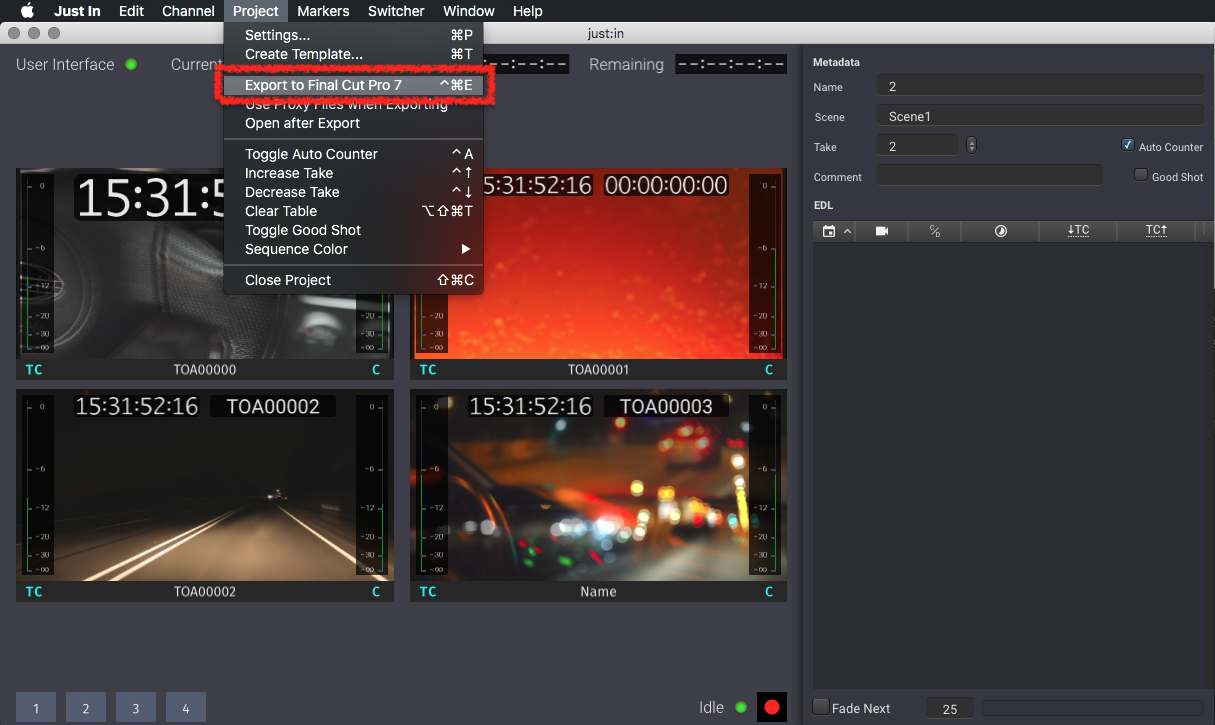
Exporting a Live Cut Project
You may reopen Live Cut Projects at any time after the end of your recording session to change your export options to re-export them, for example with a different soundtrack as the selected main source.
- Make sure you are in a Live Cut Project.
- Use the menu Project → Export to …
Live Cut Project Templates
Creating a Live Cut Project Template
- Make sure your are in a Live Cut Project. If this is not the case refer to the top of this chapter.
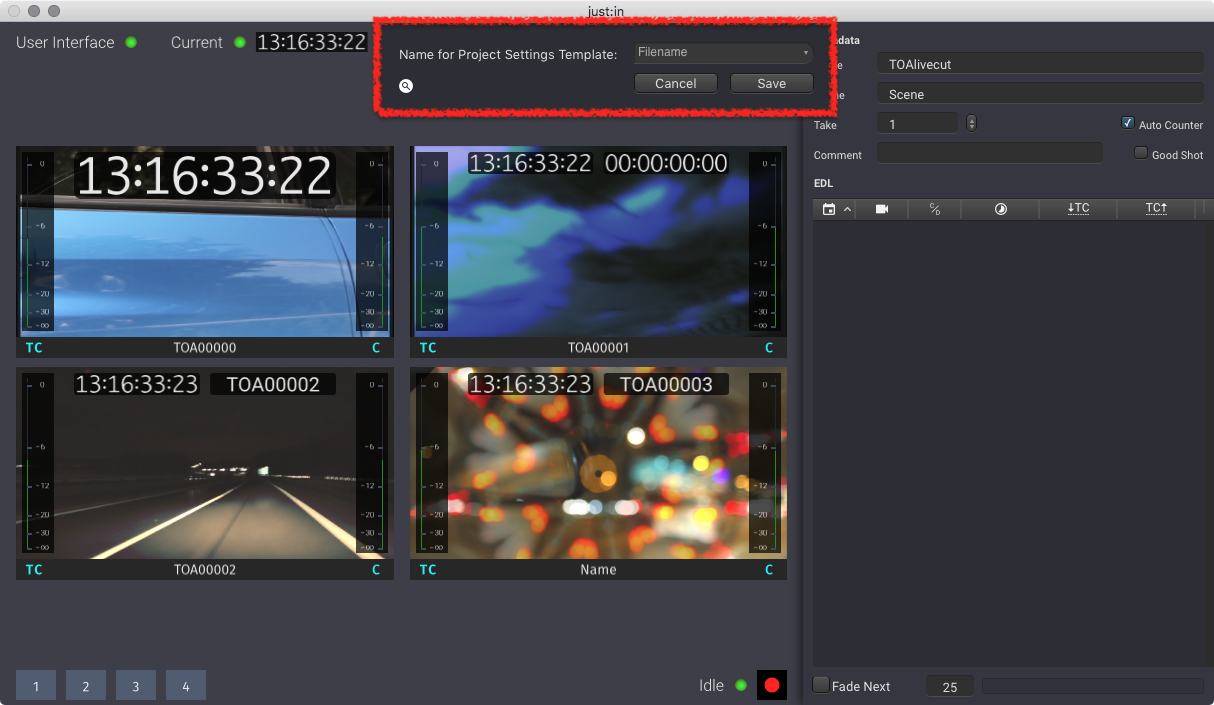
- Go to the menu Project → Create Template.
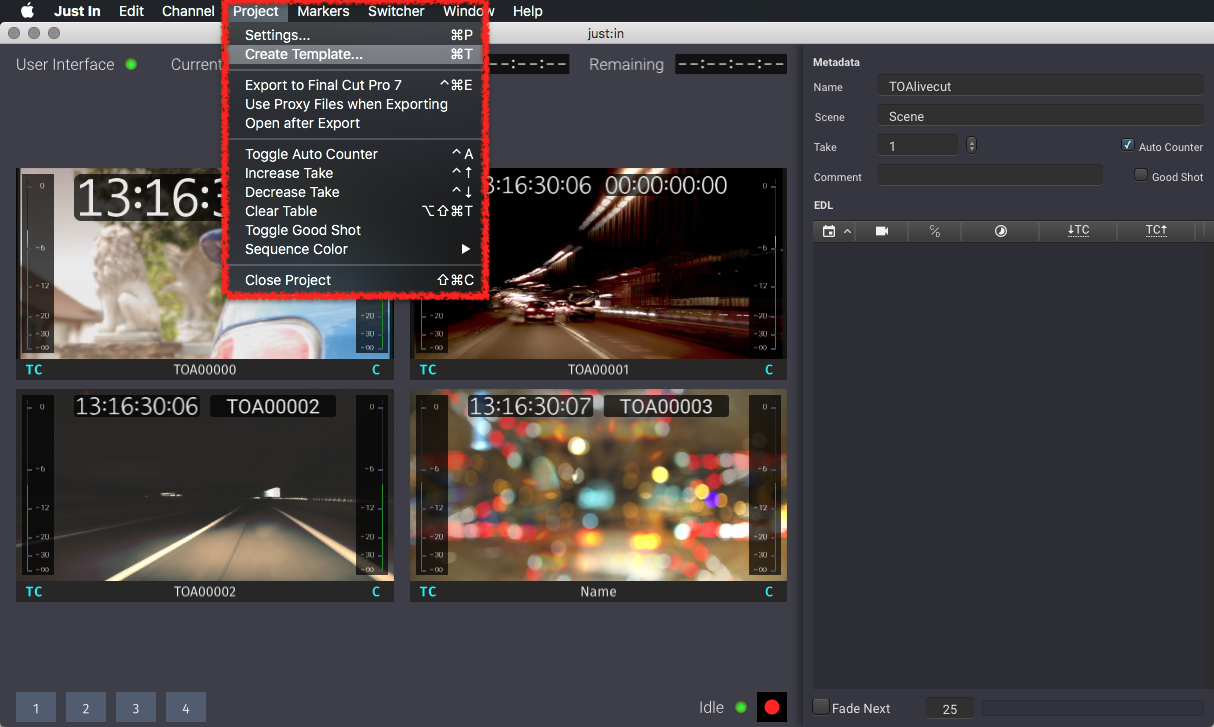
- Enter a Template name and press the Save button.
Using a Live Cut Project Template
- Go to the menu Channel → New Live Cut Project.
- Select your Project Template from the drop-down menu.
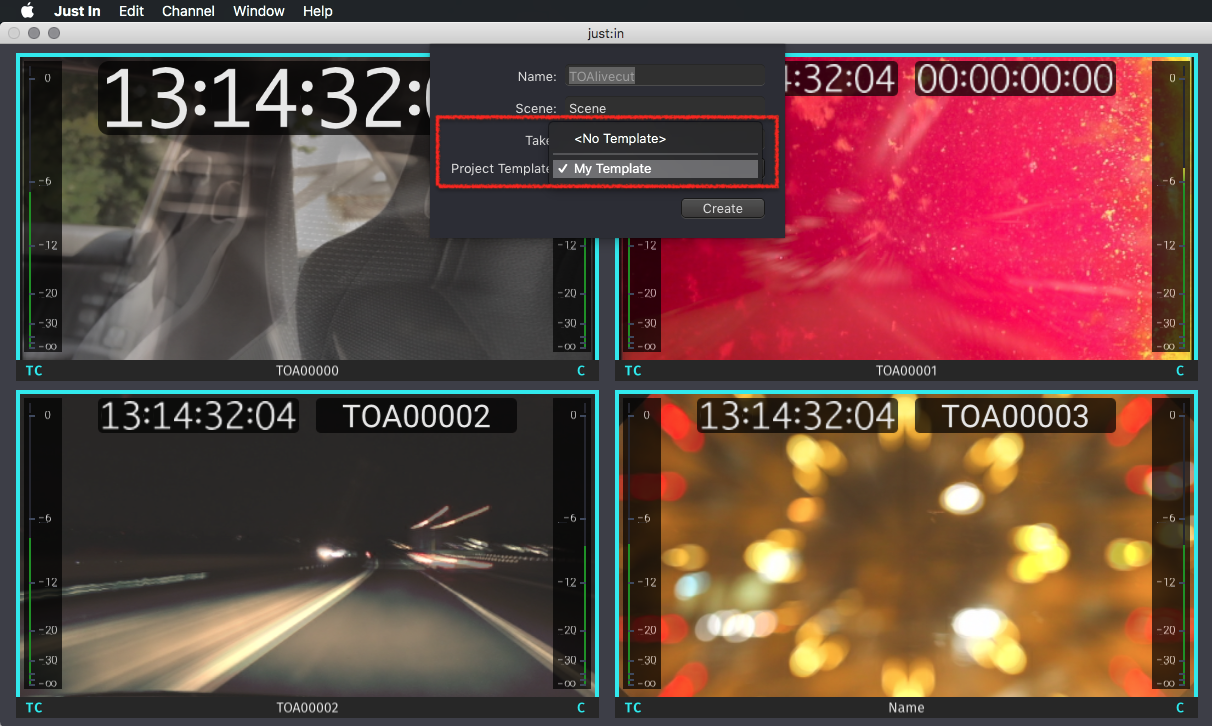
- Continue with the creation of your Live Cut Project as described above.
Removing a Live Cut Project Template
- In the Finder go to your User folder.
- Open the folder ~/Documents/LiveCut Documents/Project Templates.
- Delete the desired Project Template(s).