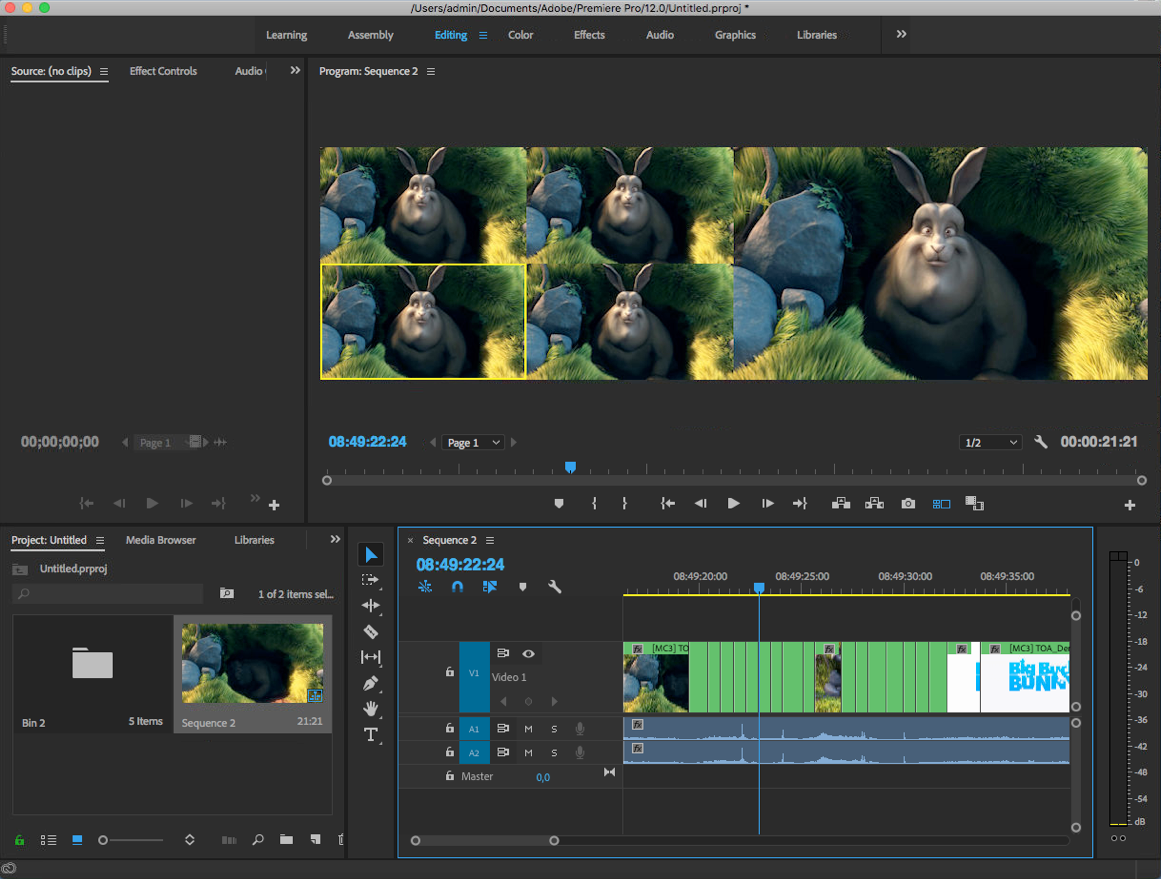
Starting with version 3.0 Live Cut is completely integrated into Just In. There is no separate Live Cut application anymore.
Before starting with Live Cut it is recommended to read Just In Mac v3.0 Getting Started. As soon as two or more Channels are connected to the Just In User Interface, a simple Live Cut setup can be started.
1. Preparing Live Cut
We assume that the Just In User Interface is already connected to running Channels. If this is not the case please refer to Just In Mac v3.0 Getting Started.
- Go to the Applications folder and start Just In.
- Just In may look similar to this screenshot. Make sure you have at least two working Channels.

2. Synchronizing the Channel Settings
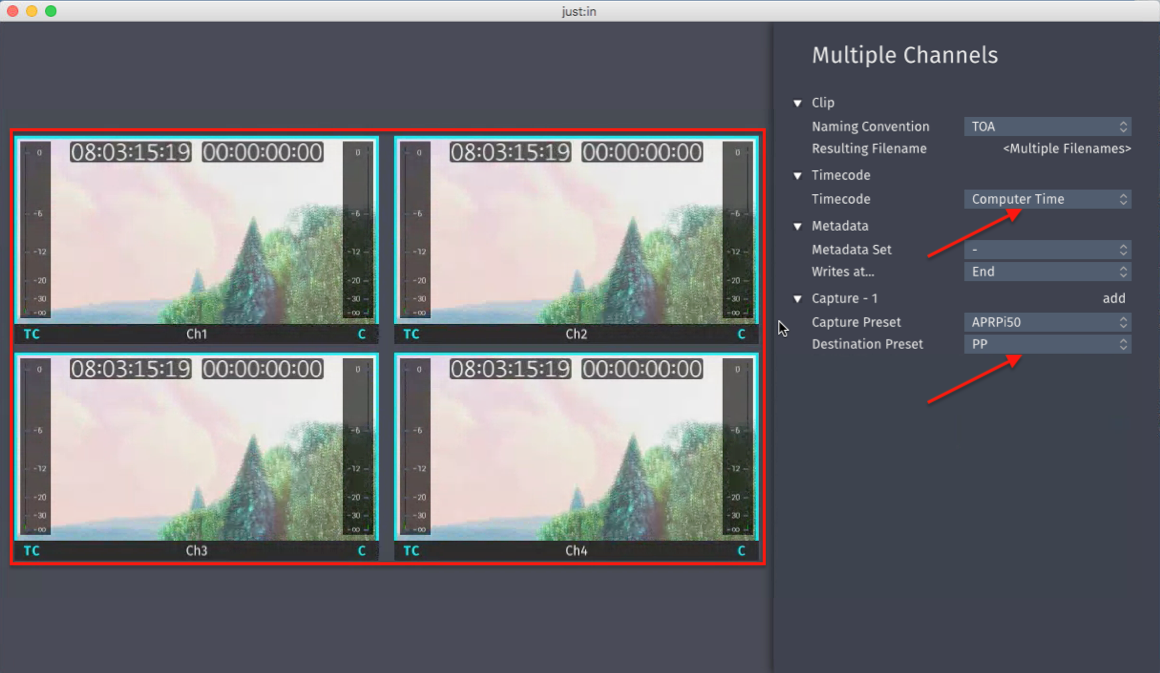
- Select the Channels you want to use in Live Cut.
- Open the Inspector. Make sure it reads Multiple Channels at the top.
- Select a Timecode Source, Capture Preset and Destination Preset.
3. Starting a Live Cut Project
- Go to the menu Channel → New Live Cut Project.
- If all settings are correct you will be prompted to enter your Project details.
- Press the Create button when you are done.

- The Live Cut User Interface appears.

4. Further Project Settings Configuration
- Go to the menu Projects → Settings.
- Click on the Paths tab.
- Define a High Res Media Path and a High Res Directory for the Final Cut XML Backup.

- Click on the Editor tab.
- Select a Video Editor of your choice.
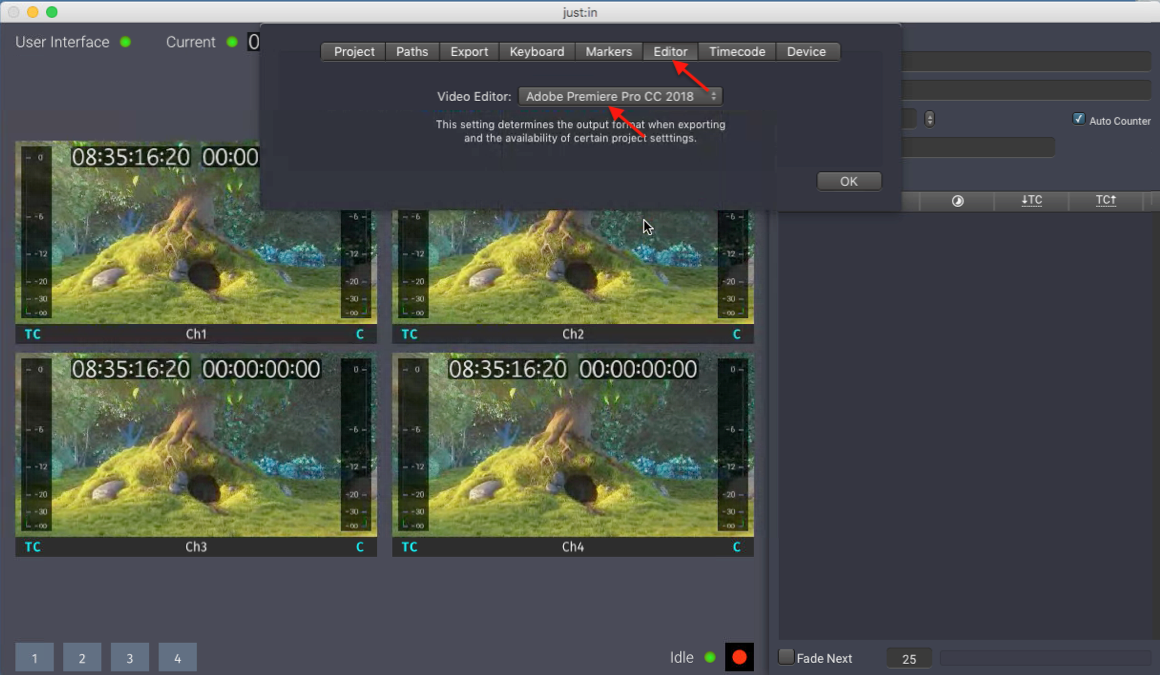
- Press the OK button to close the Project settings.
5. Doing a Multicam Recording
- Press the Record button.
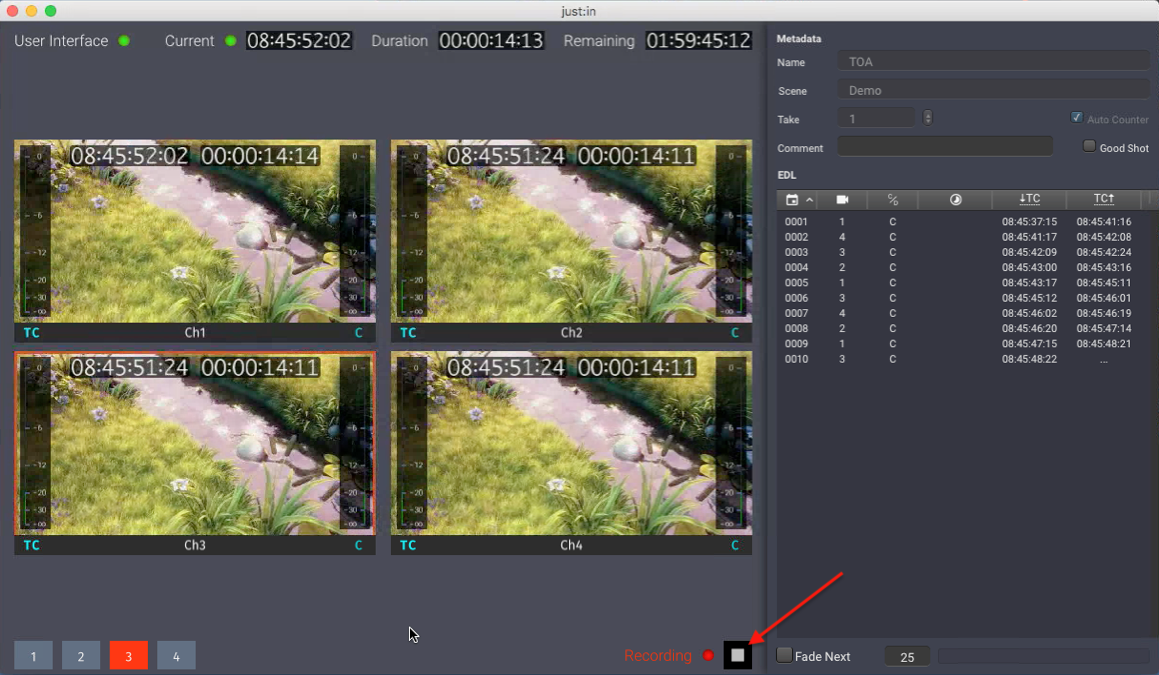
- You may now switch between Channels and enter metadata. As you can see the EDL updates accordingly.
- When you are done press the Stop button.
6. Open the generated Multicam XML
After the recording has finished Live Cut generates a multicam XML for the selected Video Editor. You may now use this XML in your NLE.