Overview
This page covers everything regarding the Channel Viewer. The Channel Viewer looks the same for each Input type (SDI, HDMI, NDI and SRT) of the Just In linux engine.
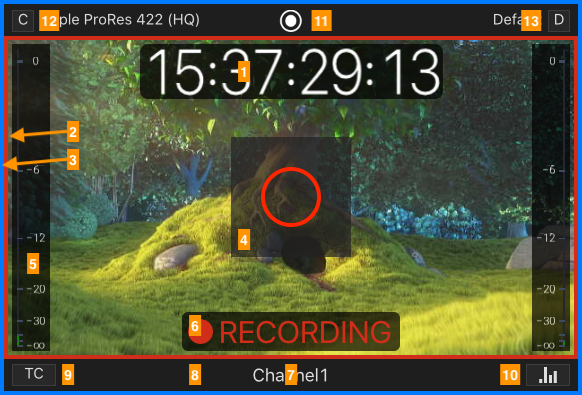
Timecode: displays the Timecode depending on the selected Timecode mode (see below).
Channel View Border: when you click on a Channel View it gets a coloured (macOS Accent colour) border which indicates that the Channel is selected. You may select multiple Channel Viewers by holding the command-key. This is useful if you want to change the Capture Settings of multiple Channels at once.
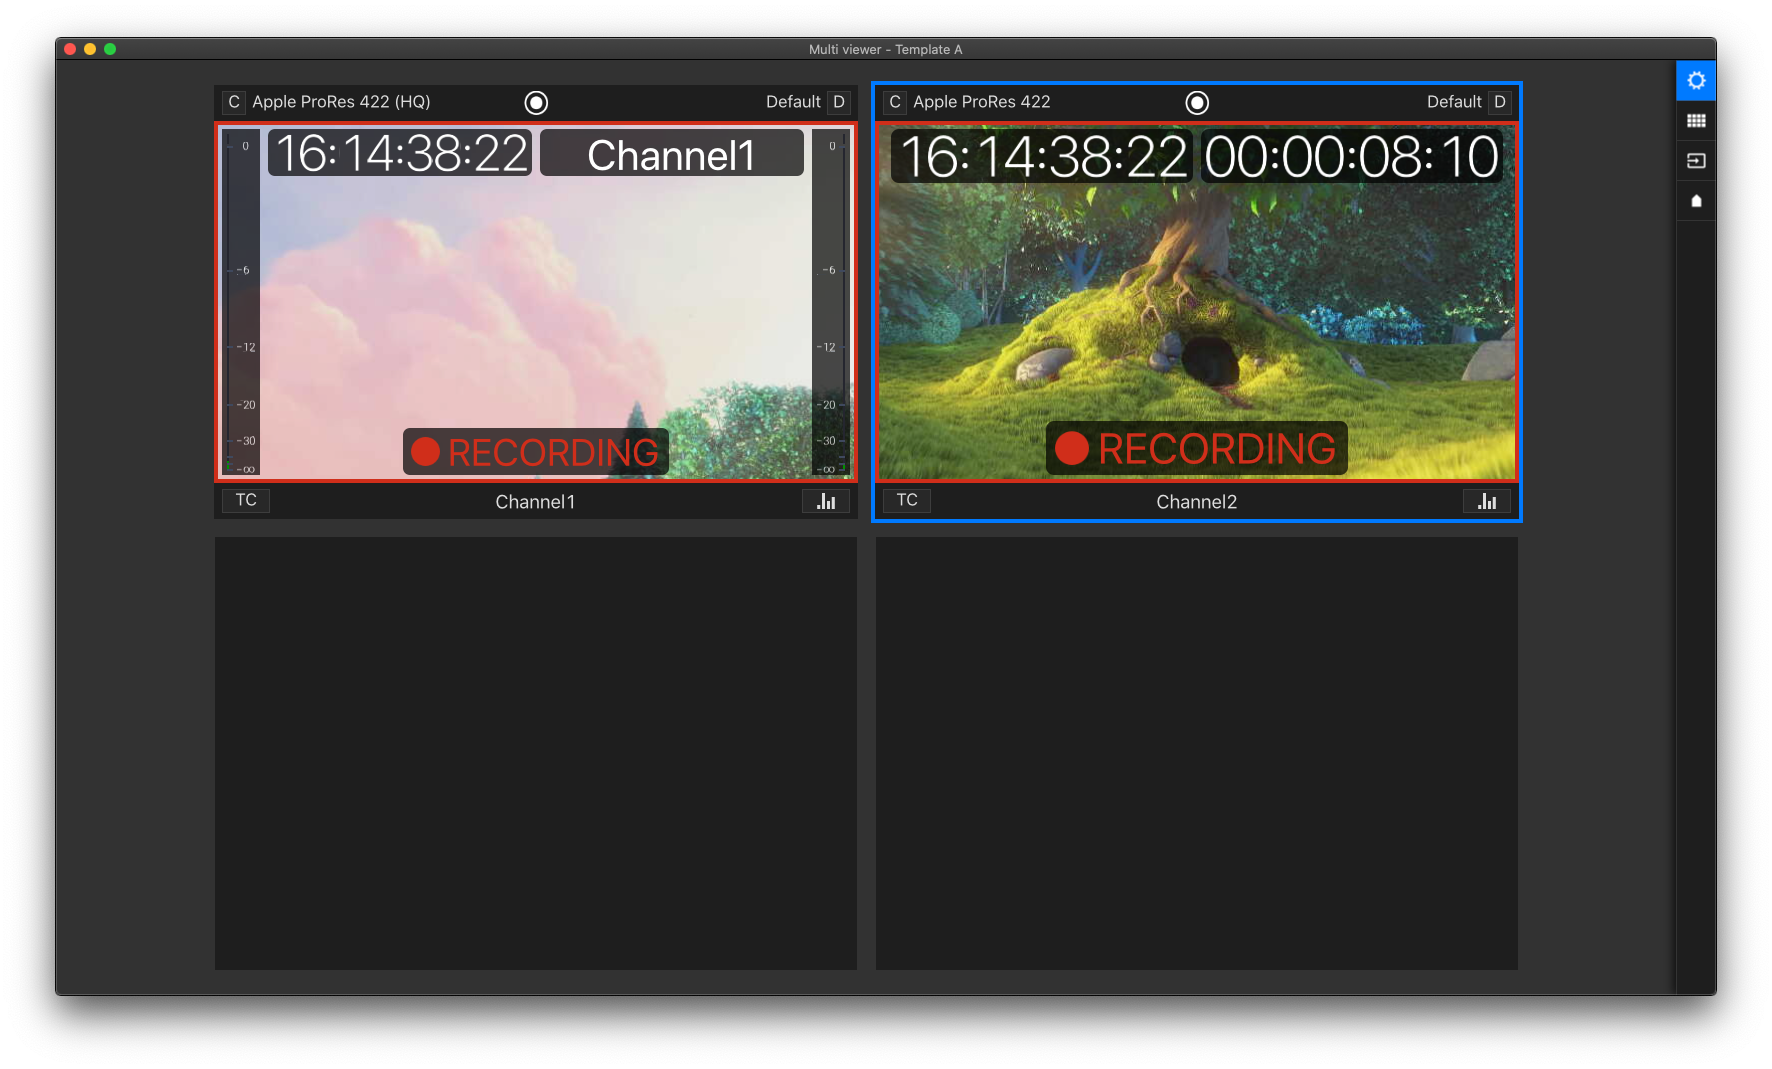
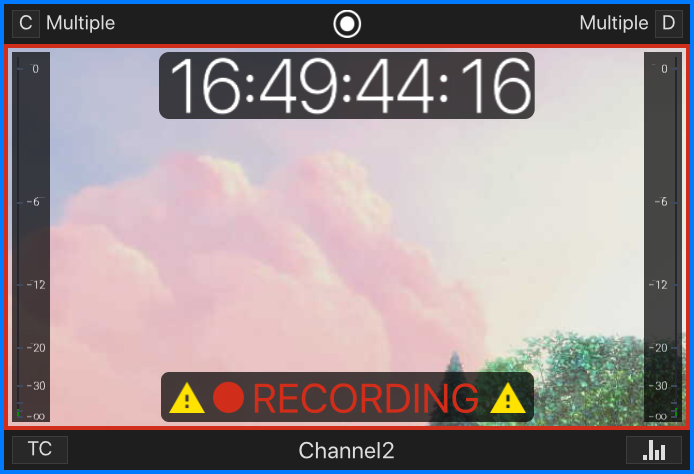
Channel Recording Border: when a Channel is recording, then there will be a red border around the video preview area.
Record Button (command + R): this button shows up as soon as you hover over a Channel. Press this button to start or stop the Recording of the selected Channel.
This button only shows up after selecting a valid Capture- and Destination-Preset in the Inspector. Refer to the Just In linux engine configuration page for further details on Channel Presets.
If the Channel is in Schedule Mode, then you will not see the Recording Button.
Audio Bars: shows Audio levels (dB). Audio Channels depend of the Capture Preset(s) of the Channel.
Status Display: shows the status of the particular Channel View (see below).
Channel Info: click to switch between Channel Name, IP-Address & Port, Name of the current Recording or current Timecode.
Lower Bar: within the lower bar you can choose between different timecode options, turn on/off the audio bars and switch between different Channel info options.
Timecode Mode: click to select the Timecode Mode (see below).
Audio Bars: turn audio bars on/off.
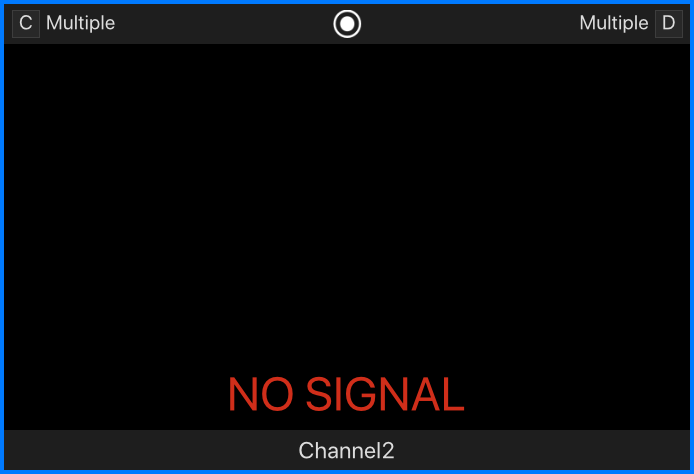
Upper Bar: displays the current Capture- and Destination-Preset selection. If you have more than one Capture ID these areas will display "Multiple". When clicking on the "C" or "D" icon, you will see more information about Capture- or Destination-Presets.
Capture-Preset: displays the current selected Capture-Preset(s).
Destination-Preset: displays the current selected Destination-Preset(s).
All Overlays of the Channel View resize automatically depending on the display resolution and the size of the Channel Viewer. The dB scale of the Audio Bars gets hidden automatically depending on the size of the Channel Viewer.
Timecode Modes
You can choose between following Timecode Modes:
Off
Dual Timecode
Small
Medium
Large
Timecode + Name
Off
Hides the Timecode Display for this particular Channel Viewer completely. Note that you could display the Timecode at the bottom bar as well.
Dual Timecode
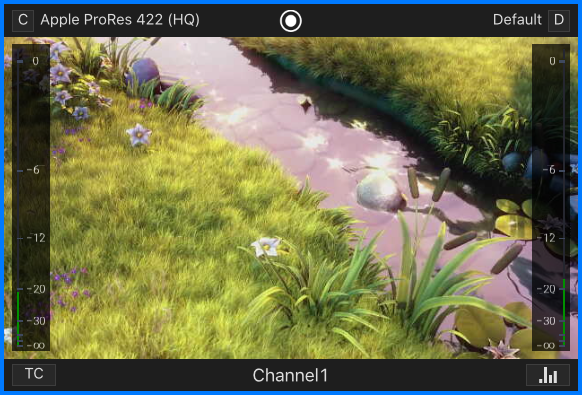
Displays the current Timecode in the top left corner and the Elapsed Time during Recording in the top right corner.
Small
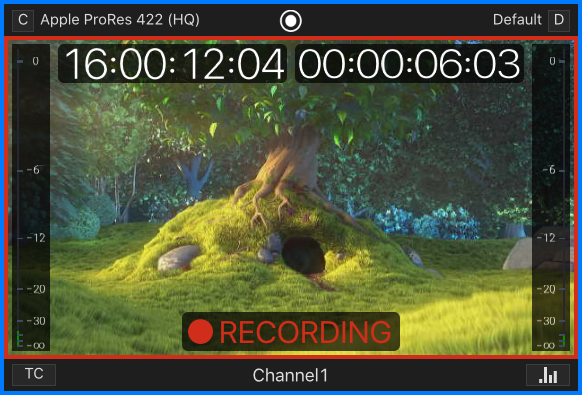
Displays a Small Timecode Display.
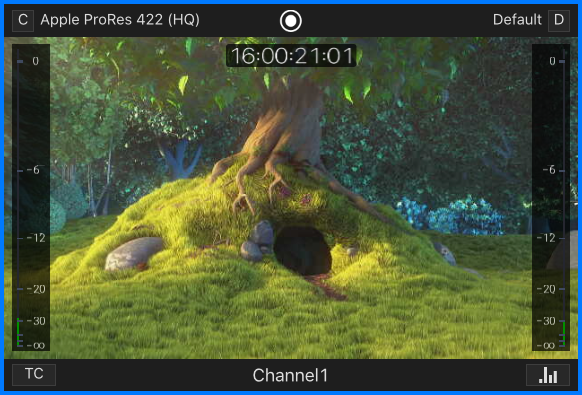
Medium
Displays a Medium Timecode Display.
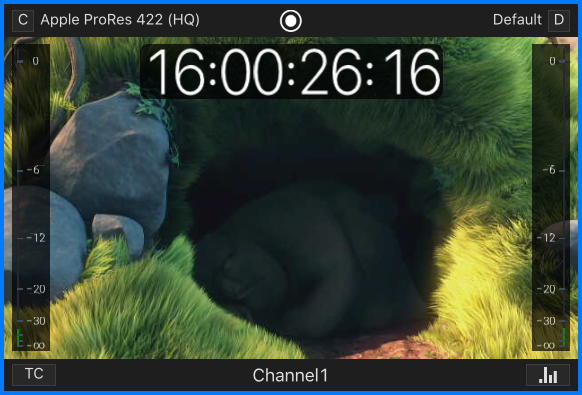
Large
Displays a Large Timecode Display.
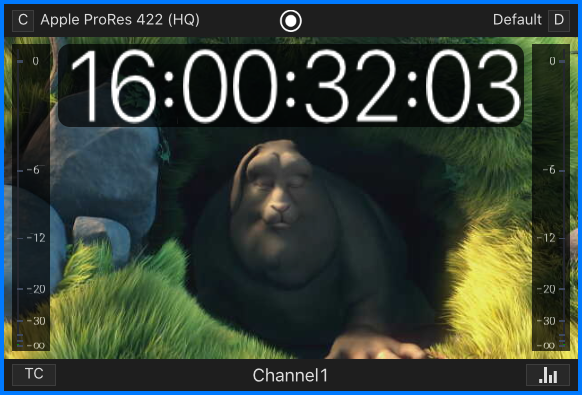
Timecode + Name
Displays the current Timecode in the top left corner and the Channel Name in the top right corner.
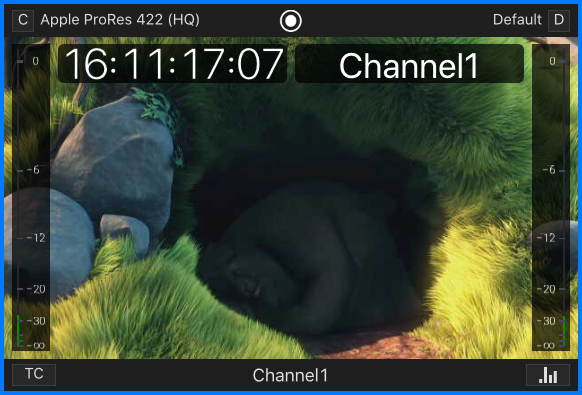
Click on the current Timecode Display to switch to the Elapsed Recording Time (during Recording, otherwise it will display 00:00:00:00).
Audio Bars
You can turn the Audio Bars on/off for each Channel Viewer.
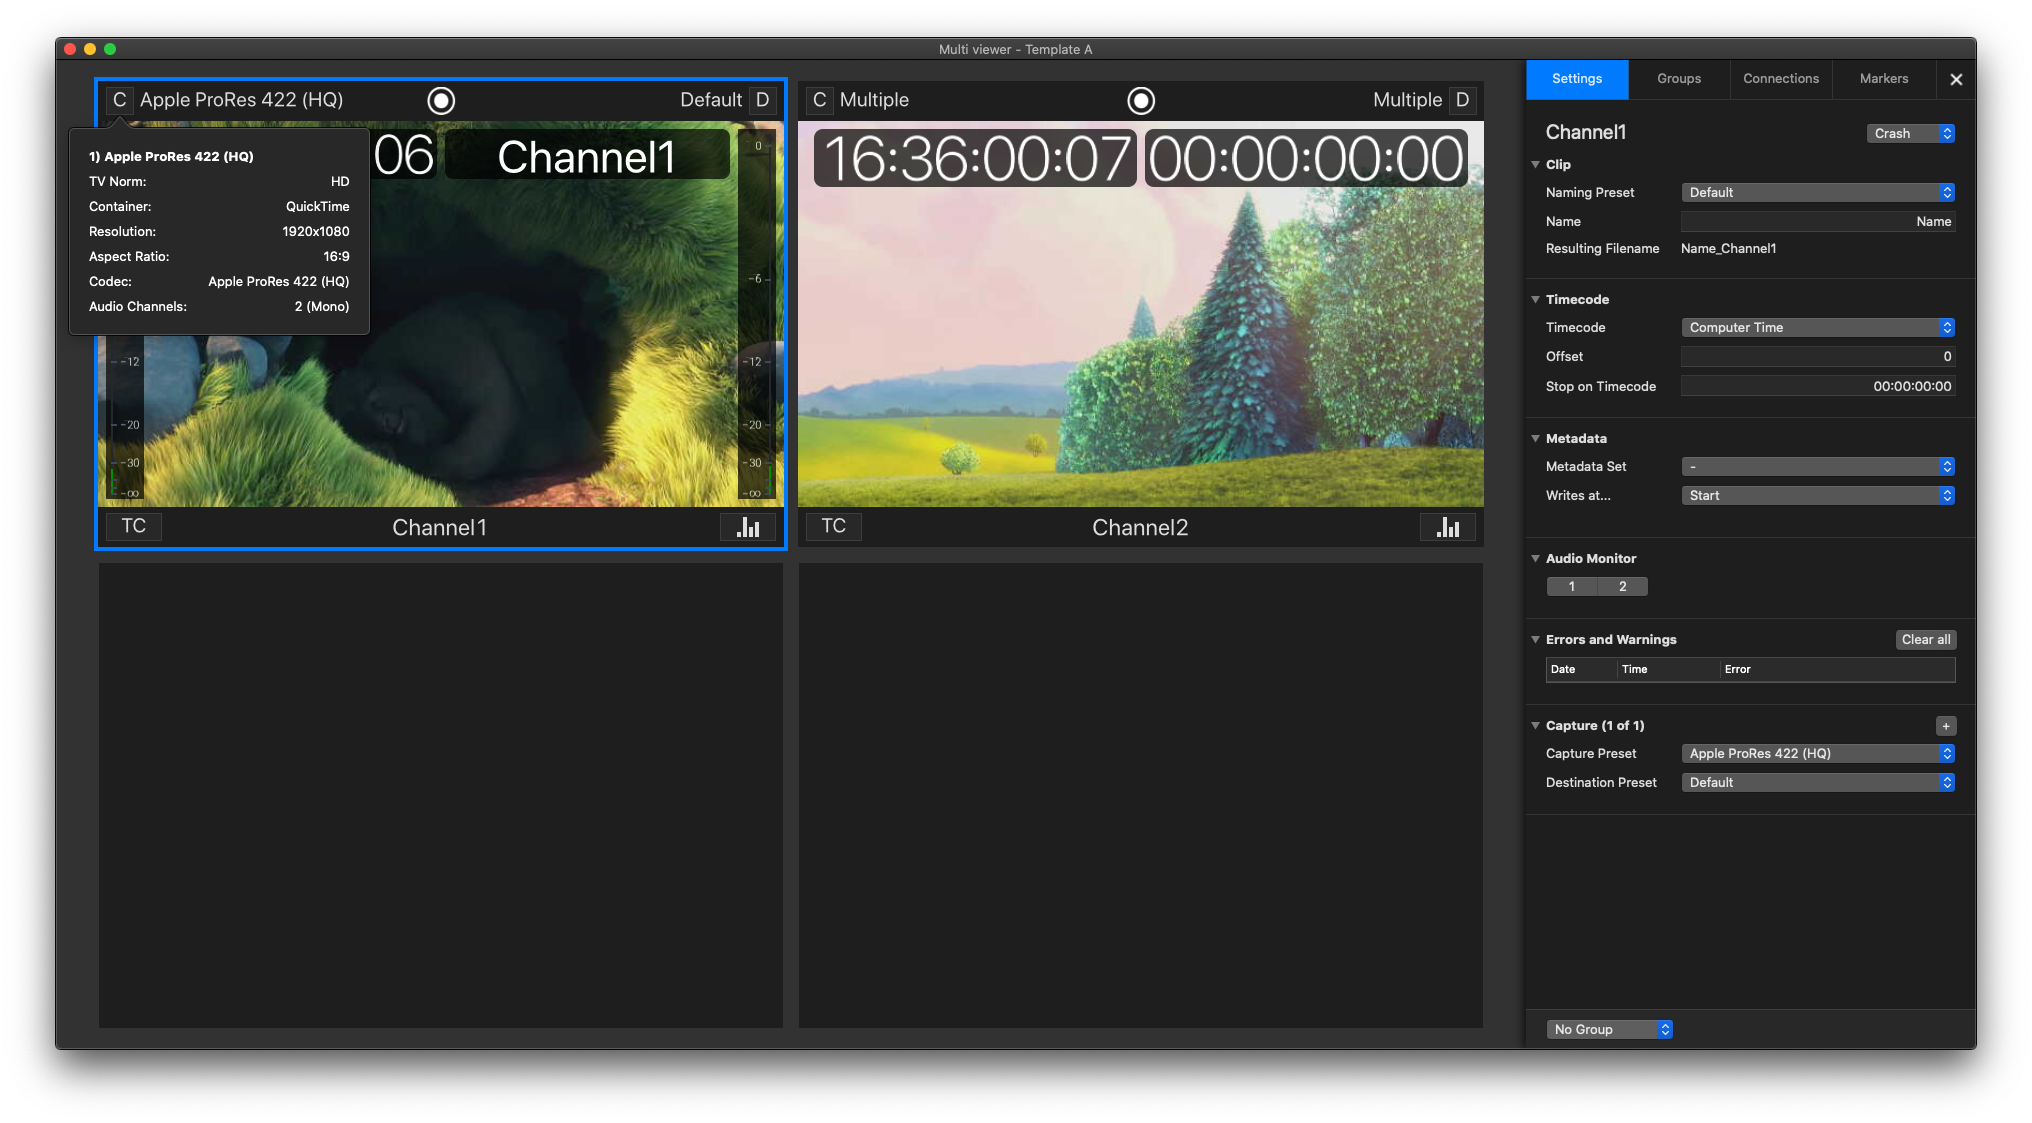
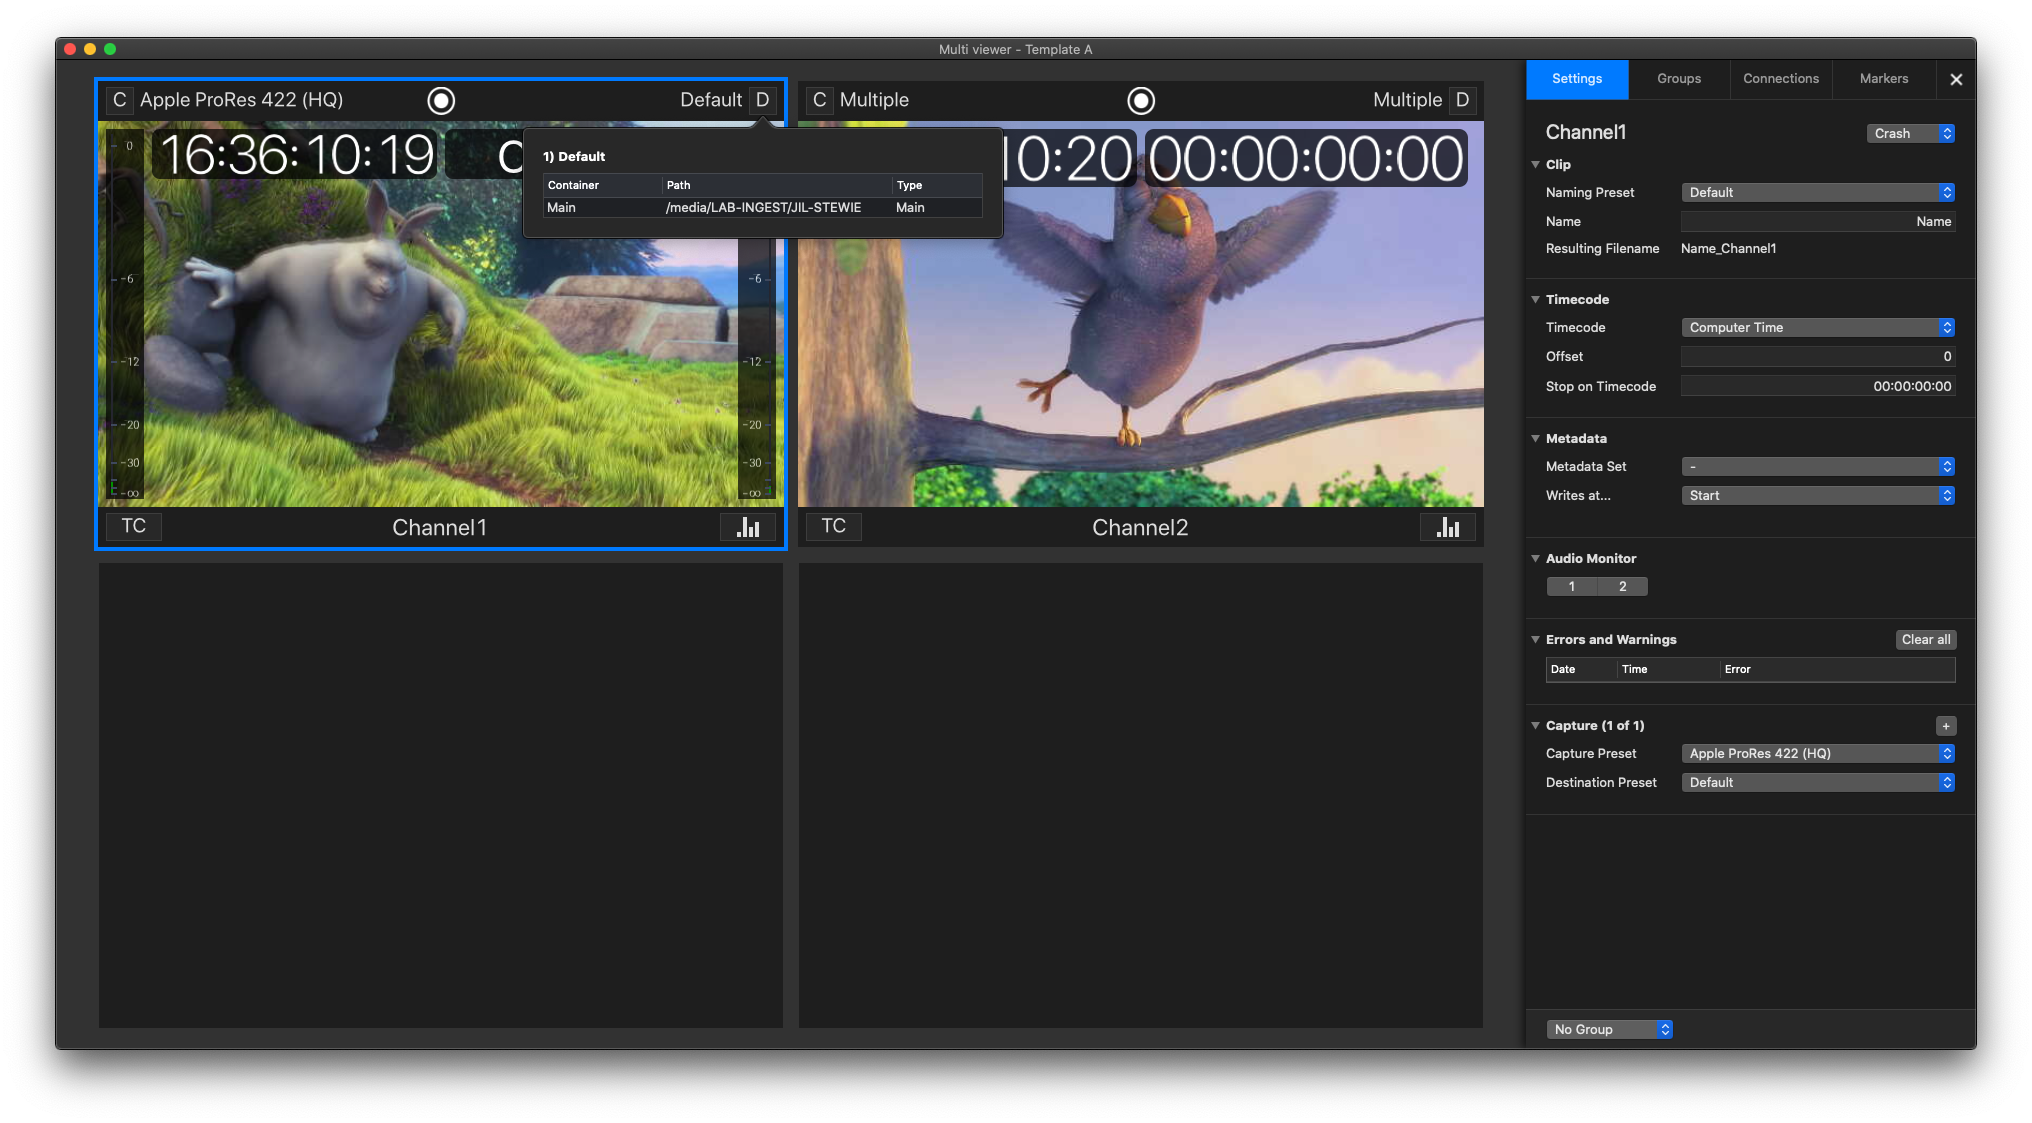
Capture- and Destination-Preset Information - Upper Bar
Once a Capture- and Destination-Preset is selected for a Channel, you can display the details of either preset, by clicking on the C or D icon in the upper bar of the Channel Viewer.
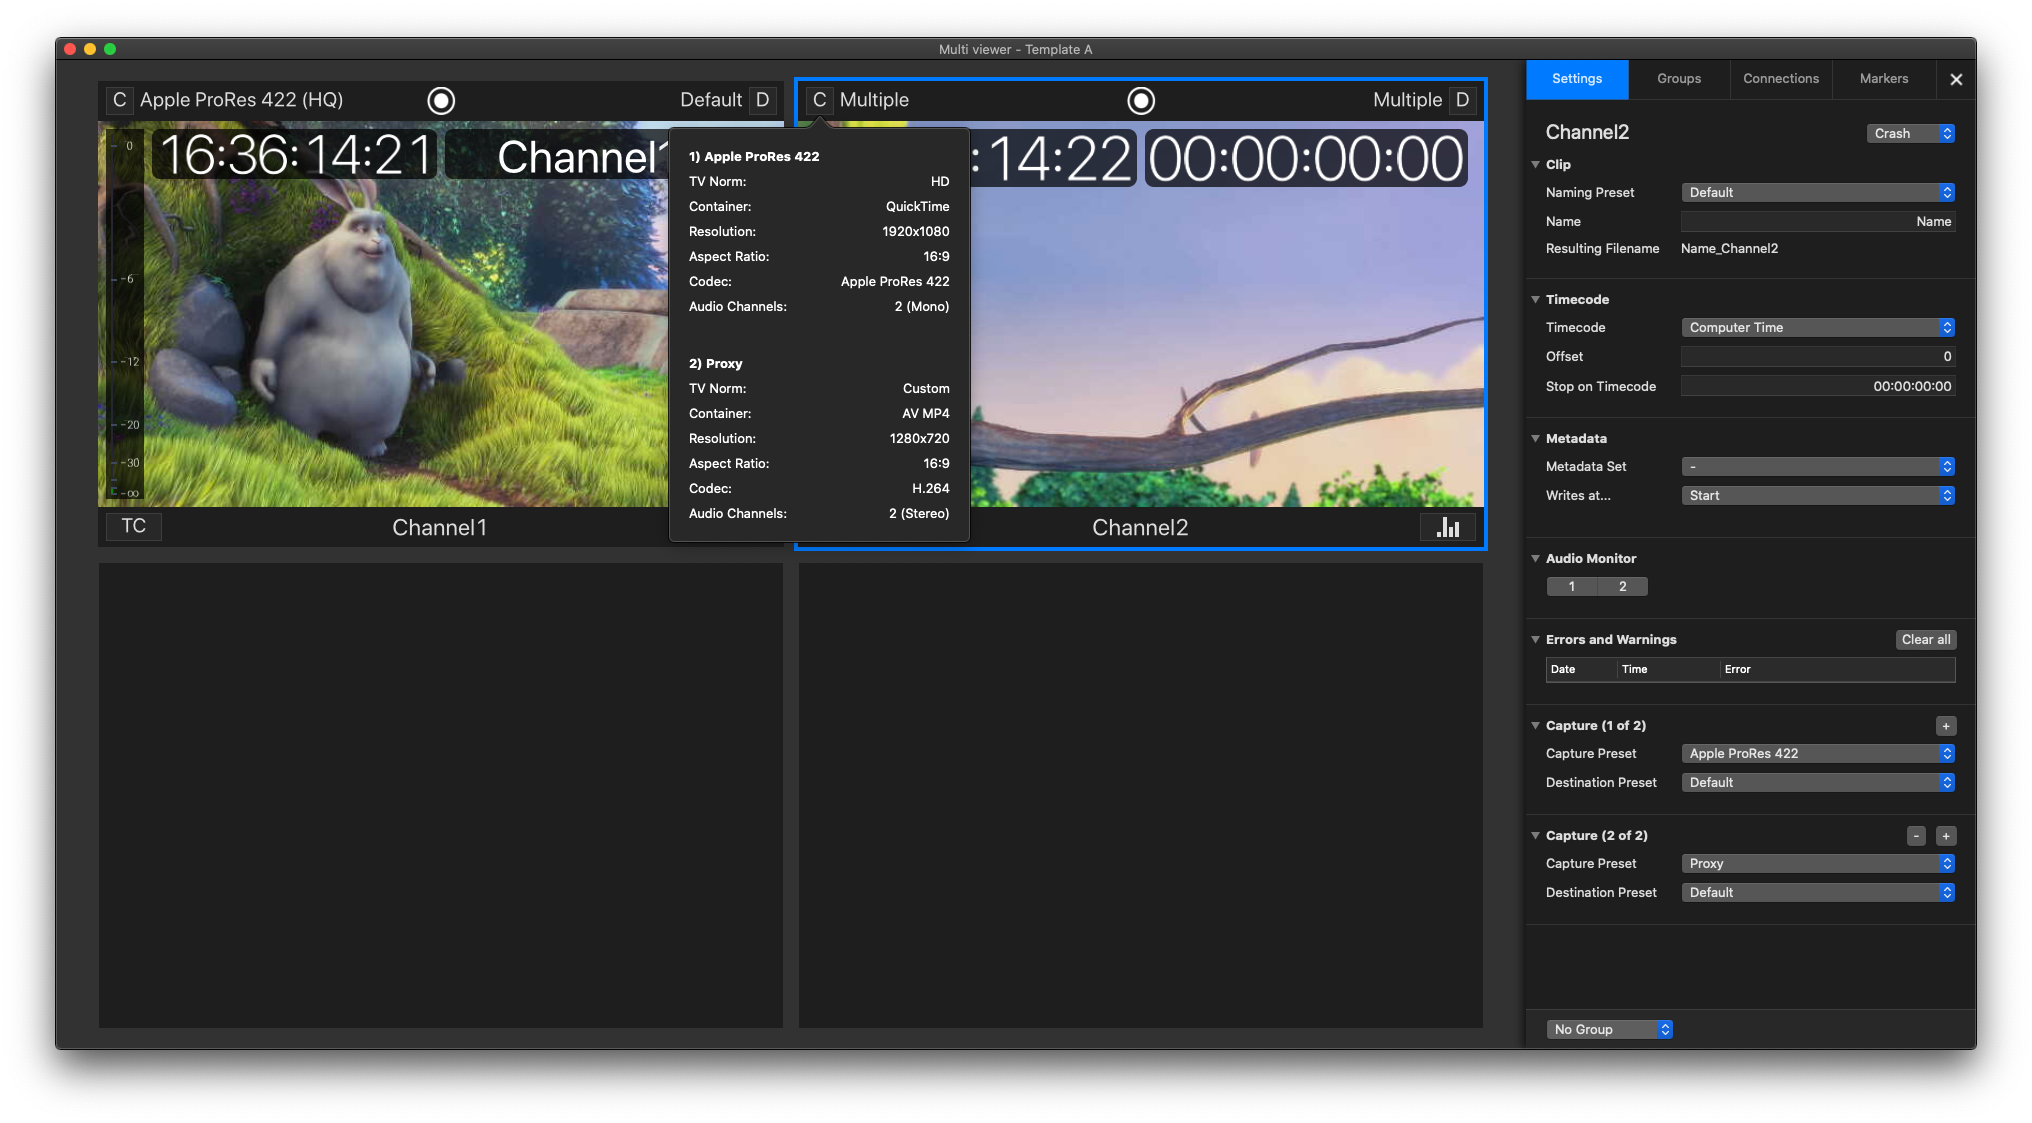
Multiple Capture- and Destination Presets
The same works as well when a Channel has multiple Capture-IDs.
Channel Info Options - Lower Bar
Within the lower bar you can choose between different Channel Info options:
Channel Name (default setting)
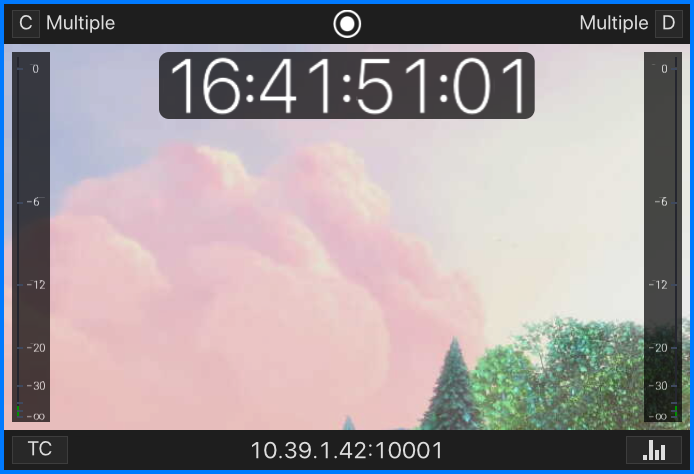
IP and Port
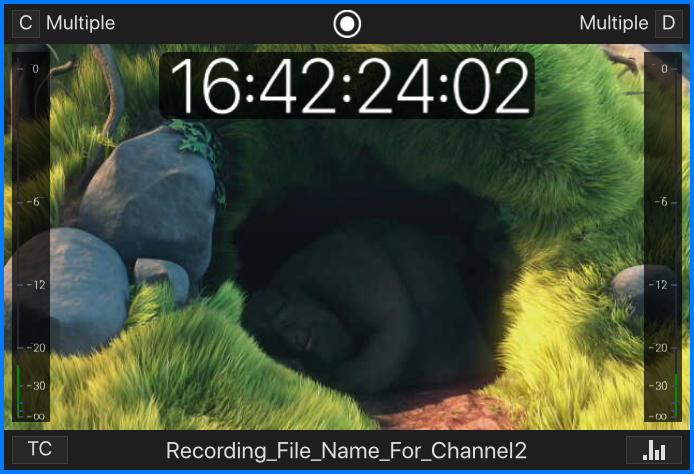
Current Filename
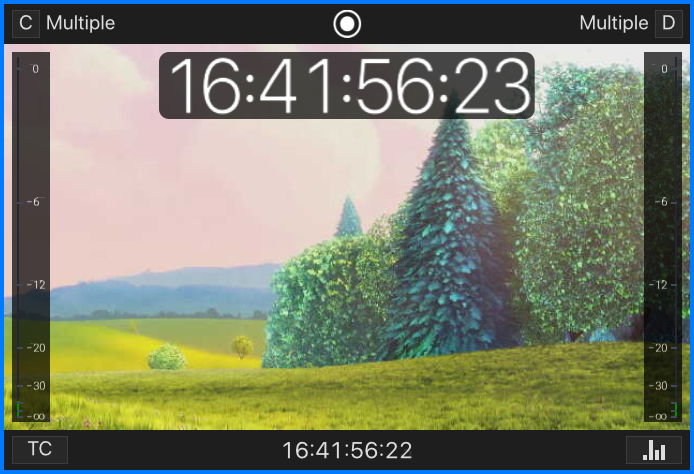
Timecode
Channel Name
Displays the Channel Name.
IP and Port
Displays the IP-Address and Port of this Channel.
Current Filename
Displays the currently defined filename.
Timecode
Displays the current selected Timecode.
Channel Status Overlay
The Channel Viewer Status Overlay either shows that the Channel is in Recording mode or that there is a problem, which needs the attention of the user/operator.
No Overlay
If there is no overlay the Channel is configured properly and is currently in idle mode.
Recording
The recording overlay as well as the red recording borders indicates that the Channel is currently in recording mode.
Recording with Errors
There was a problem during recording. Consult the Error section in the Settings tab of the Inspector or take a look in the Channel log.
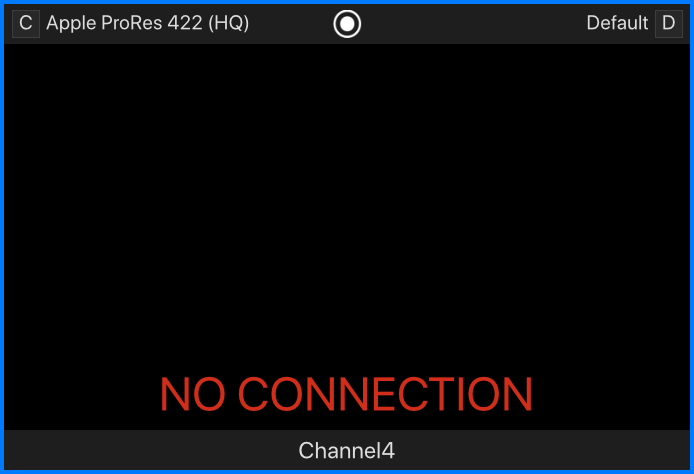
No Connection
A connection could not be established or a connection has not yet been established.
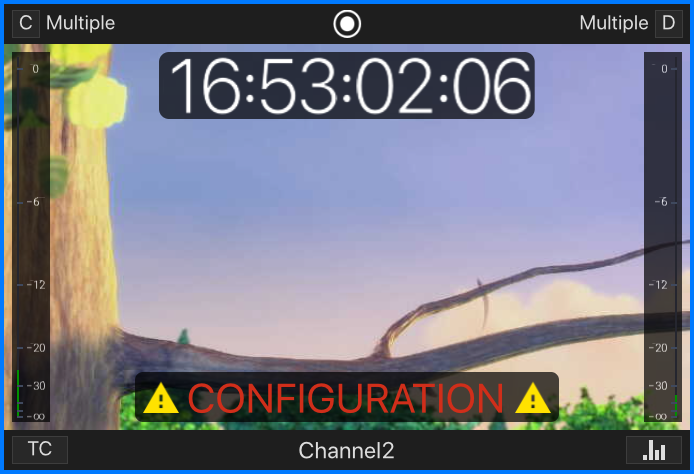
Configuration
This Error Message indicates an invalid Preset configuration.
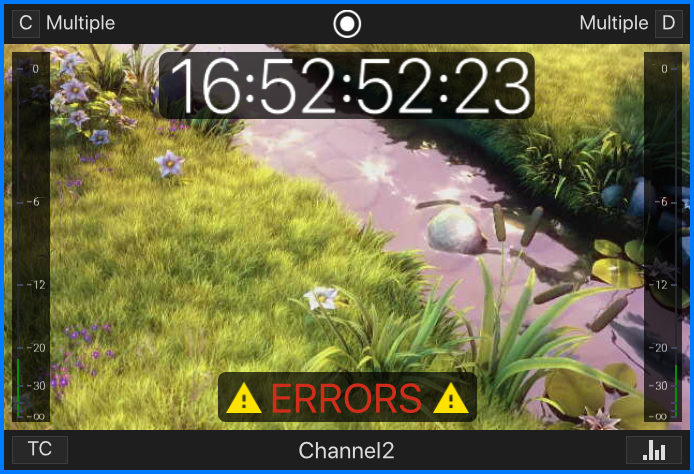
Errors
There was a problem during the last Recording or during the time where the Channel was in Idle Mode. Consult the Error section in the Settings tab of the Inspector or take a look at the channel log.
No Signal
Channel has no or an invalid signal.