
Before proceeding, you must stop the Channel by deactivating the checkbox. Stopping the channel will also stop the Just Play Lite playout engine.
After using the New Channel Wizard, the engine named “Primary” is automatically created and added to all Layers of the Channel, using the settings defined in the Wizard.
Change the engine configuration
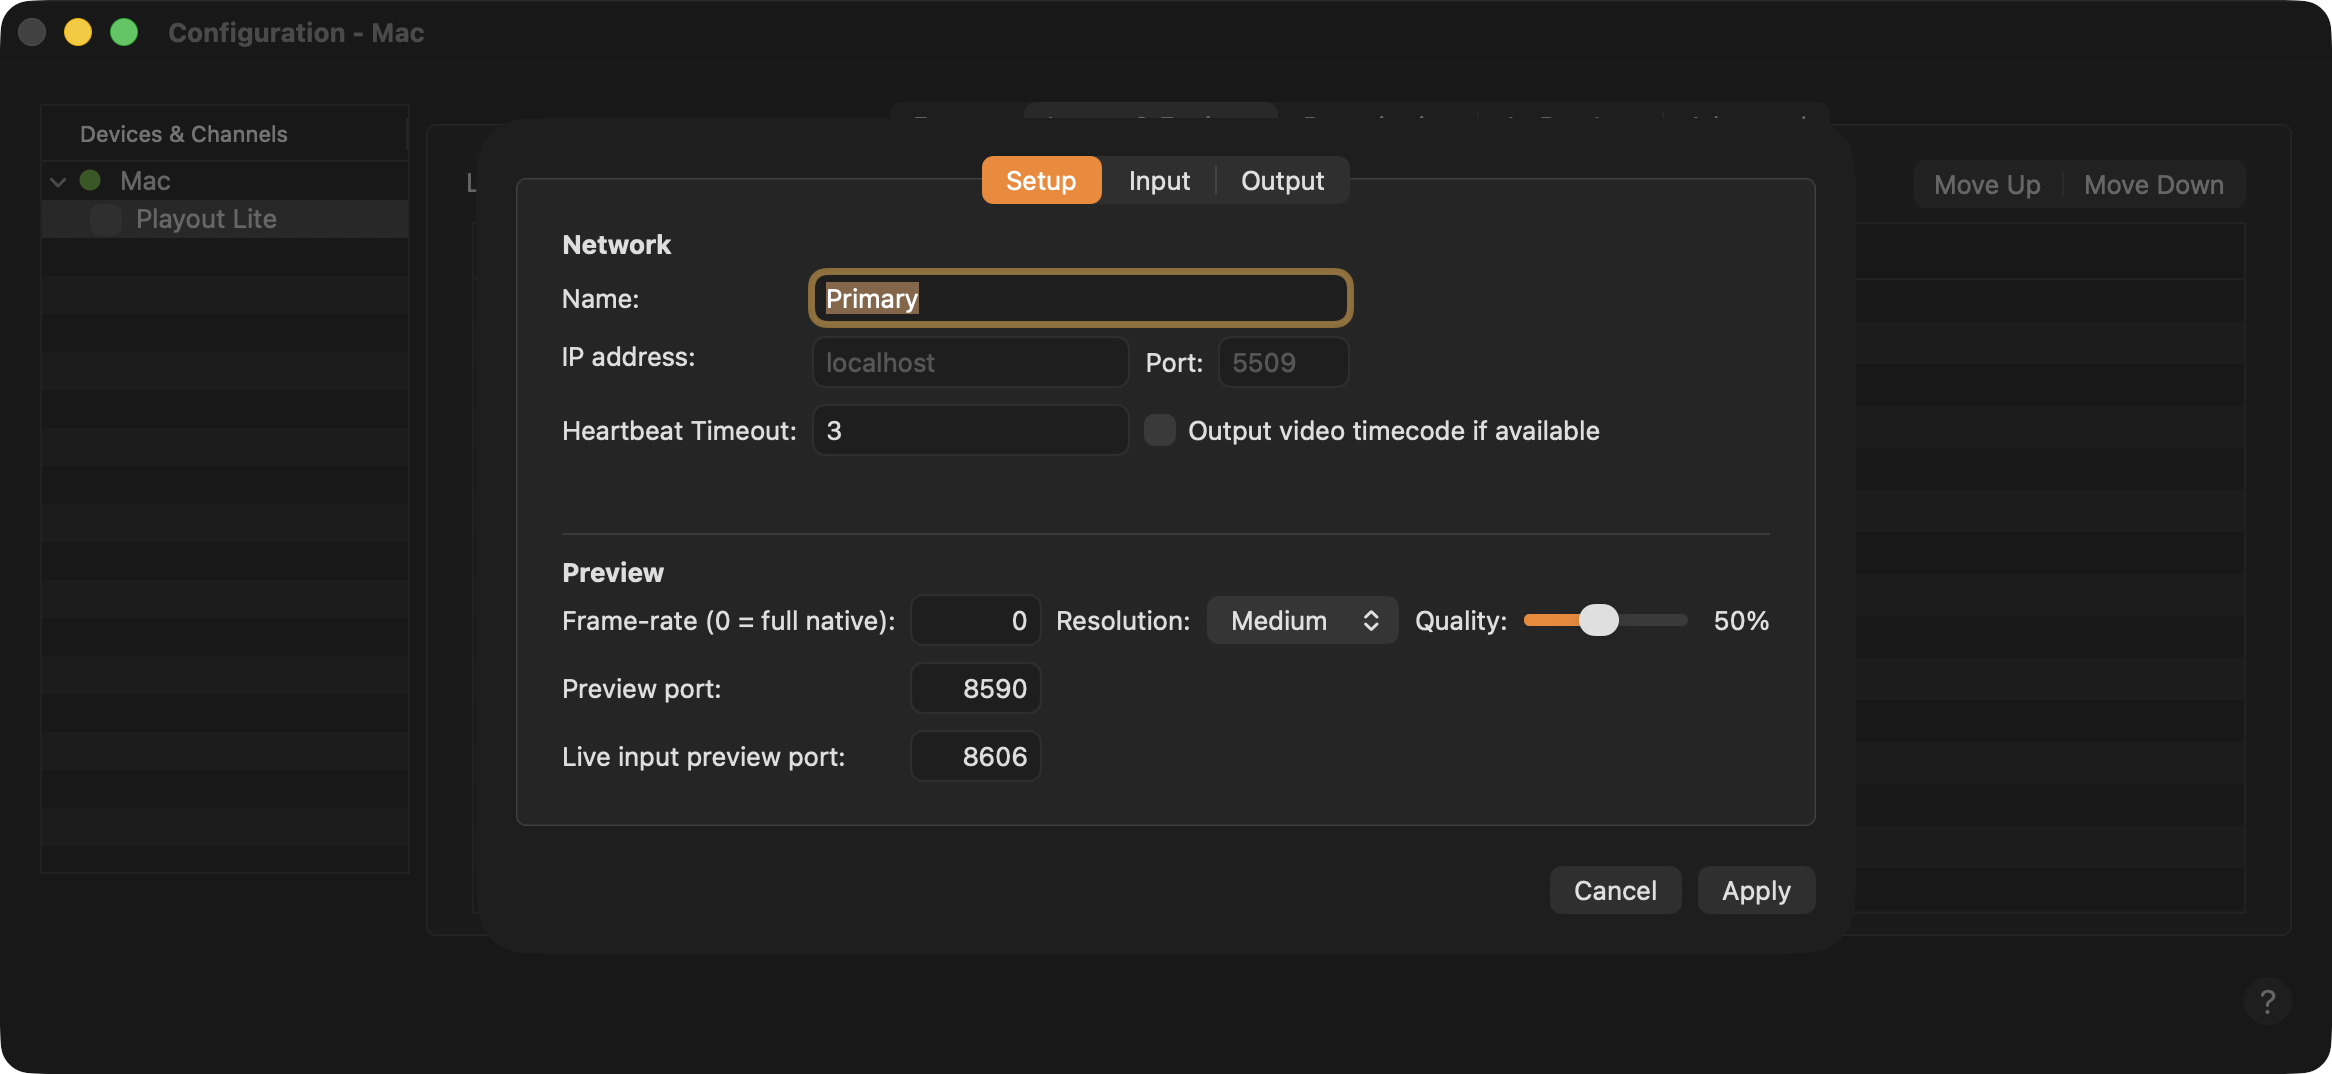
Setup tab
Provides general settings related to the Just Live Lite playout engine.
Name: Allows you to change the name of the engine.
Network: Engine network configuration.
IP address: Shows the IP address of the internal engine.
Port: Port that is used by the internal engine.
Heartbeat Timeout: Defines the number of heartbeats which can be missed, before the engine is defined as stopped. This can be useful in setups, where the heartbeat is missing due to an unreliable network.
Output video timecode if available: By default this is off, but when selected the timecode sent to the SDI output will be the timecode specified by the currently playing video instead of the Channel’s current clock time. This setting also affects the timecode shown in the Just Control user interface, as it shows the engine’s output timecode. When the Just Out engine application is configured to output video timecode and the currently playing video doesn’t have a timecode track, or nothing is playing out, the output timecode shown will be “00:00:00:00” instead of the current Channel timecode.
Preview: Defines the Preview quality shown in the On Air window of the user interface.
Frame-rate: Allows you to specify the number of frames per second for the video Preview. This should never be higher than the native frame rate of the Channel.
Resolution: This defines the number of pixels used for the Preview. Select from one of the available values.
Quality: This defines the amount of compression that is applied to the uncompressed image before it is used for the Preview.
Preview port: Port that is used by the preview of the built-in playout engine.
Live input preview port: Port that is used by the live input preview of the built-in playout engine.
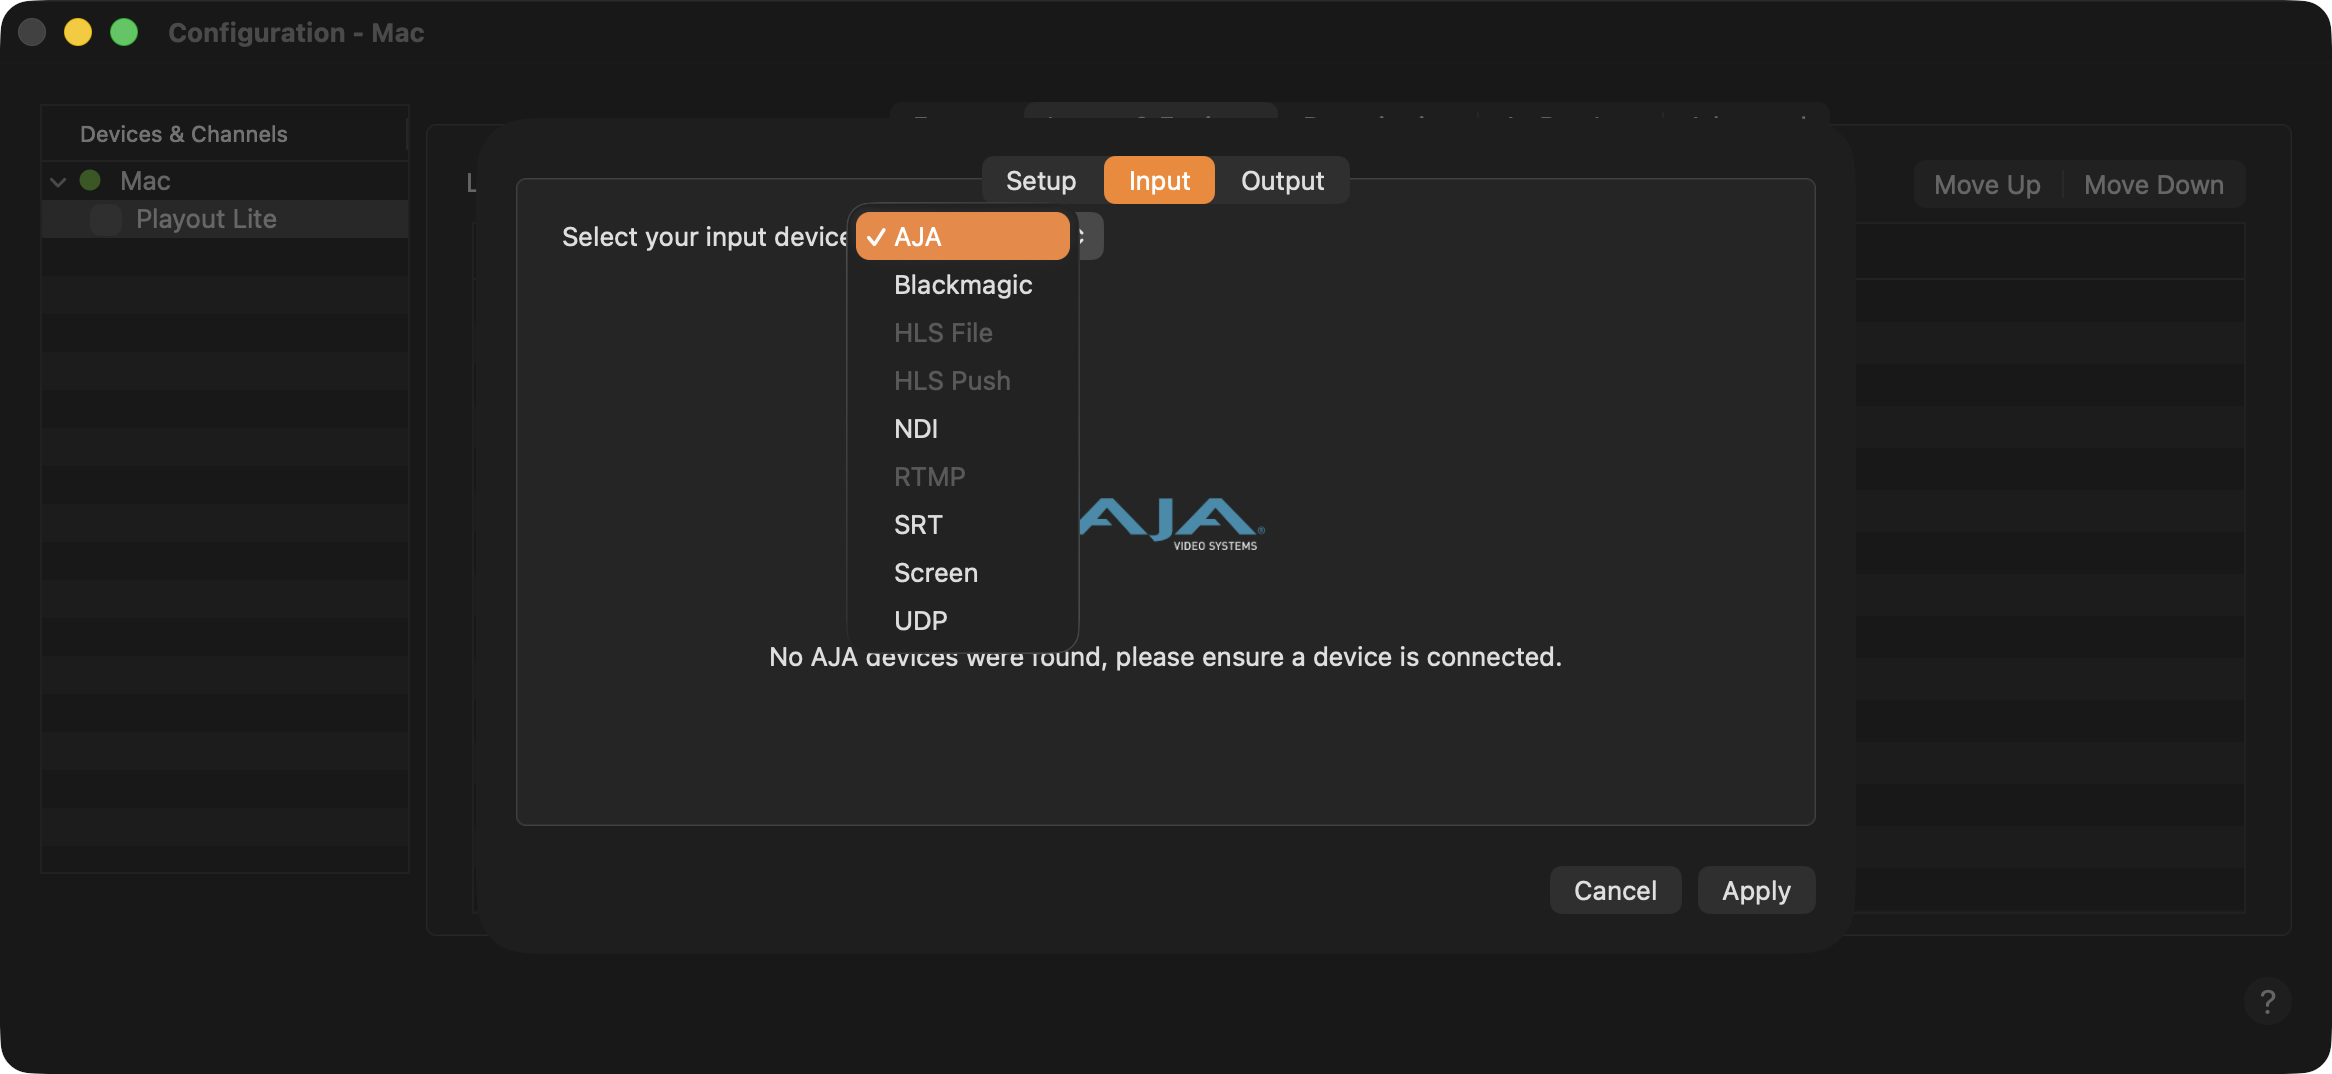
Input tab
AJA/BMD only: In case an AJA/BMD device is connected to the Mac, but is not showing up after selecting AJA or BMD - select “Screen” and activate the checkbox in front of the channel. Open the Configuration window and try it again.
Select your input device:
AJA: In case you have an AJA device installed and you would like to use this device as the live input device.
Blackmagic: In case you have a Blackmagic Design device installed and you would like to use this device as the live input device.
NDI: Selecting NDI lets you receive an NDI® stream as a live input. Which available NDI® stream should be used, can be selected in the Channel tab of the user interface. Additionally, when configuring and channel with NDI live input, there is a new “NDI Timecode Mode” setting in the “Streaming” tab in the engine’s configuration panel with the options “NDI UTC Timestamps” and “SMPTE Timecode”. The former expects frames with standard NDI UTC timestamps, as provided by the majority of NDI devices. The latter expects SMPTE timecode encoded as 100ths of a nanosecond. This may be useful in conjunction with some devices such as the AJA Bridge that take embedded SDI SMPTE timecode and converts it for use with NDI. Which NDI signal is finally used as the live signal can be defined in the Inspector - Channel tab of the dedicated user interface.
SRT: Selecting SRT lets you receive an SRT stream as a live input from the network your machine is connected to.
Screen: Use this if no dedicated video hardware is available as input on this machine.
UDP: Selecting UDP lets you receive a UDP stream as a live input from the network your machine is connected to.
Using SRT or UDP, additional options are available to configure the incoming signals.
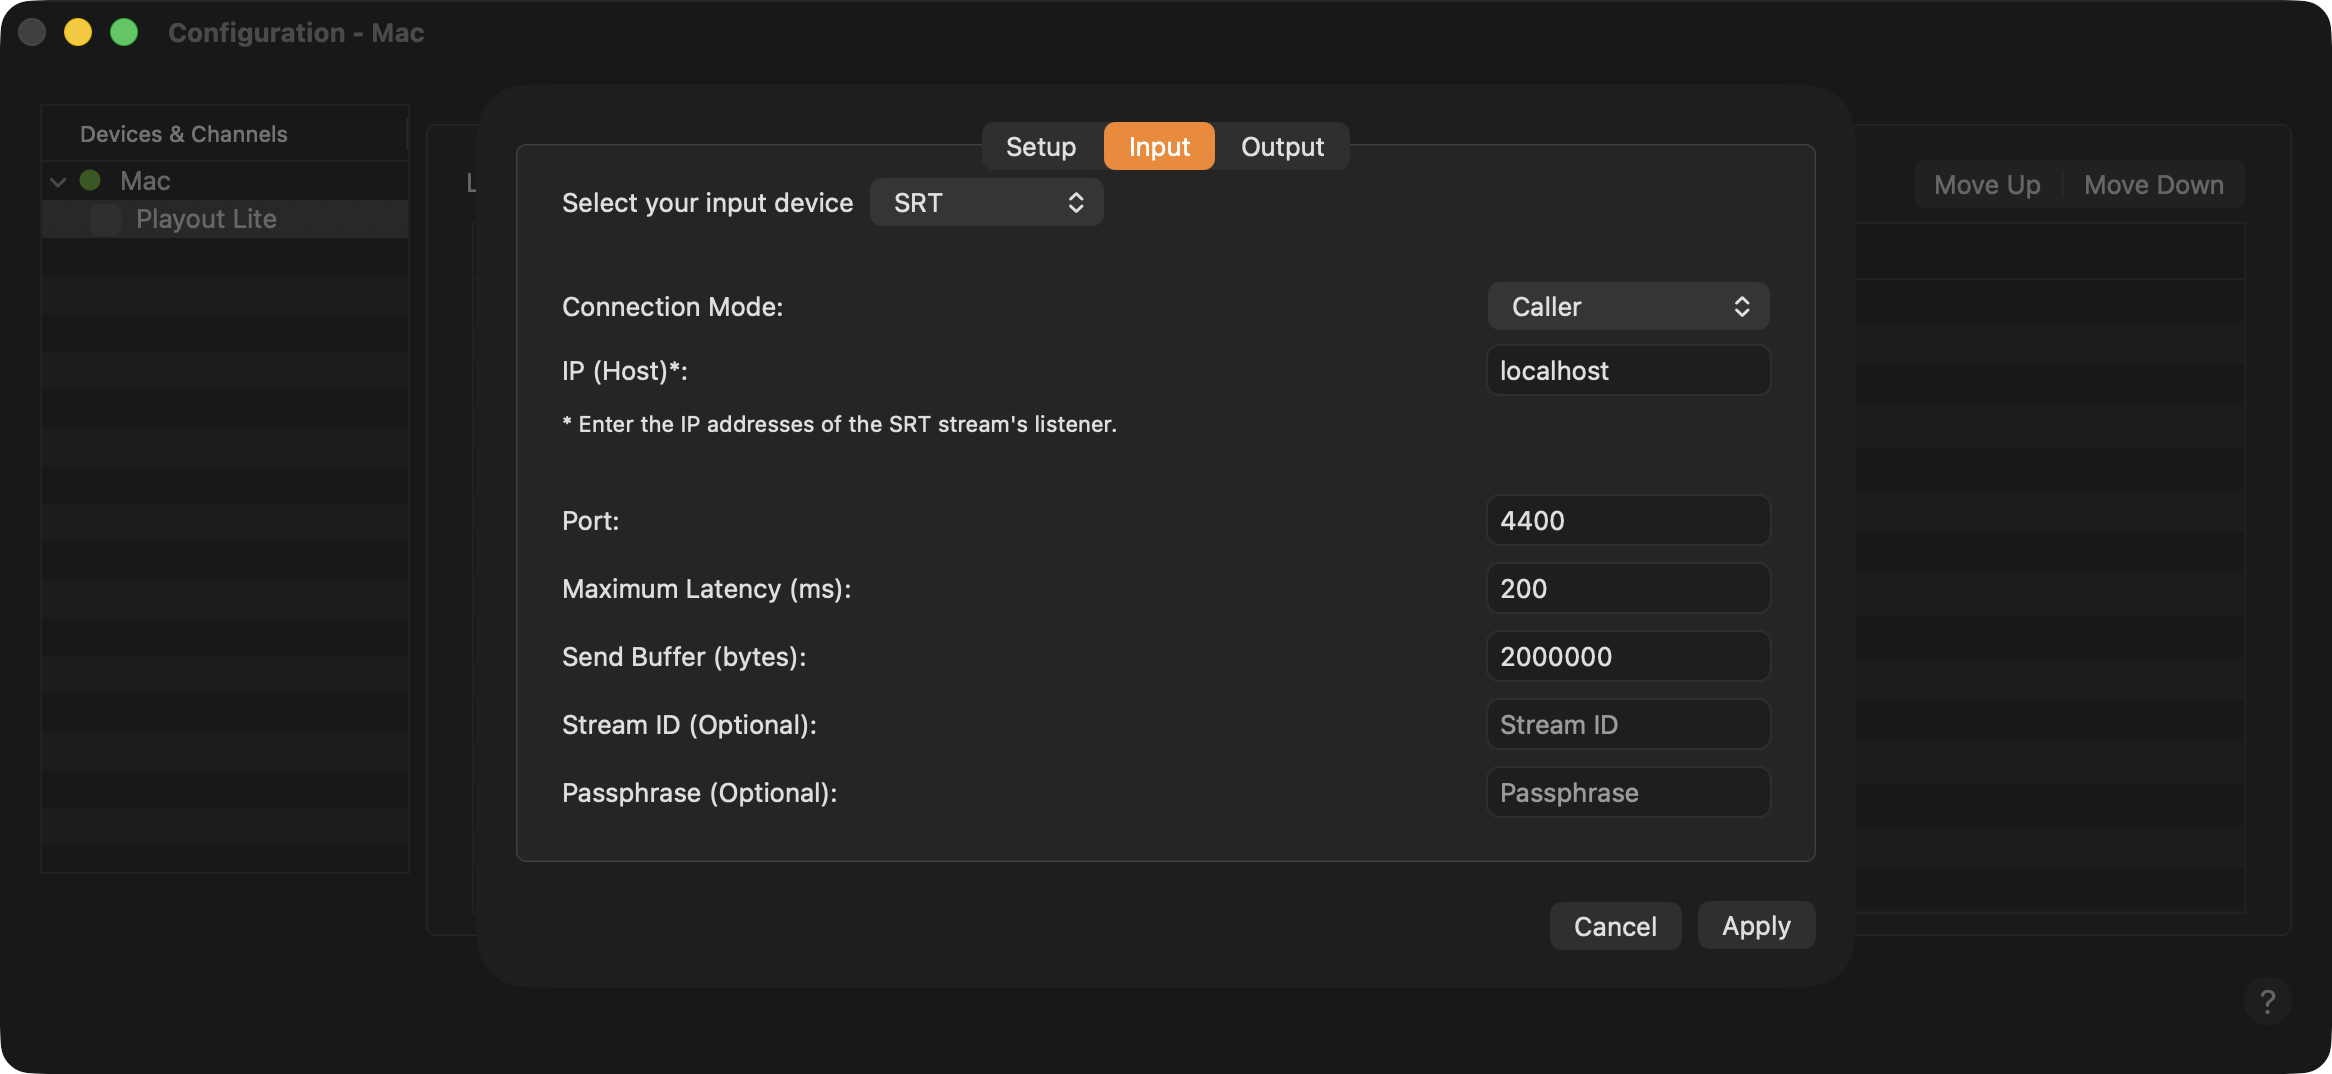 SRT specific live input settings | 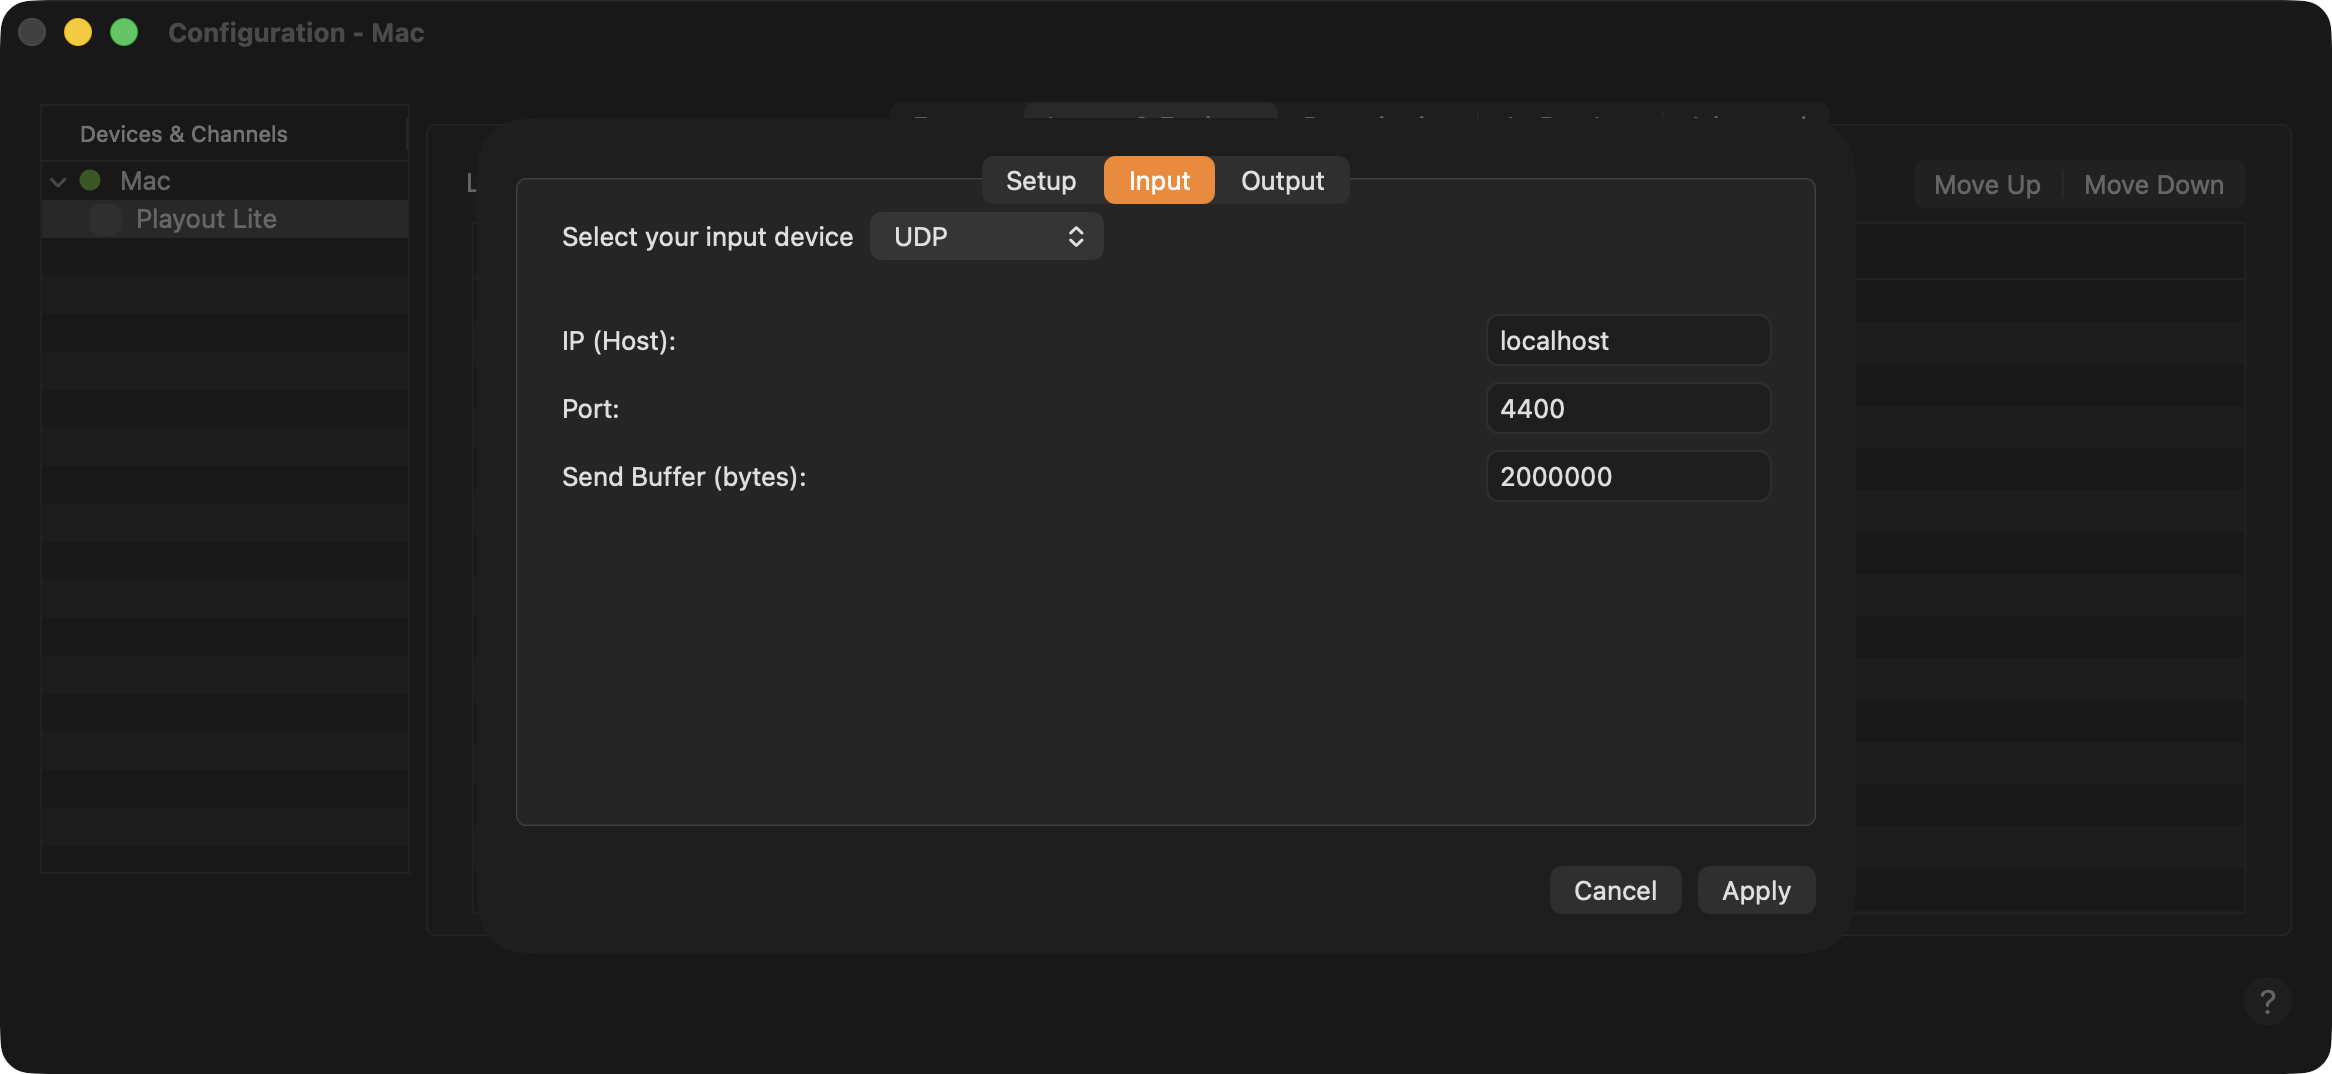 UDP specific live input settings |
|---|
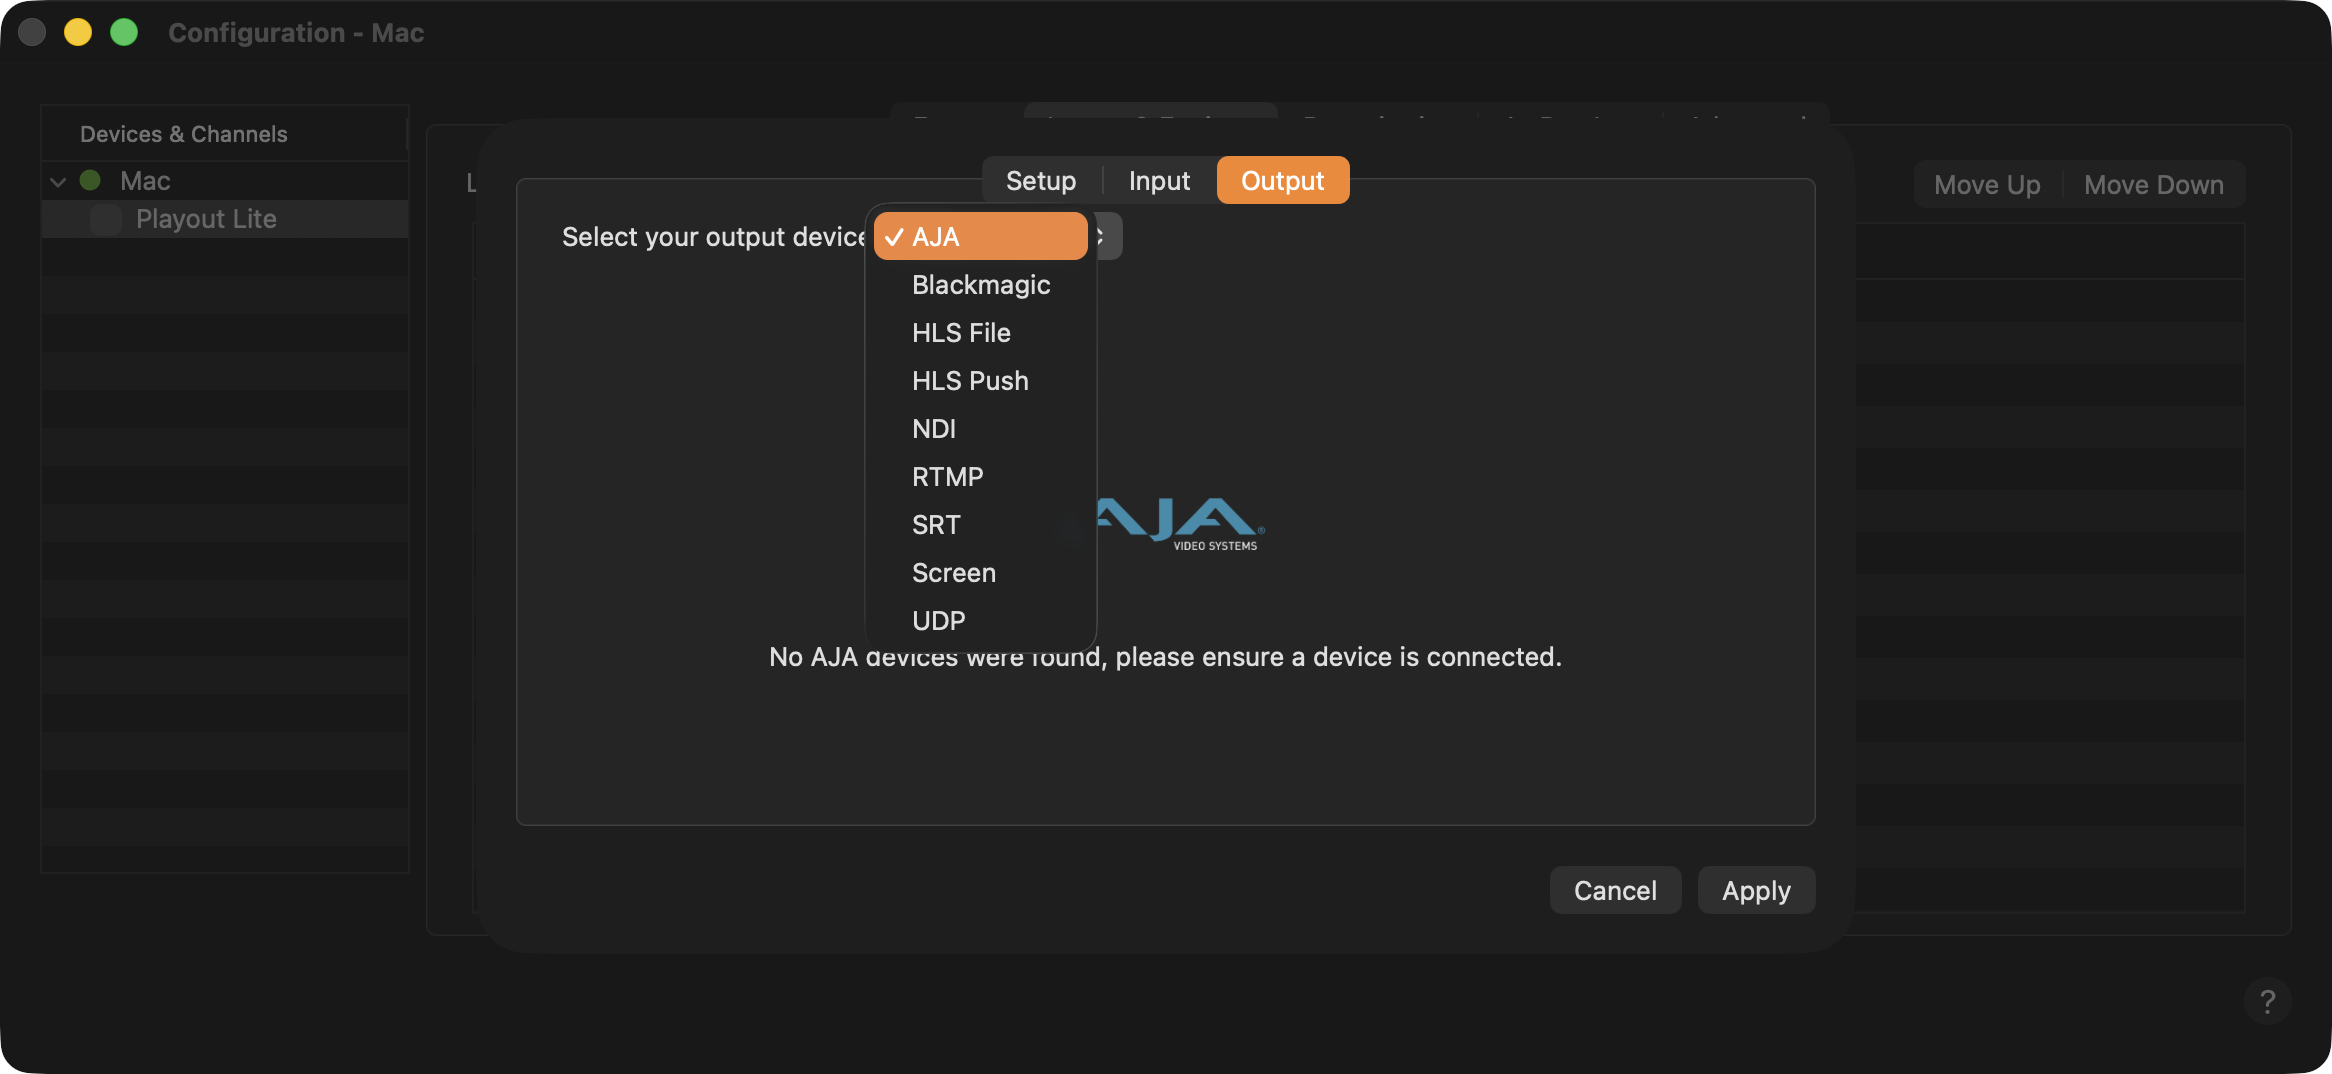
Output tab
AJA/BMD only: In case an AJA/BMD device is connected to the Mac, but is not showing up after selecting AJA or BMD - select “Screen” and activate the checkbox in front of the channel. Open the Configuration window and try it again.
Select your output device:
AJA: In case you have an AJA device installed and you would like to use this device as the output device.
Blackmagic: In case you have a Blackmagic Design device installed and you would like to use this device as the output device.
HLS File: Define a Path, File Name and Segment duration and the final output will be saved as file.
HLS Push: Selecting HLS push allows you to stream to networks like You Tube. Fill out the available options and click on “You Tube” for additional functions.
NDI: Selecting NDI lets you stream the final output as an NDI® signal using the network your machine is connected to.
RTMP: Select RTMP to stream the final output to your streaming server. Fill out the available options and click on “You Tube” for additional functions.
SRT: Selecting SRT lets you stream the final output as an SRT signal using the network your machine is connected to.
Screen: Use this if no dedicated video hardware is available as input on this machine.
UDP: Selecting UDP lets you receive a UDP stream as a live input and stream the final output as a UDP signal using the network your machine is connected to.
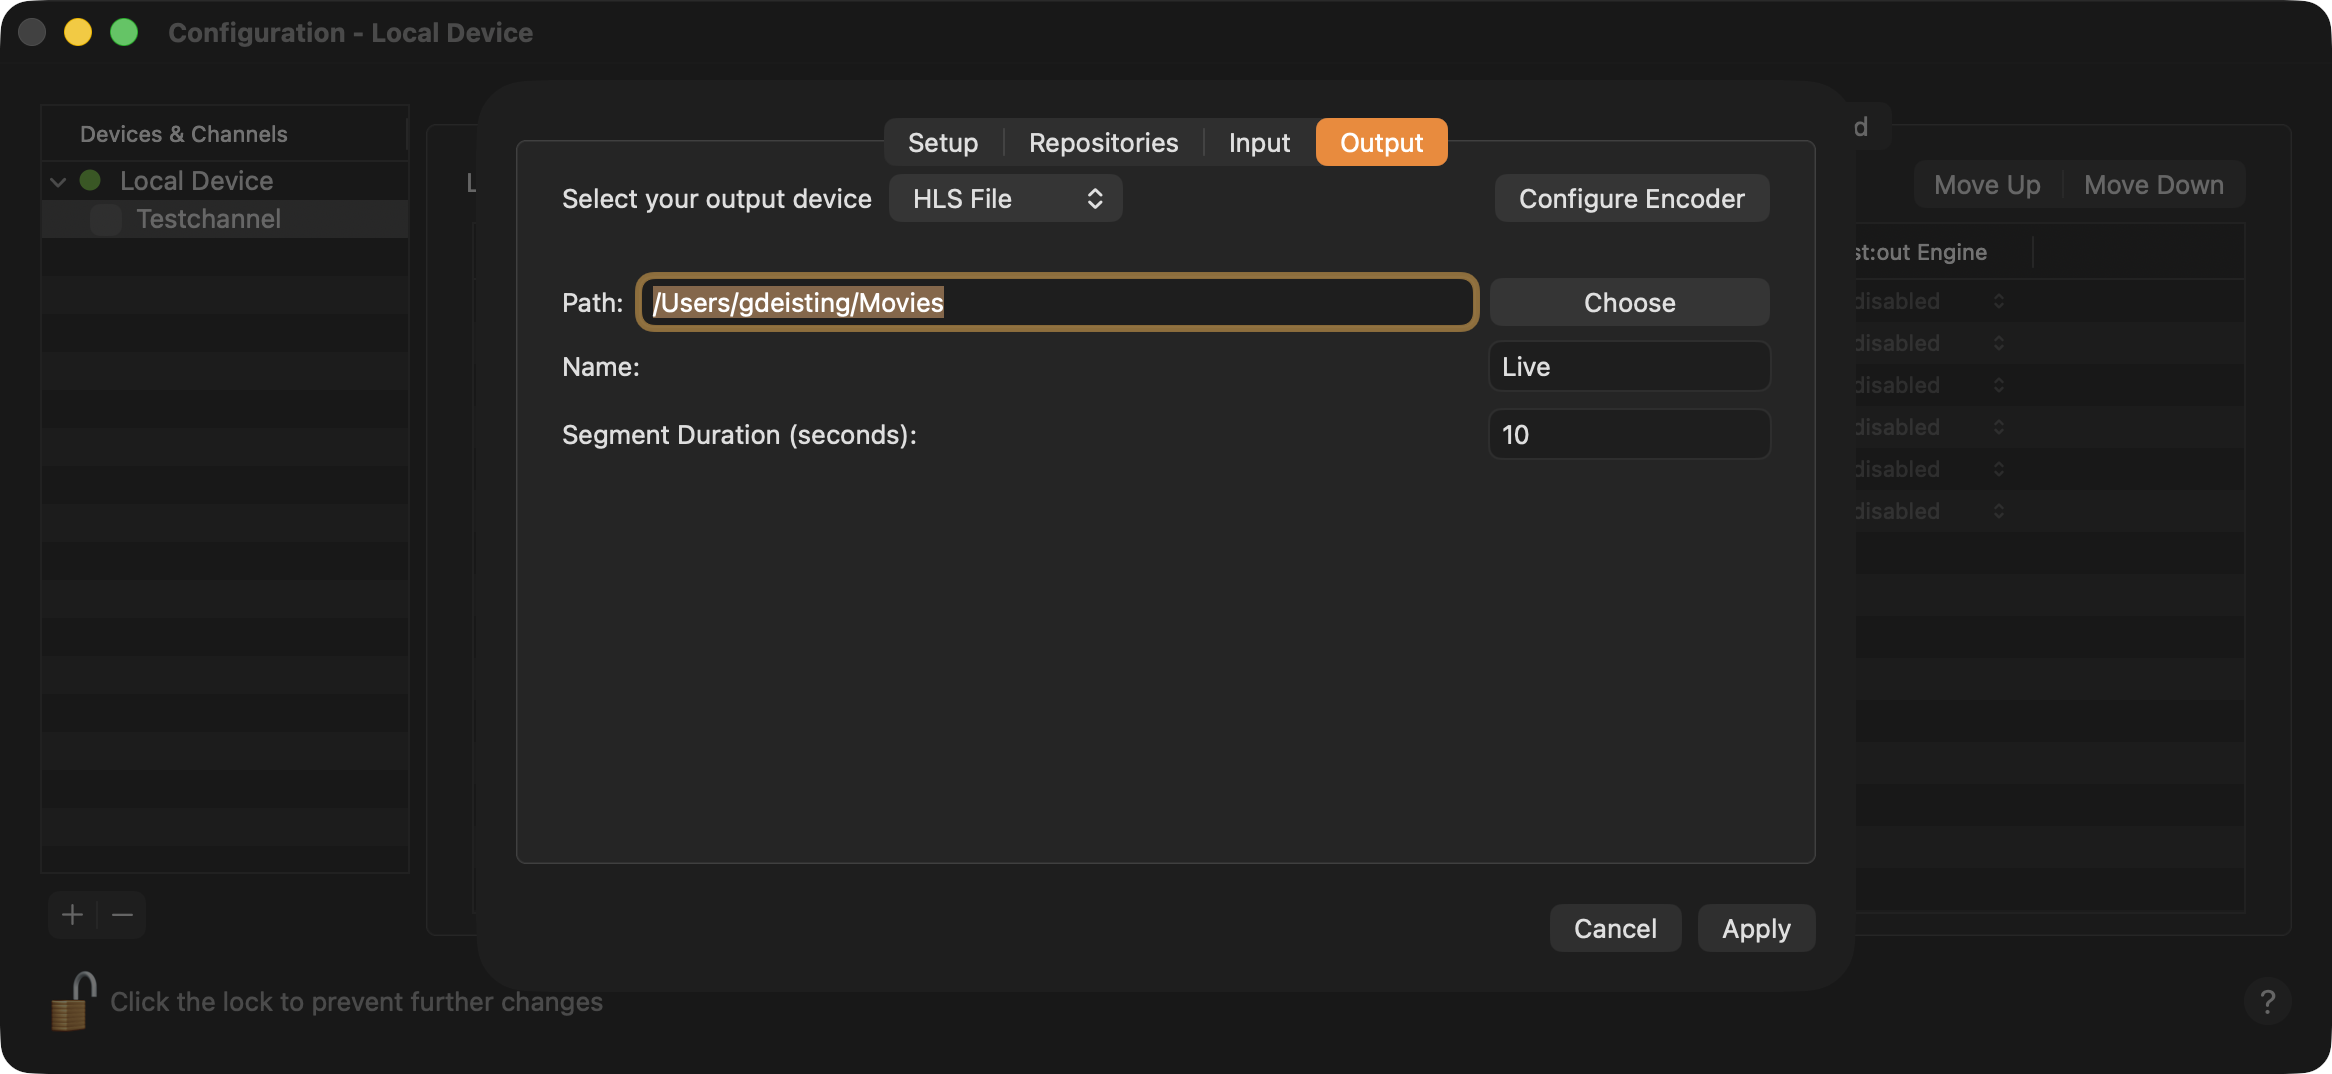 HLS File specific output settings | 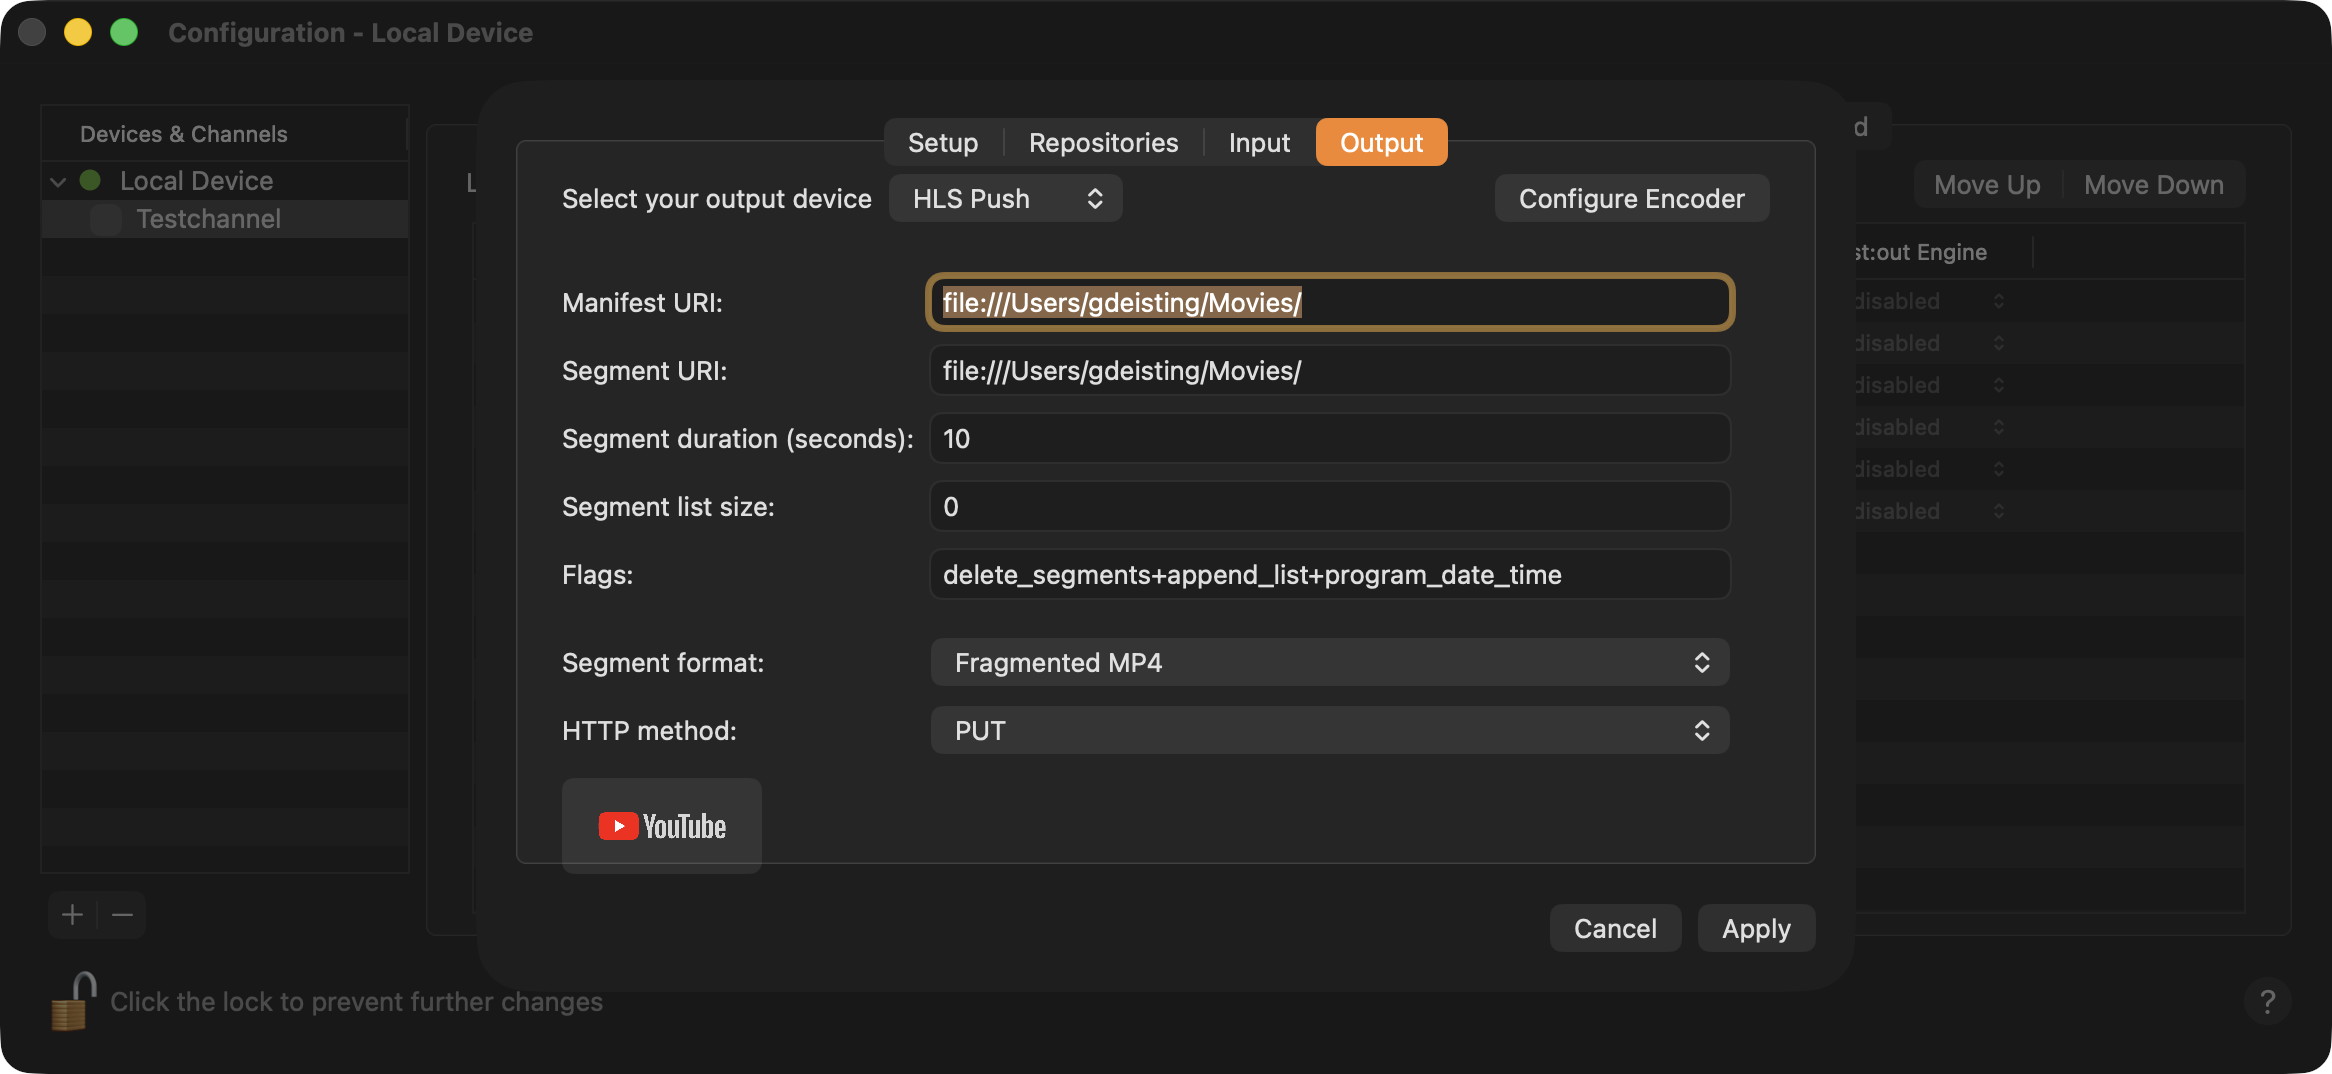 HLS Push specific output settings | 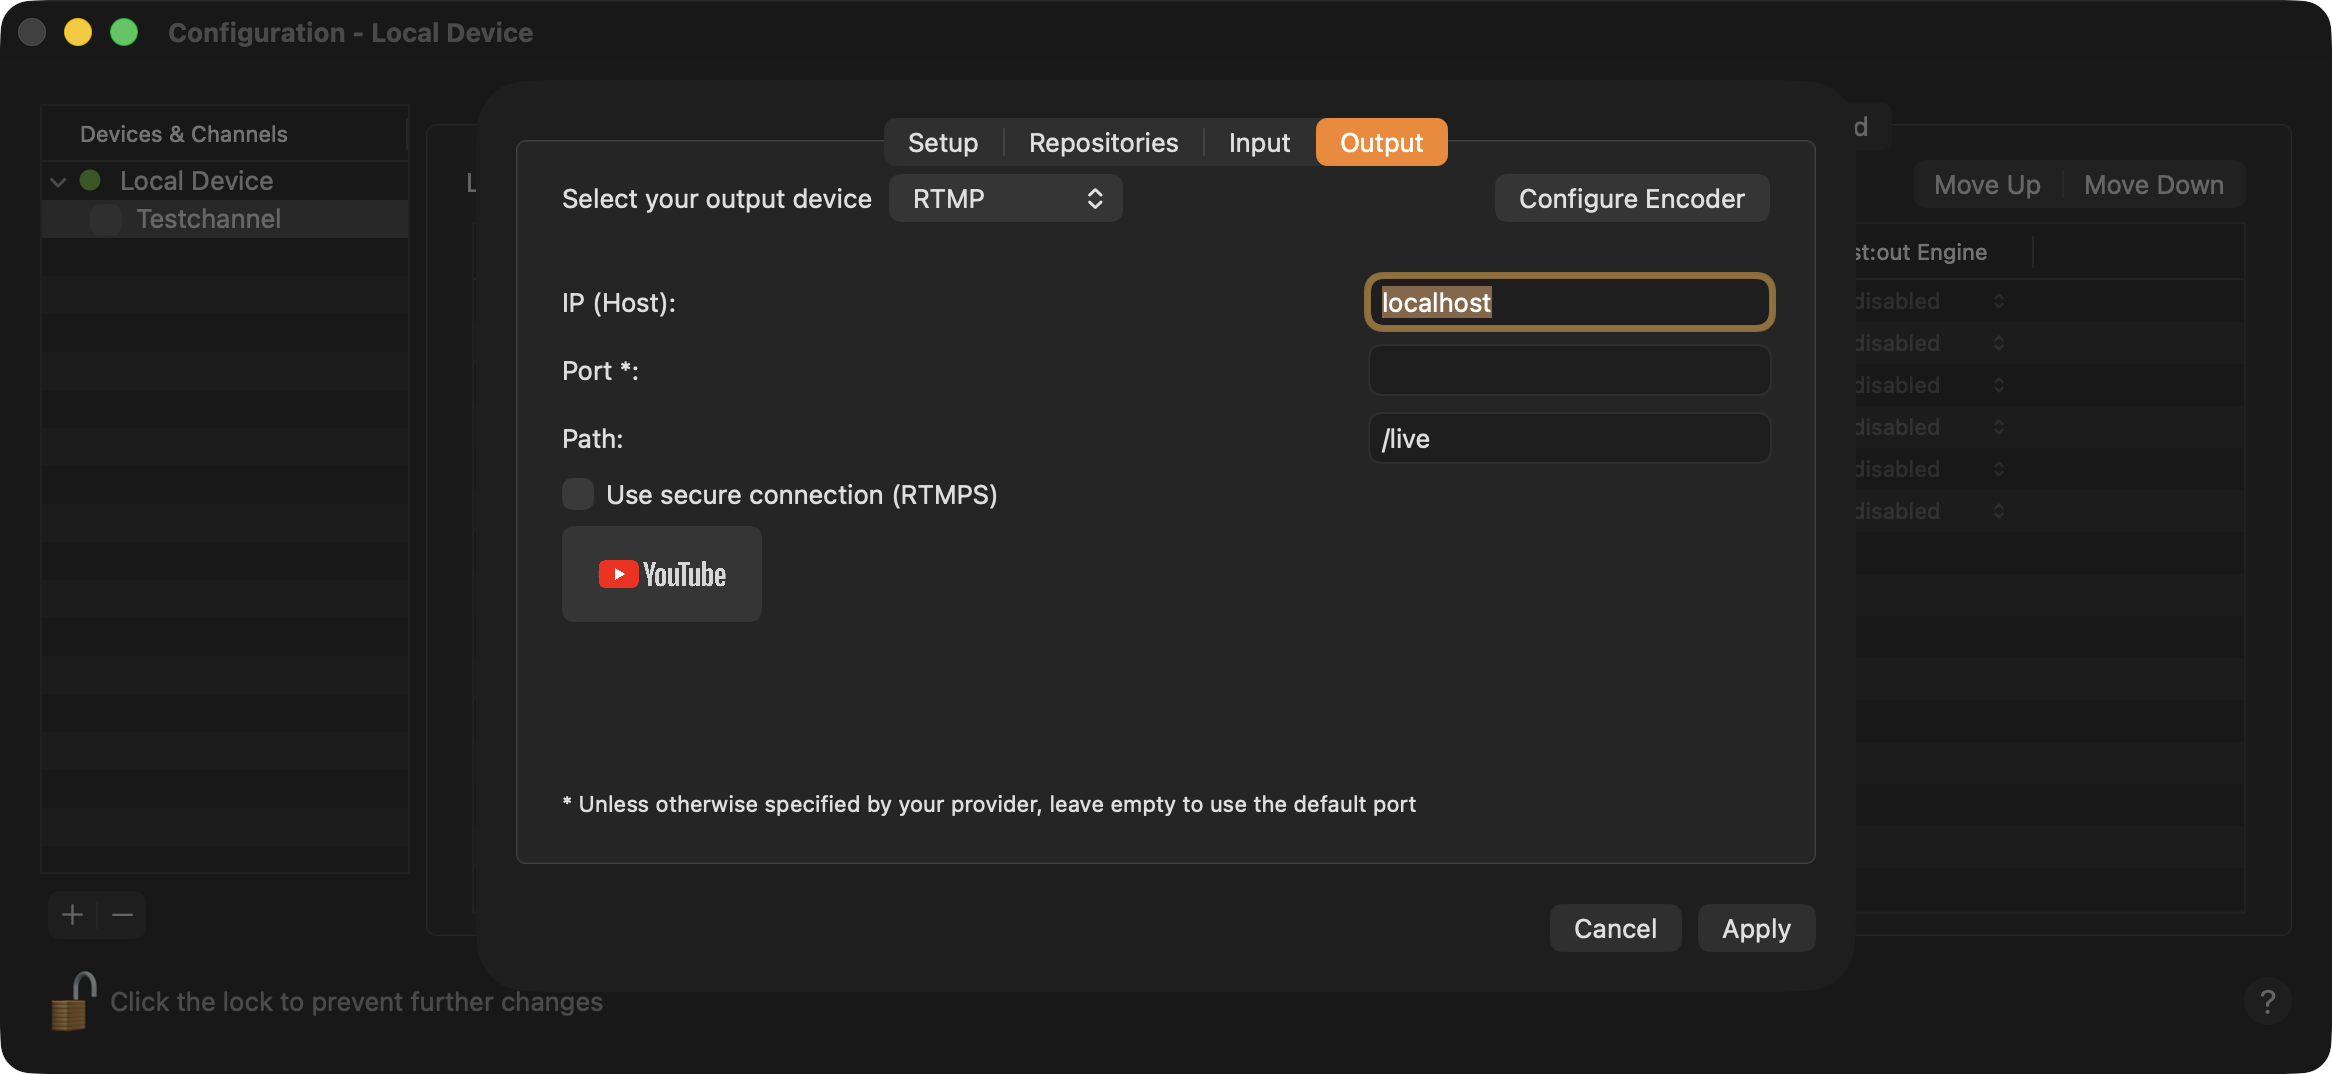 RTMP specific output settings |
|---|
Configure:
Using HLS, RTMP, SRT or UDP, click “Configure Encoder” to change the H264 settings which are used to compress the outgoing stream.
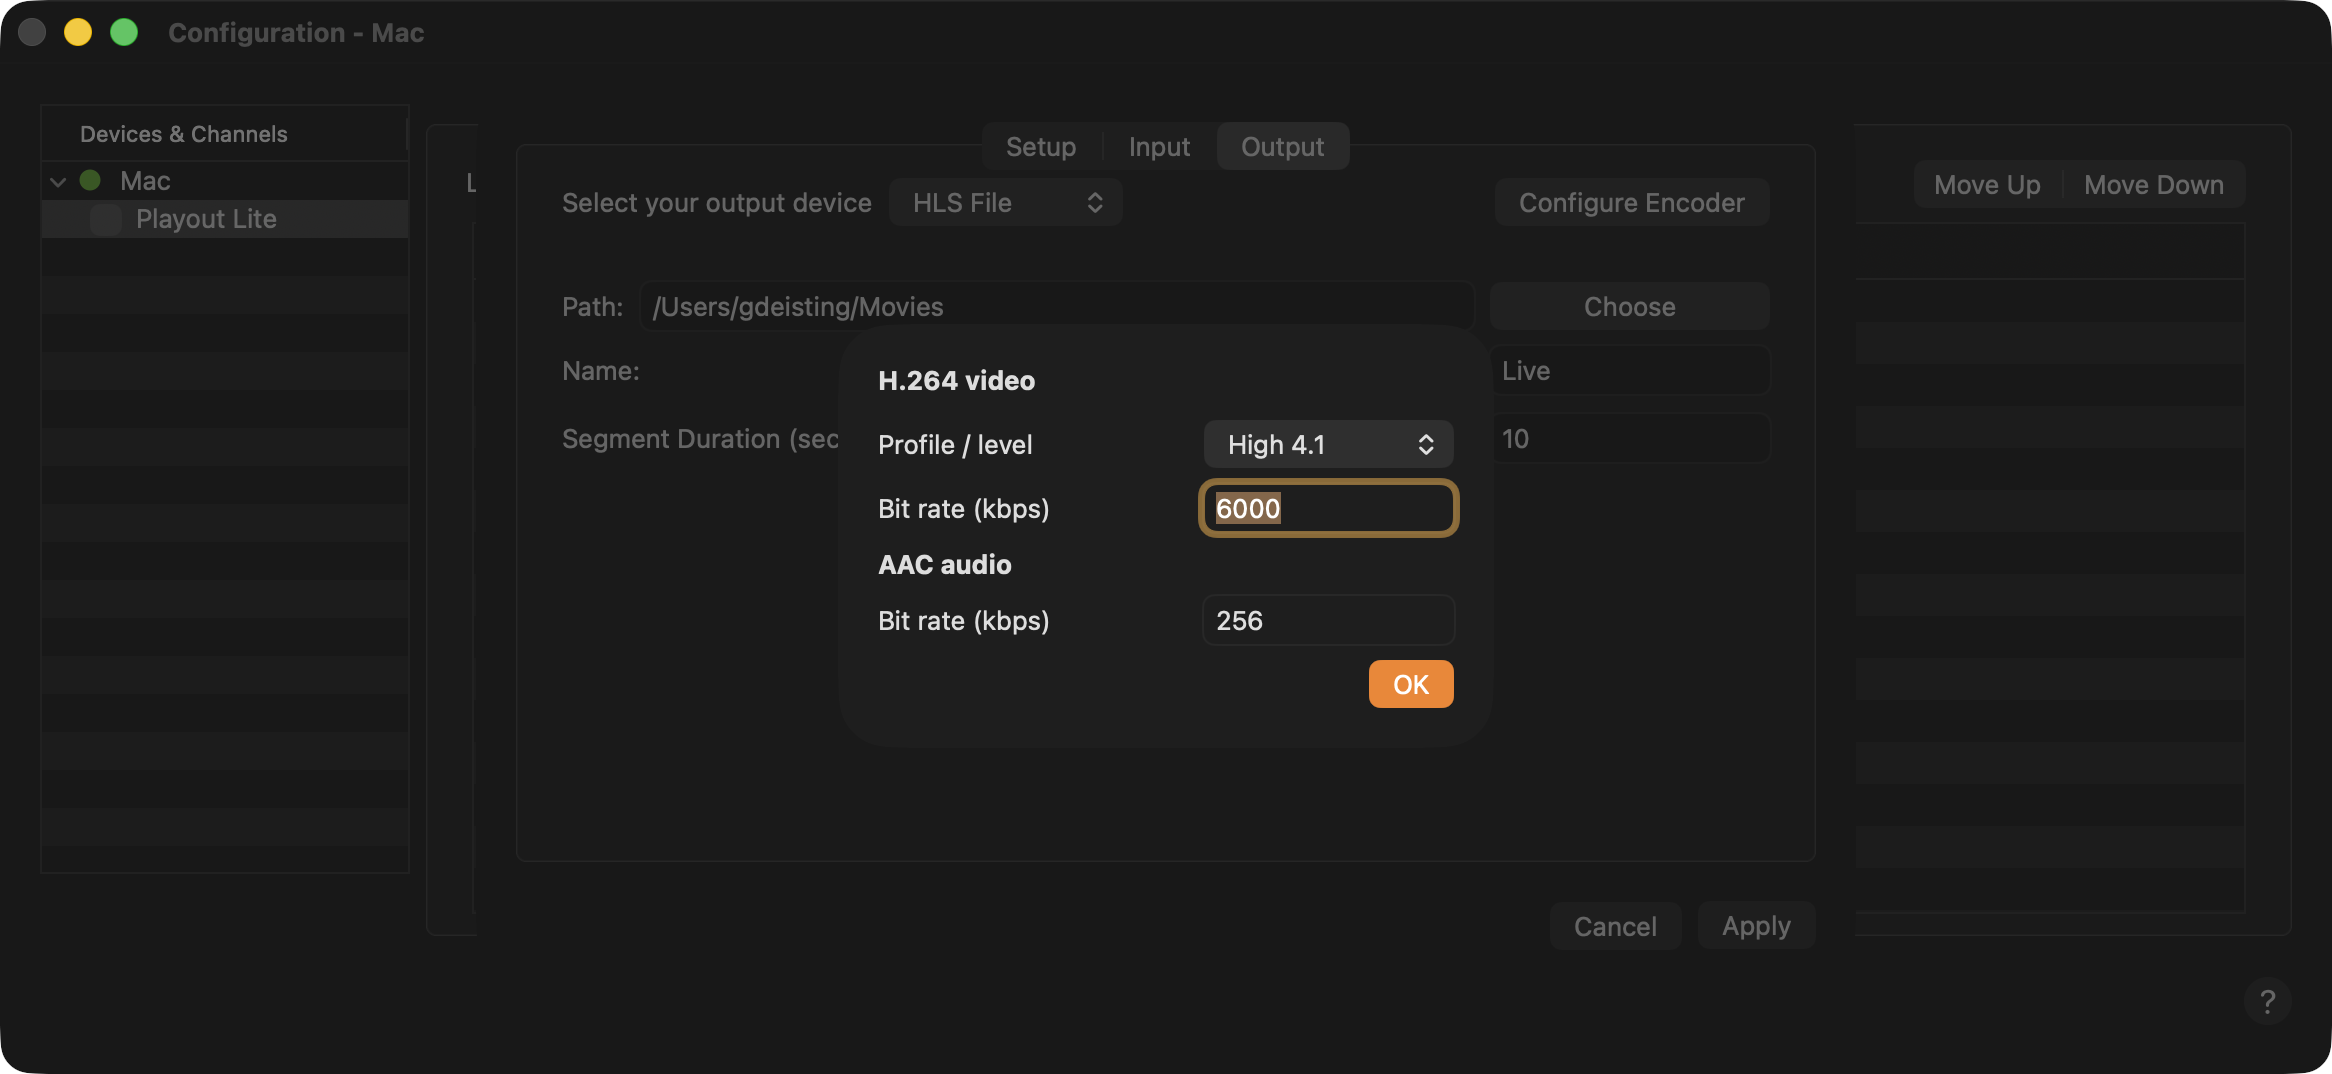
H.264 video:
Profile/level: Select the profile which should be used for the H.264 encoding.
Bit rate: Define the video bit rate, in kbps, the outgoing stream should have.
AAC audio:
Define the audio bit rate, in kbps, the outgoing stream should have.
Apply the new settings:
Click “Apply” and activate the channel to start the just:out engine, to take over the new settings.