
Adding additional Video or FX layers is only available as a licensable option in the Playout PRO 2026 edition. The Just Play Lite NDI application is designed for playout use with one video and one FX layer. If you need additional layers, please contact sales for a cross grade offer to the Playout PRO 2026 edition.
Before proceeding, you must stop the Channel by deactivating the checkbox. Stopping the channel will also stop the playout.
Adding an Audio Layer
You can add additional Audio Layers to an already existing Channel . This is primarily useful during testing to find out how many Layers are needed finally.
Stop the Channel by deactivating the checkbox in front of it. Stopping a Channel will also stop the playout engine and therefore the final output.
Select the Channel in the Devices & Channels list.
Click on the Layers & Engines tab.
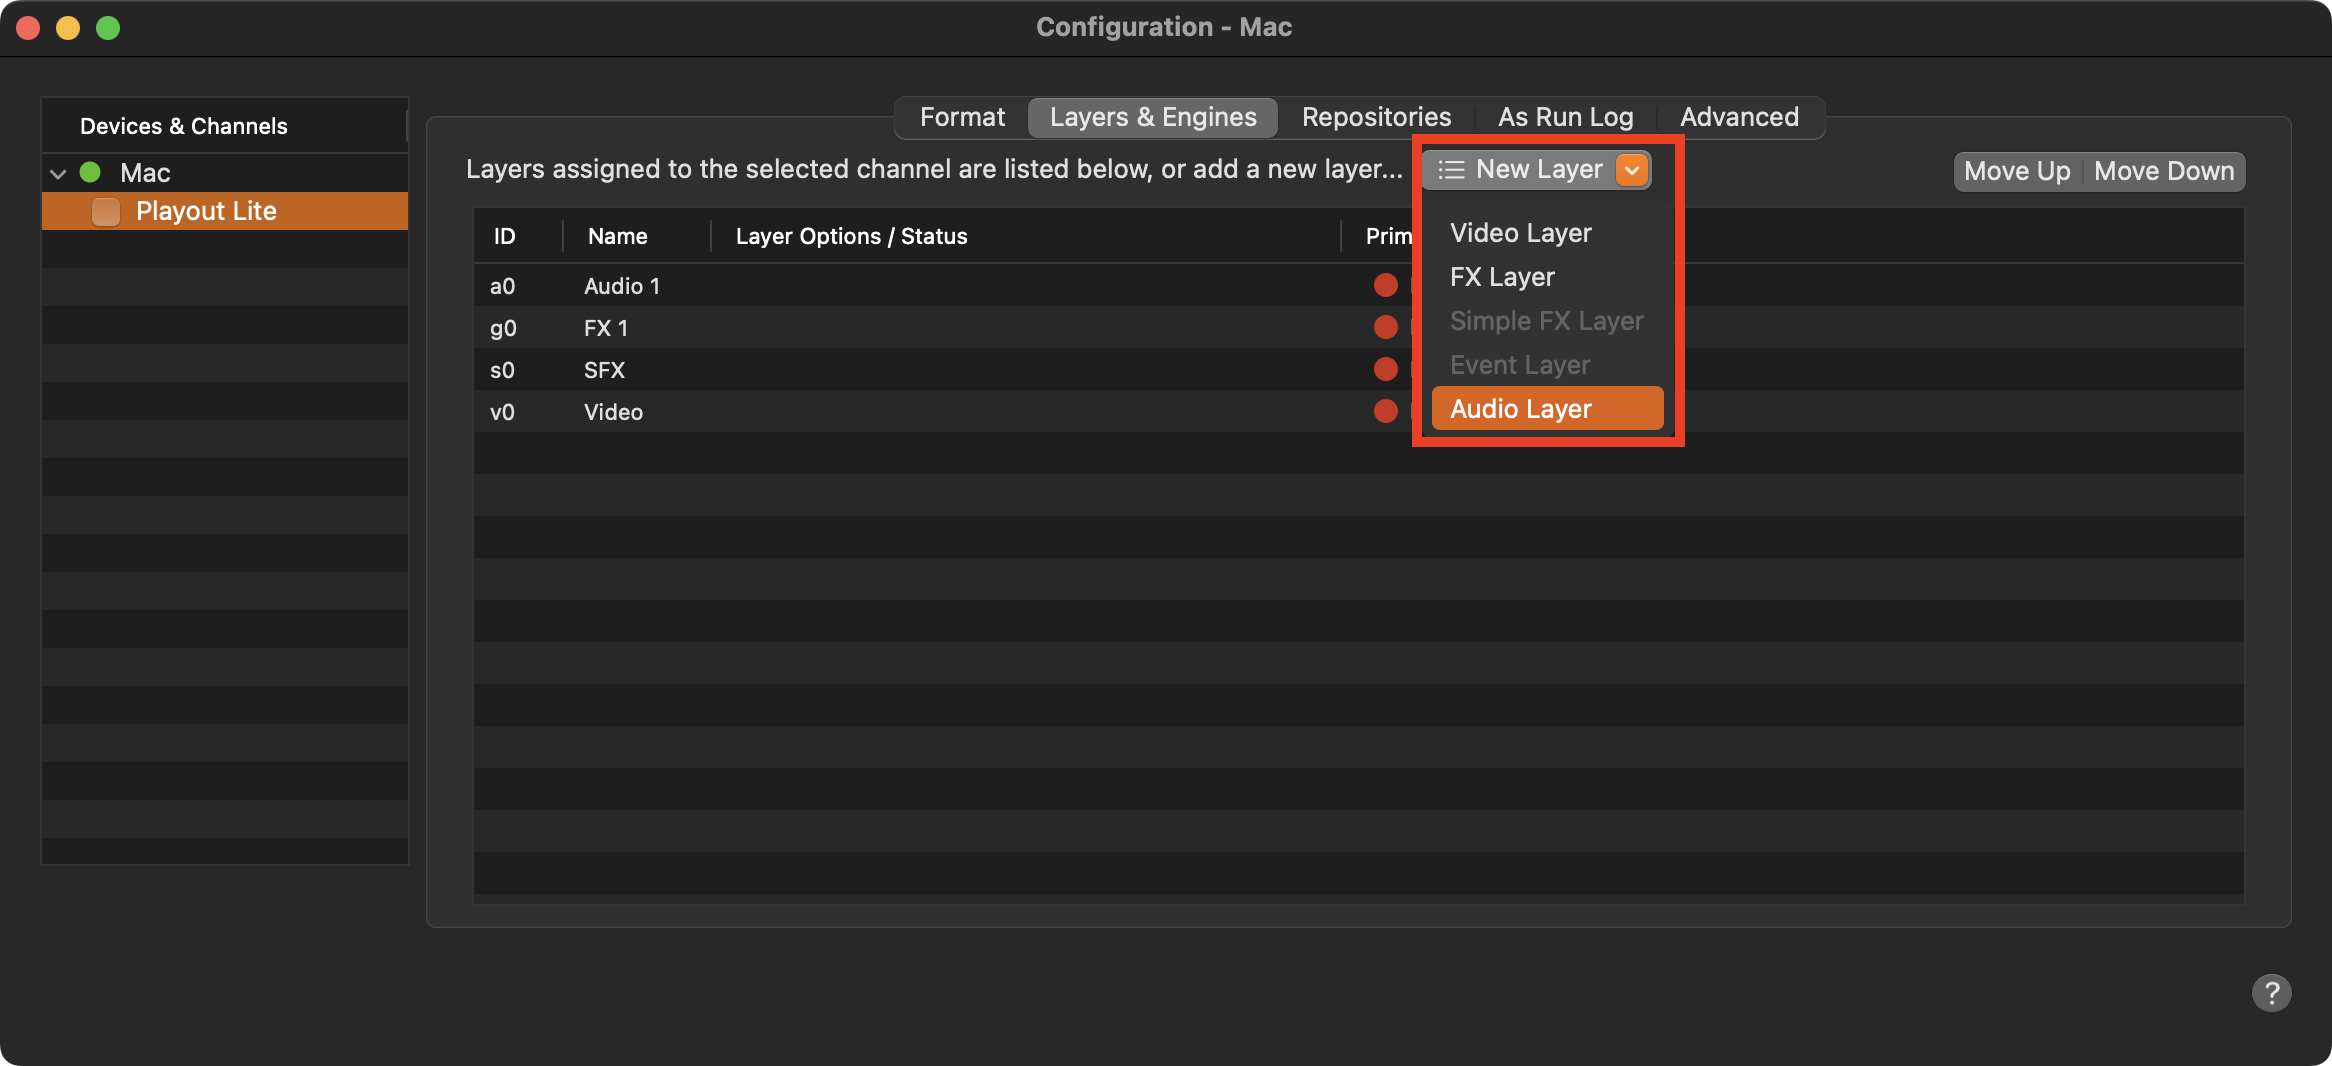
Click on the New Layer button and add an audio layer.
Make sure to assign the engine to the new Layer.
Activate the checkbox in front of the Channel to start it again and to take over the changes you made.
New Audio Layers are immediately available in the Just Play Lite user interface. Nevertheless, all existing Playlists must be remade to take over the new Layer, except for the Simple Graphics (SFX) layer, which can also be used for existing Playlists. No new audio element can be dropped into the new Layer of a Playlist, which has been made before the new Layer has been added.
Removing an Audio Layer
You can remove Audio Layers from an existing Channel. This is primarily useful during testing to find out how many Audio Layers are needed for the final playout.
Stop the Channel by deactivating the checkbox in front of it. Stopping a Channel will also stop the playout engine and therefore the final output.
Select the Channel in the “Devices & Channels” list.
Click on the “Layers & Engines” tab.
Select the Audio Layer you would like to remove.
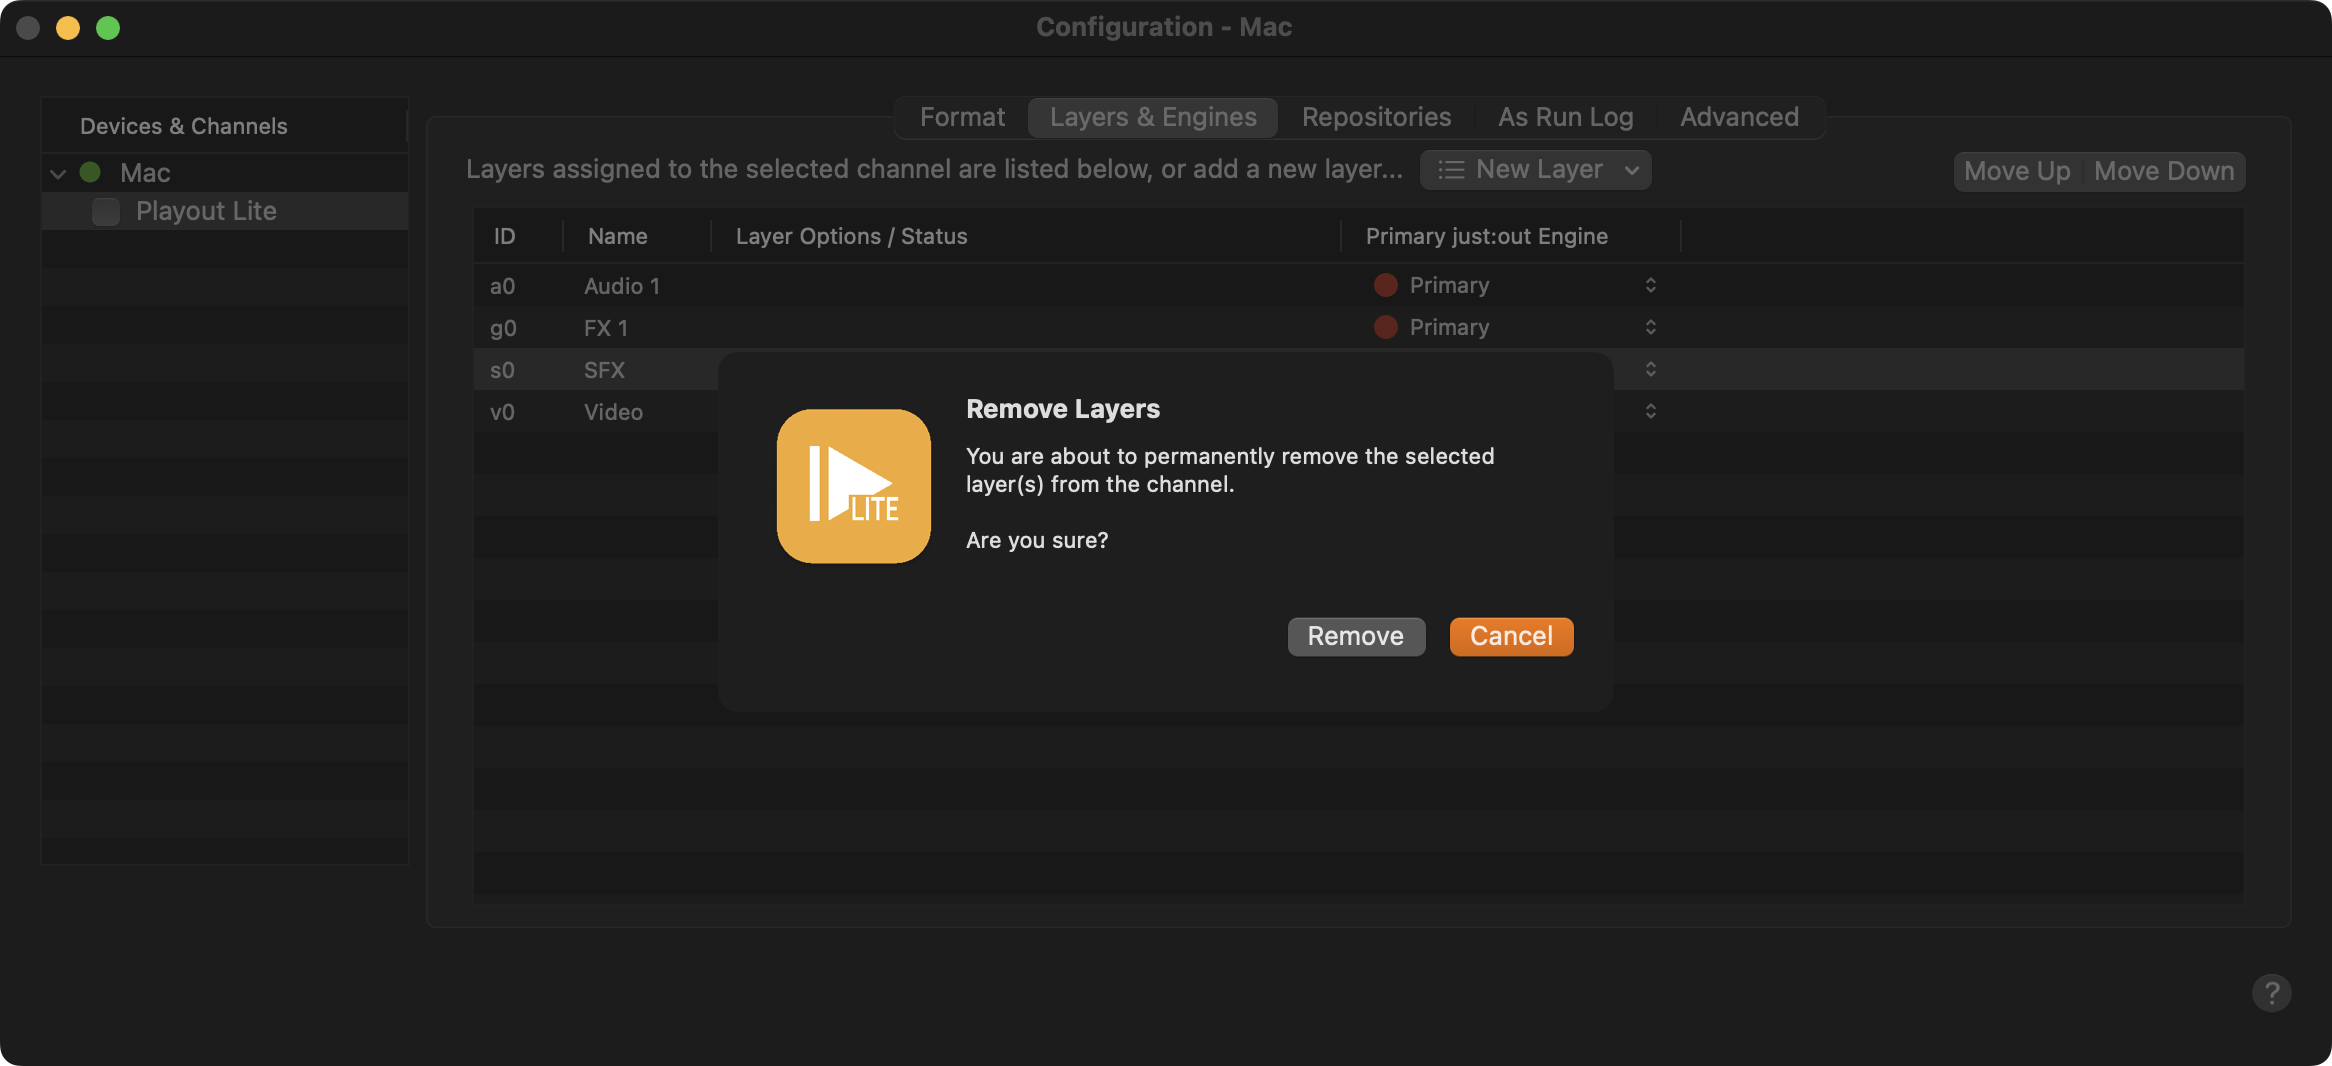
Press the “Backspace” key.
A warning window appears. Click “Remove” to remove the Layer.
Activate the checkbox in front of the Channel to start it again and to take over the changes you just made.
Changing the Layer Order
Changing the order of the Layers changes the order in which they appear in the user interface and the order in which they appear On Air.
Stop the Channel by deactivating the checkbox in front of it. Stopping a Channel will also stop the playout engine and therefore the final output.
Select the Channel in the “Devices & Channels” list.
Click on the “Layers & Engines” tab.
Select the Layer you would like to move.
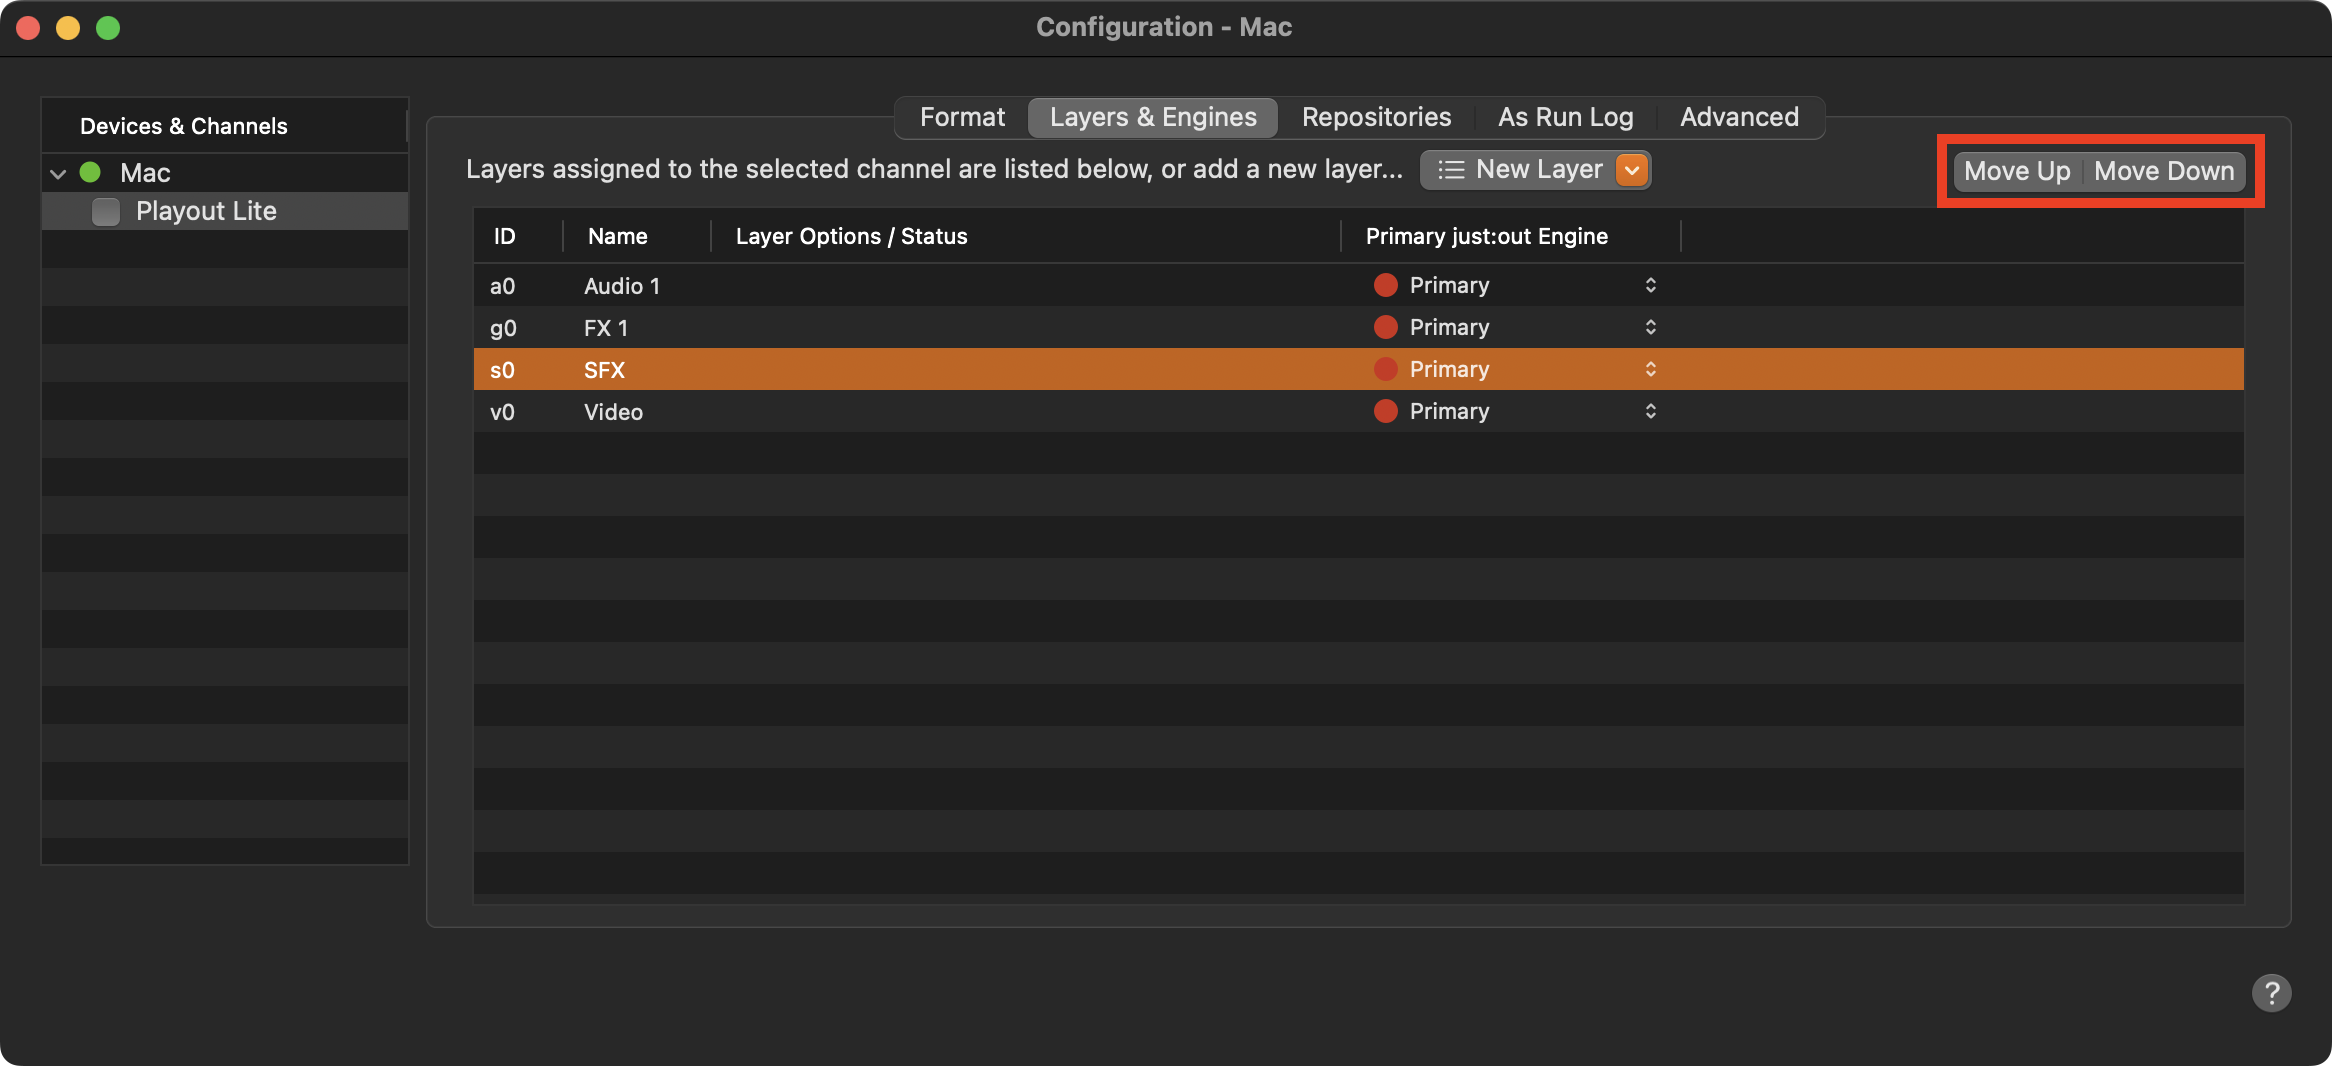
Press the “Move Up” or “Move Down” button to change the order of the selected Layer.
Activate the checkbox in front of the Channel to start it again and to take over the changes you just made.
The visibility of the elements that are played out on the available Layers is from top to bottom. Therefore, a video playing in a Video Layer which is on top of an FX Layer will make the FX element invisible by overlaying it.