
This chapter covers a basic overview of the Configuration panel. For a more in-depth configuration, refer to the following chapters:
Accessing the Configuration Panel
All settings in the Configuration panel can be checked without stopping the channel. To make any changes in the Configuration Panel, you must first stop the Channel by deactivating the checkbox in front of it. Stopping the channel will also stop the playout engine and therefore the broadcast output.
In the Configuration panel, you can configure the Channel settings. The defined settings are then stored in the channel file. You can access the Configuration panel
by clicking the gear icon in the upper right corner of the Inspector
with the menu Channels → Show Configuration Panel
by pressing “Option-Command-,” on your keyboard
Configuration Panel Overview
Devices & Channels List

Shows the Channel which is administrated by this interface.
The checkbox in front of a Channel allows you to start or stop the Channel. This is required, for example, when changing the configuration of a Channel.
Configuration Area and Tabs
Click on one of the available tabs to change the setup of the Device or the Channel.
Device Configuration Tab
Select the Device in the “Devices & Channels” list first.
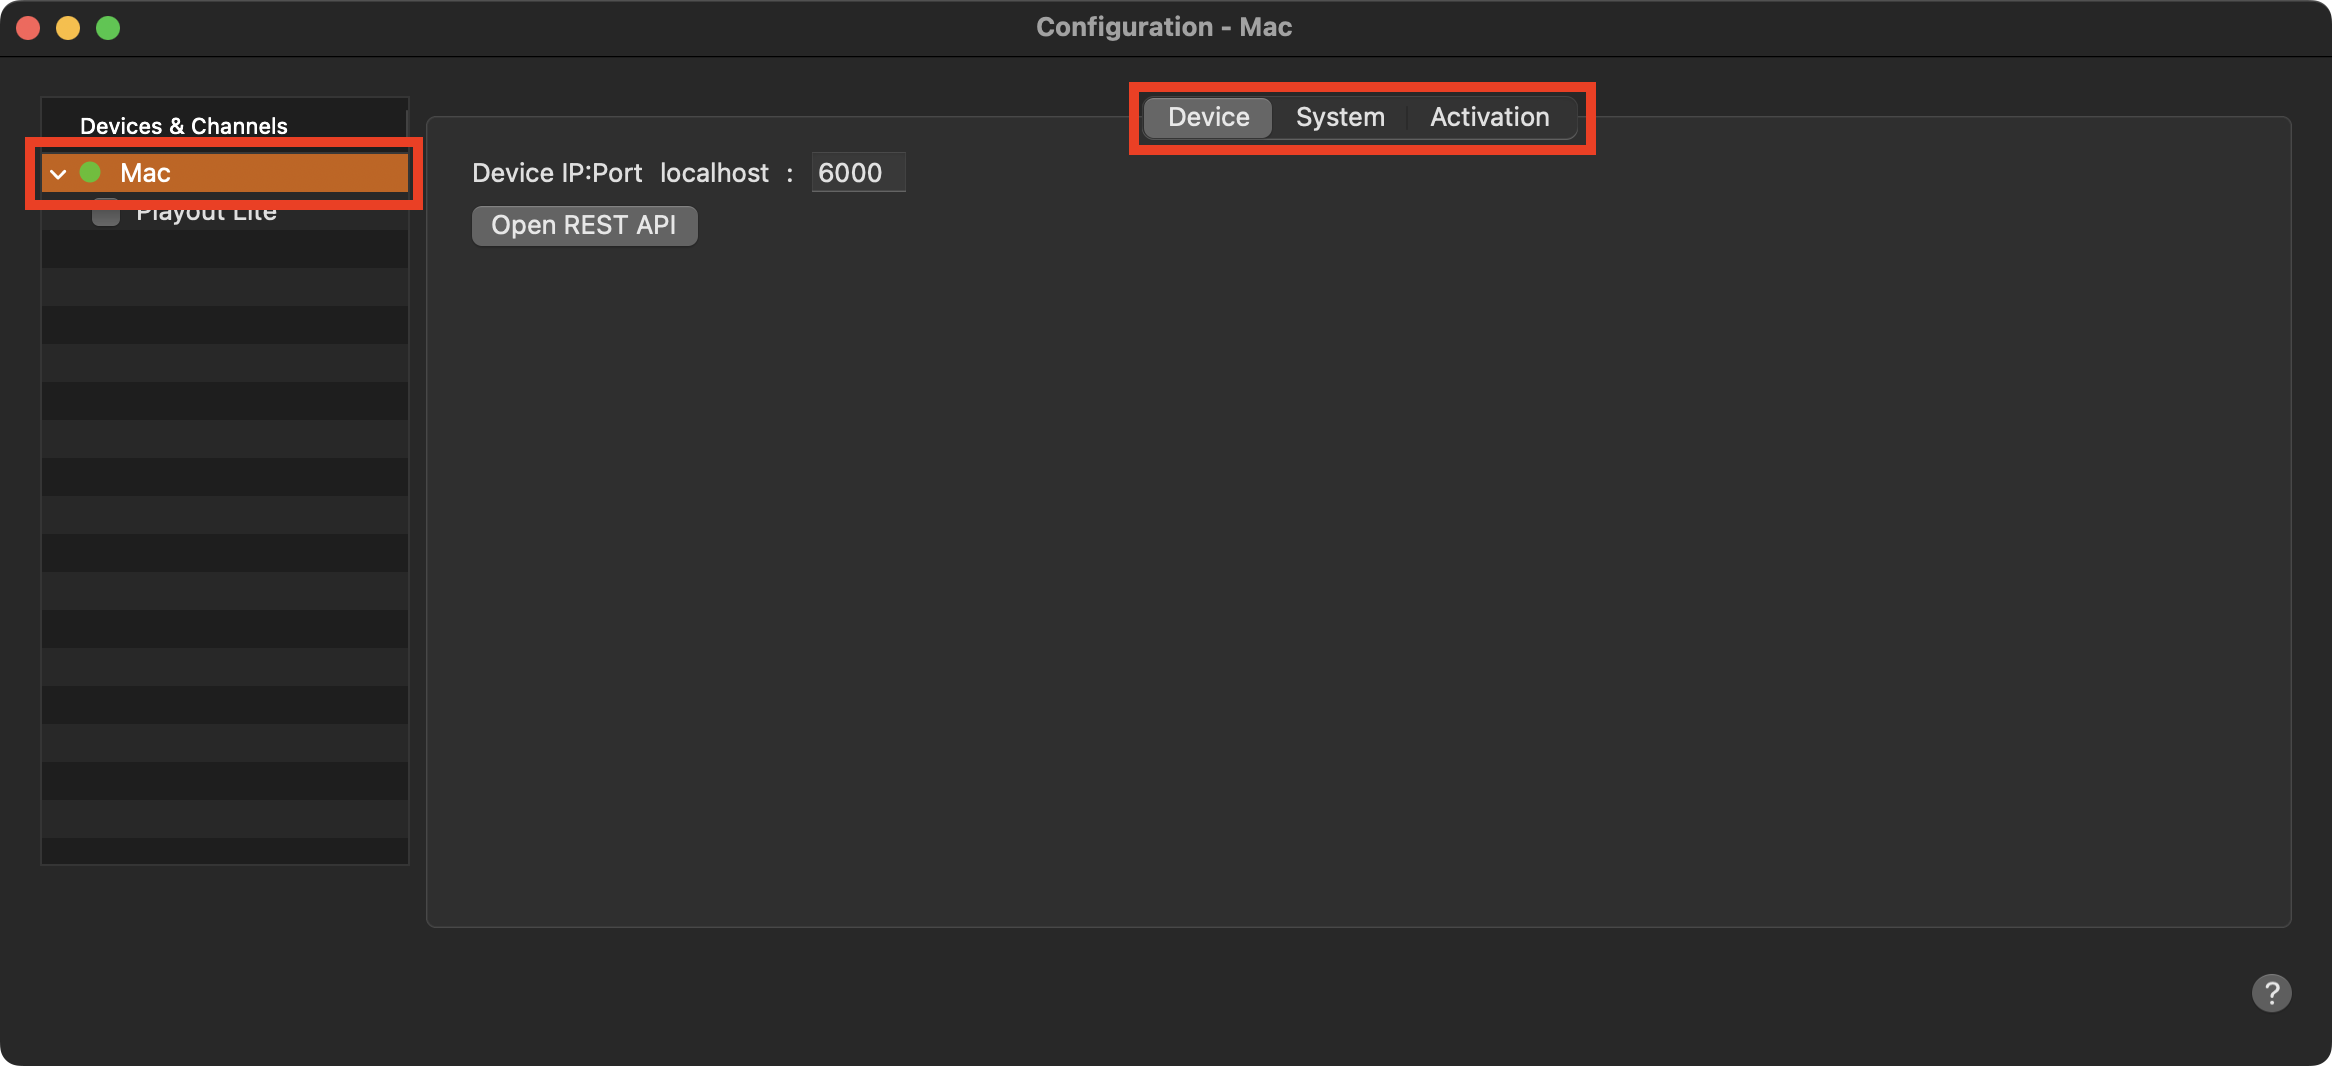
Device: Device: Let you check the IP address of the selected device and to change the Port of the device if needed. Press the button “Show All Ports” to see which ports are used by the selected Device and press the button “Open REST API” to show the available REST API calls.
System: Allows you to save a TOA System Profile without needing to stop the channel first.
Activation: Allows you to view or change the Activation information of your Device.
Channel Configuration Tabs
Select the Channel in the “Devices & Channels” list first.
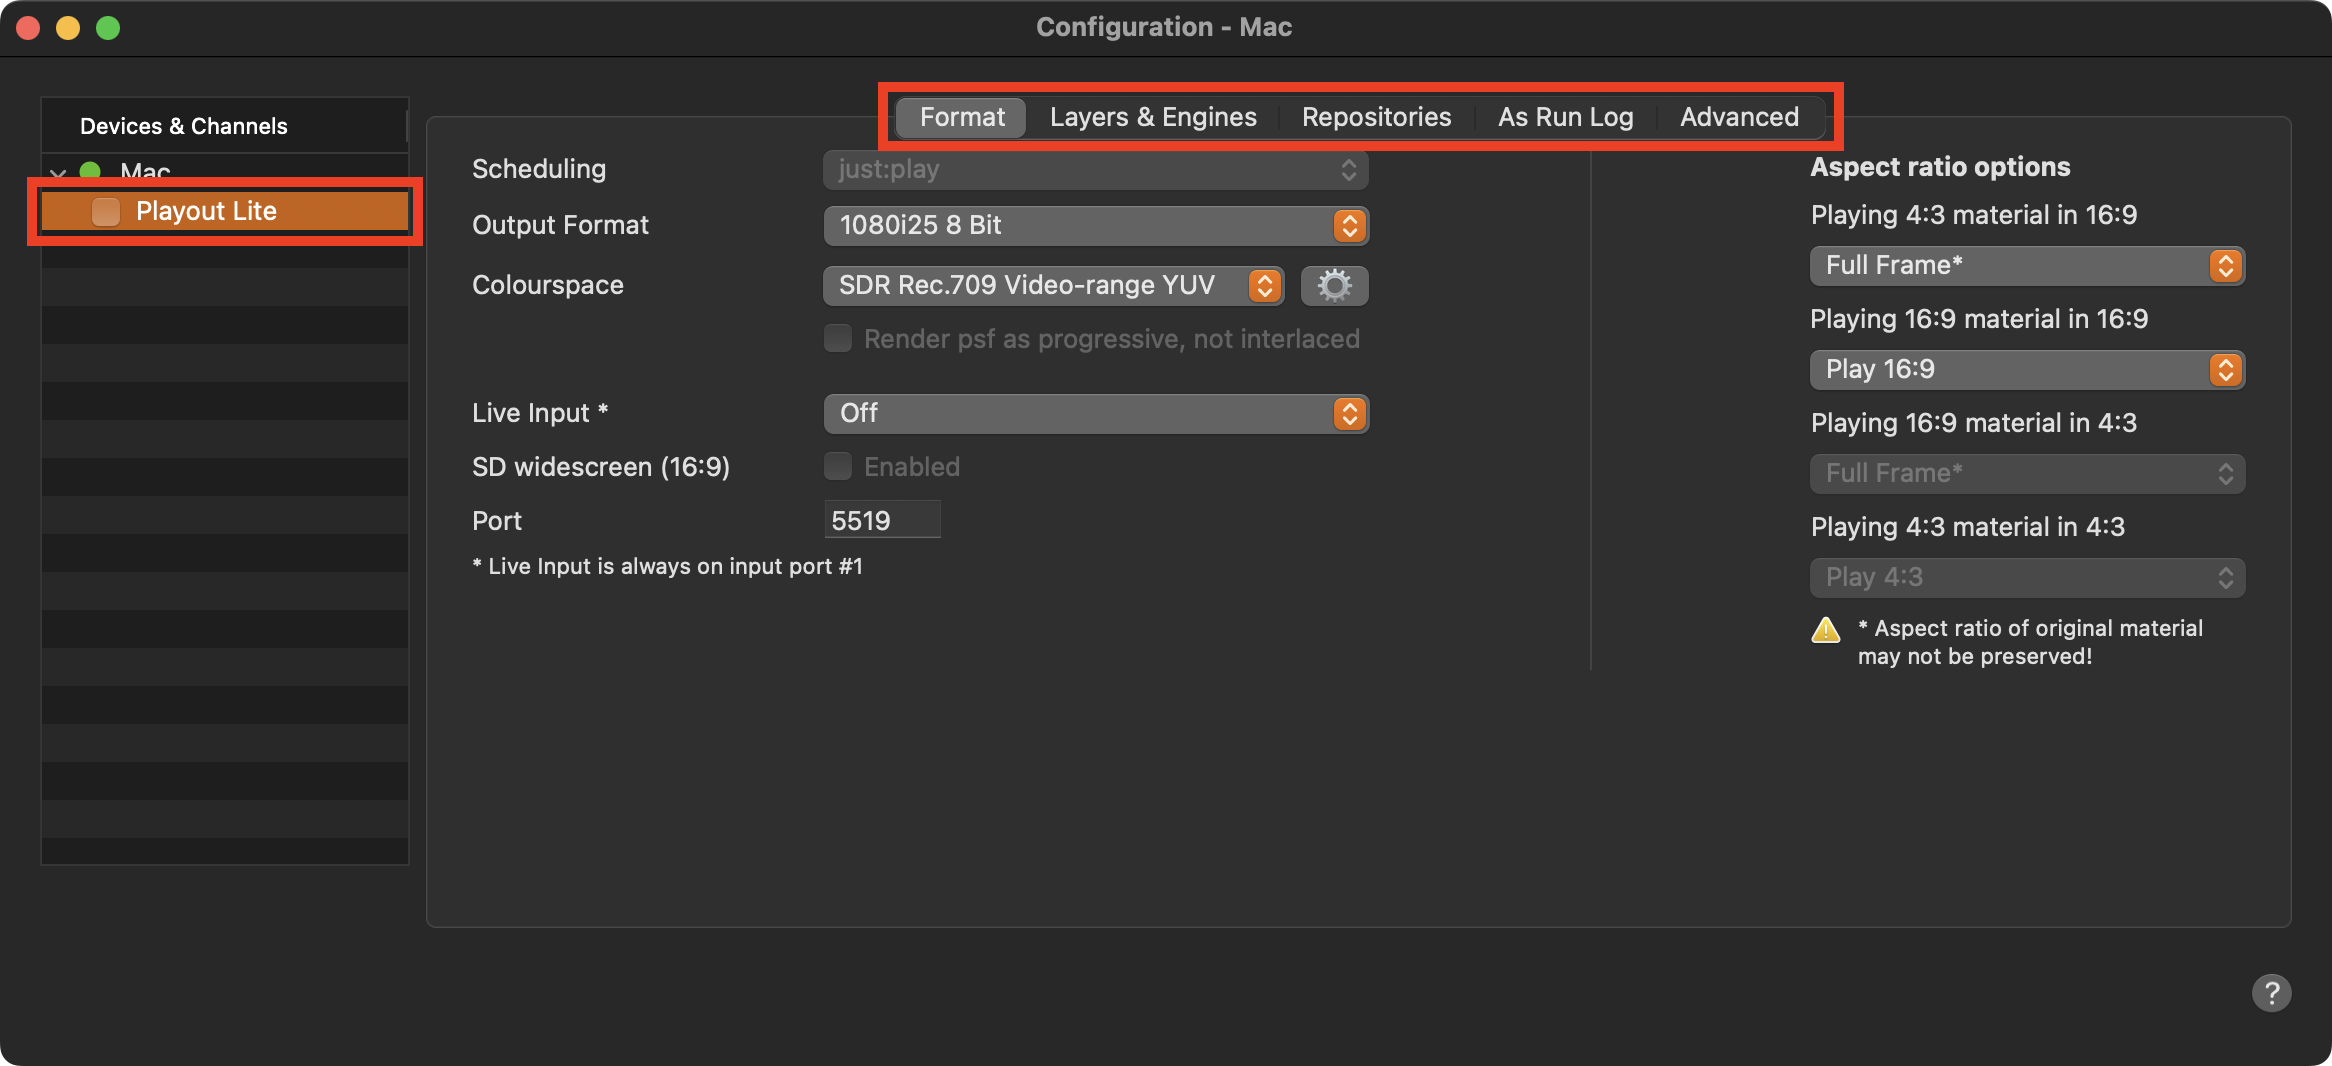
Format: Allows you to change more general settings related to the output format.
Layers & Engines: Shows the activated Layers of the Channel and allows to change the configuration of the engine.
Repositories: Define the path(s) to Videos, Audio files, realtime Graphics and Playlists a client can use. The content of the Repository paths will show up in the Library of the Just Play Lite NDI user interface.
As Run-Log: Allows to define the attributes which will be writtenn to the As Run-logfile at the end of each Video.
Advanced: Activate and configure advanced functions such as “Timecode offset” and “Re-sync engines”.