

Live Cut is integrated into Just In starting with version 3.0. There is no separate application anymore. Please follow the instructions here and then refer to the Live Cut v3.5 User Manual.
Important: Before you Install
Just In comes as a disk image (DMG). To open the disk image the Security settings of the system must be changed.
- Open the System Preferences.
- Go to Security & Privacy.
- Click on the General tab.

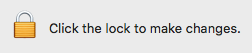
- Unlock the Preference Pane.
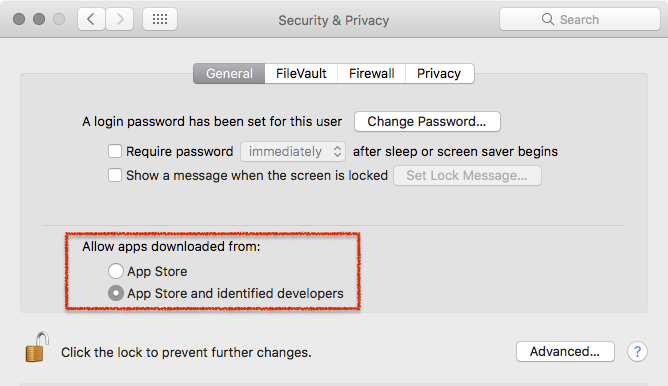
- Change the setting to Allow apps downloaded from App Store and identified developers.
- You can now head to the point Download & Installation below.
Further reading (external link): → macOS Sierra: Open an app from an unidentified developer
1. Download & Installation
- → Download Just In from our Online Helpdesk (free account required).
- Extract the downloaded ZIP archive.
- The Just In disk image will show up.

- Copy Just In and Just In Engine to the Applications folder.
- If desired, add the Applications to your Dock.
2. Start Just In Engine
- Got to the Applications folder.
- Start Just In Engine.
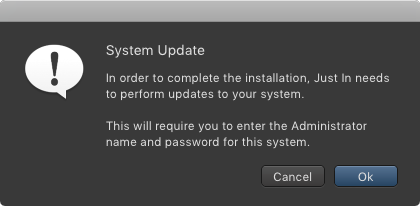
- Accept the System Update dialog to continue.
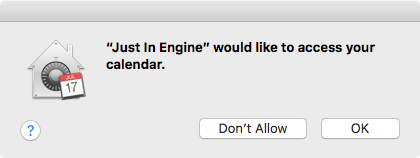
- Allow Just In Engine to access the Calendar (this is required for Scheduled Recording).
Just In Engine displays the Preferences window automatically.
If Just In Engine has been launched and/or configured previously on this system, the preferences window needs to be opened manually. Go to the menu Just In Engine → Preferences (shortcut: command + comma).
- Unlock the Preferences in the lower left corner by pressing the Make Changes button.
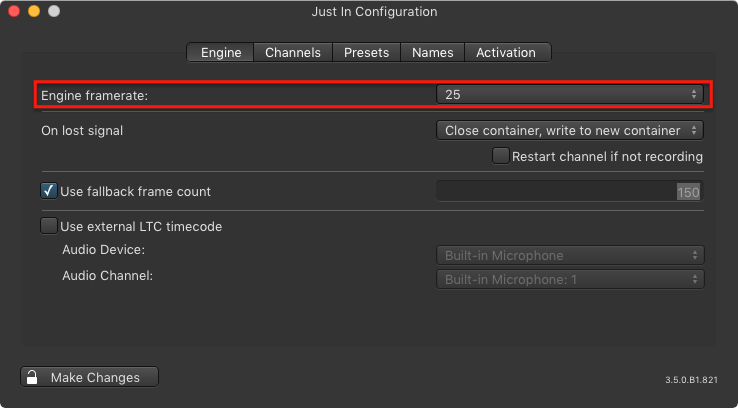
- Select the desired Framerate in the Engine tab.
- Go to the Channels tab and configure the desired Channels. Depending on the Video device(s) the Channels tab may look different.
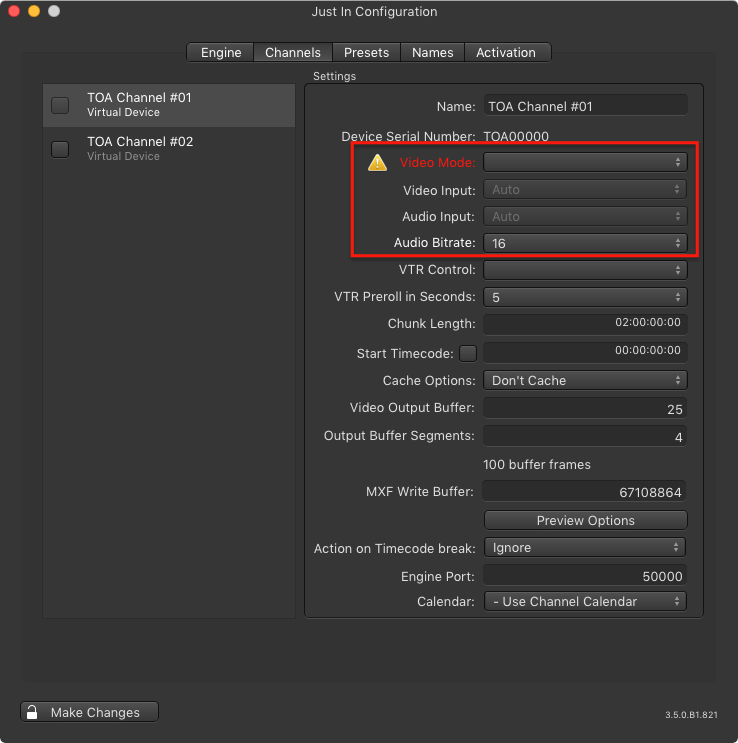
- Enable the Channel(s) in the Channels tab by clicking the corresponding checkbox in the Channels list.

- The Diagnostics window should appear. You can always show it by using the menu Window → Diagnostics.

3. Start the Just In User Interface
- Go to the Applications folder and open the Just In Application.
- Make sure Just In Engine is running.
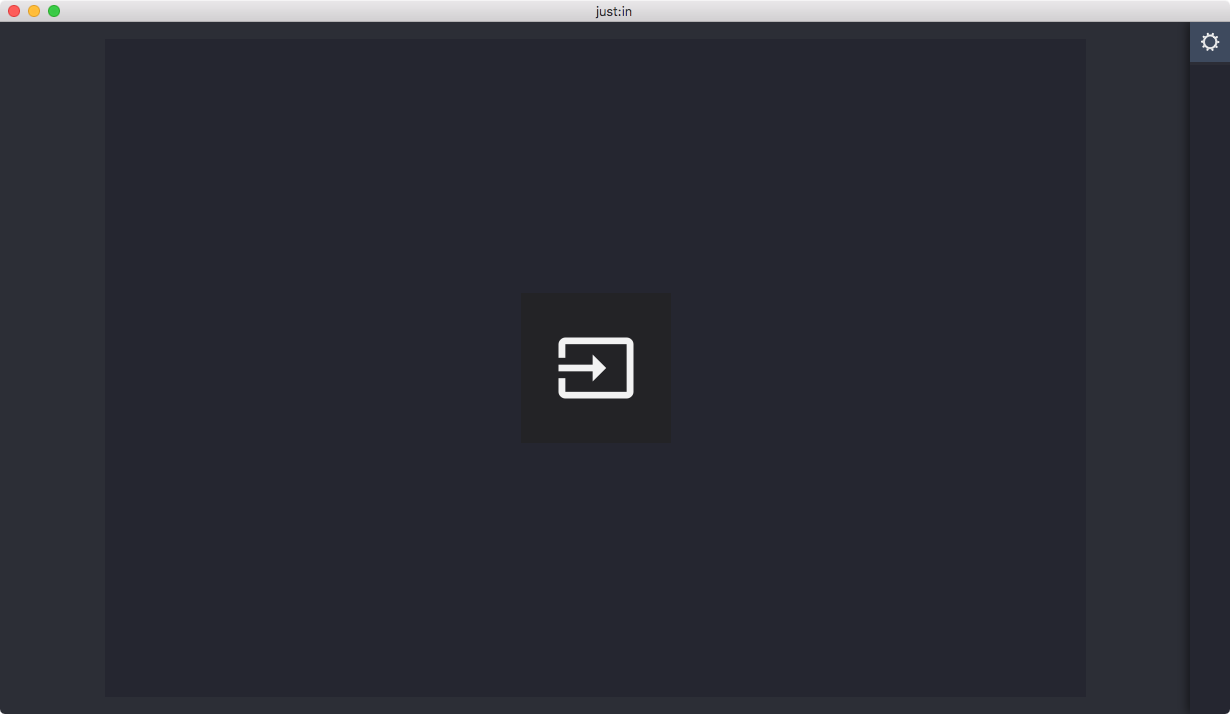
- The Just In main window appears.
4. Connecting to a Channel
Click the icon in the center of the main window to show the Connections Window which allows you to connect to a Channel.
A Channel is hosted by a Just In Engine, so – at this point – it is mandatory that one or multiple Channels are configured and running, otherwise you cannot connect to a Channel.
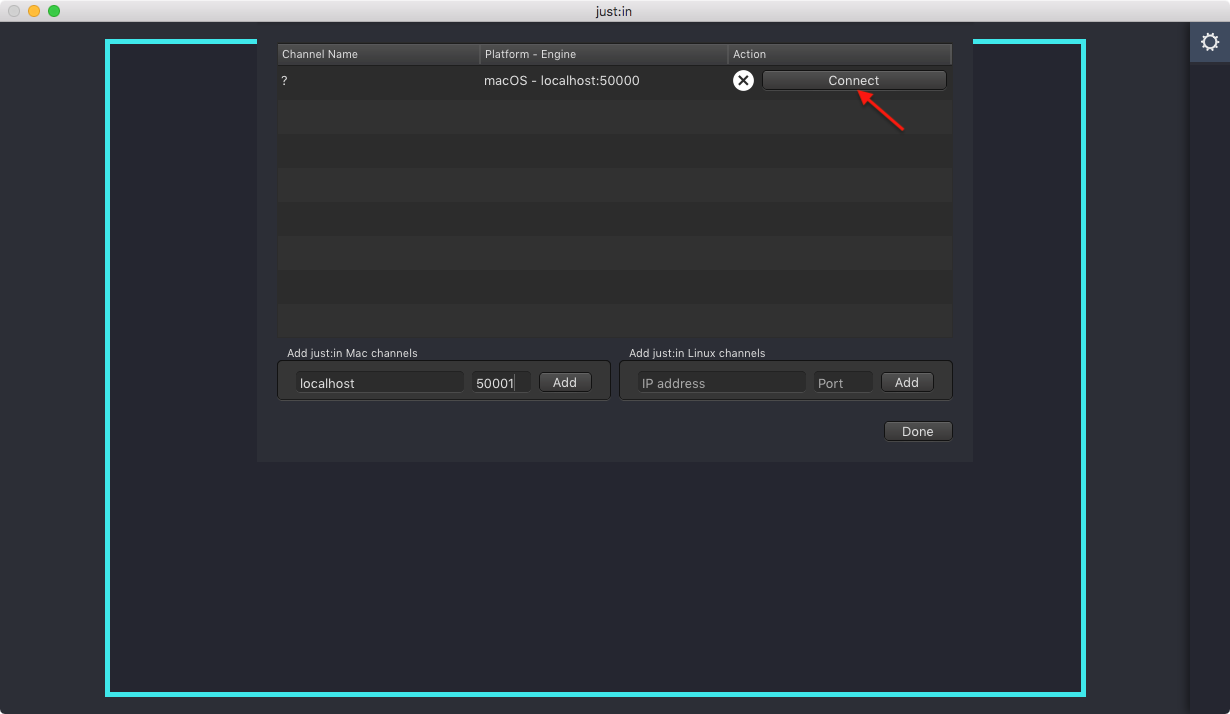
Enter the IP-Address and the Port of a Mac Channel and press the Add button. Repeat this for every Channel you would like to connect to from this user interface.

In a default test setup (i.e. Engine and User Interface are running on the same machine) you may use the following data:
IP-Address: localhost
Port: 50000- Press the Connect button to connect to a Channel.
- Upon successful connection Just In displays the Channel Preview.
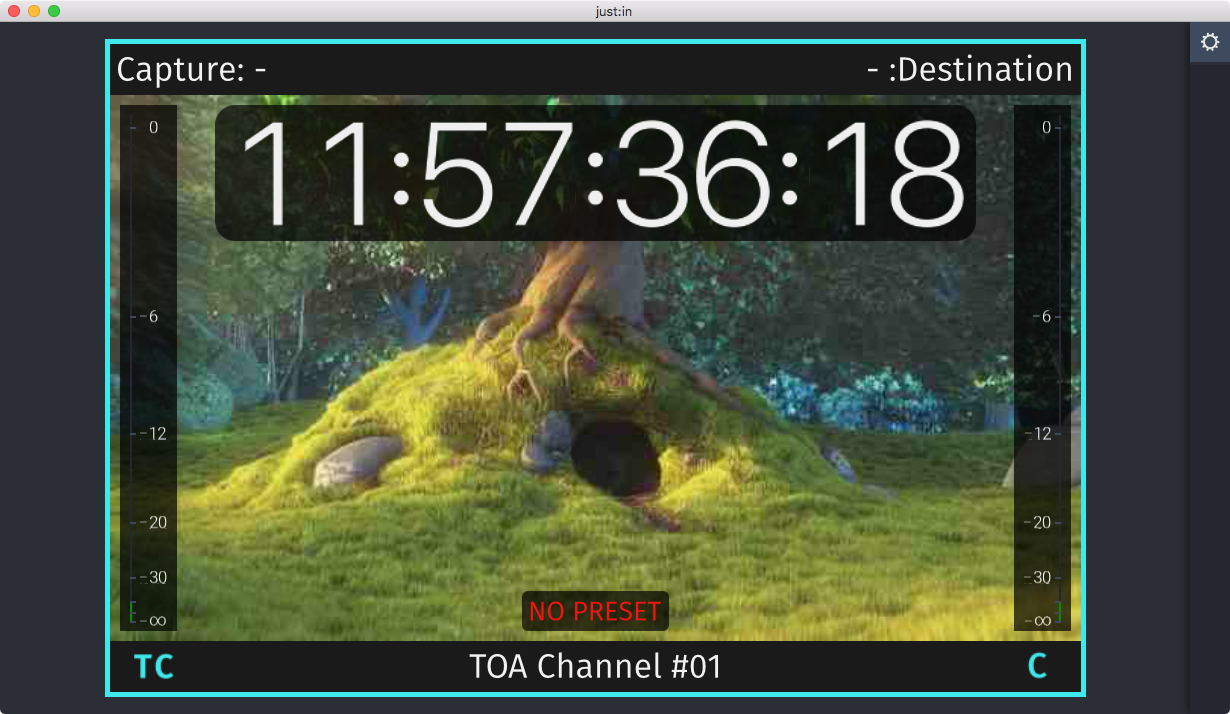
- The Getting Started ends here. For further information please refer to the respective User Manuals.
Starting a Recording
Before starting any Recordings you need to add at least one Capture and one Destination Preset. Refer to the respective User Manuals for further information.