
It is possible to customize the user interface using the “View” menu and the mouse, to adjust the size of some parts of the user interface.
View Menu
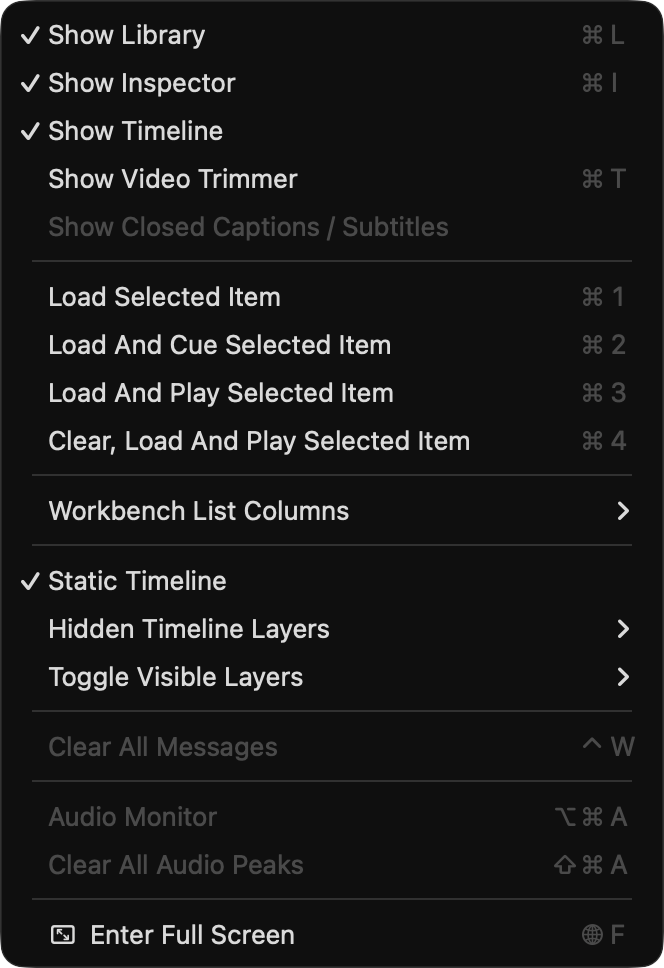
Show Library/Inspector/Timeline/Video Trimmer: Show or hide the main areas of the user interface.
Workbench double-click action: Shows the double click actions which are available and the corresponding keyboard shortcuts.
Workbench List Columns: Choose which Workbench columns will be shown. You can also show or hide all columns at once.
Static Timeline: Activate or deactivate the Static Timeline.
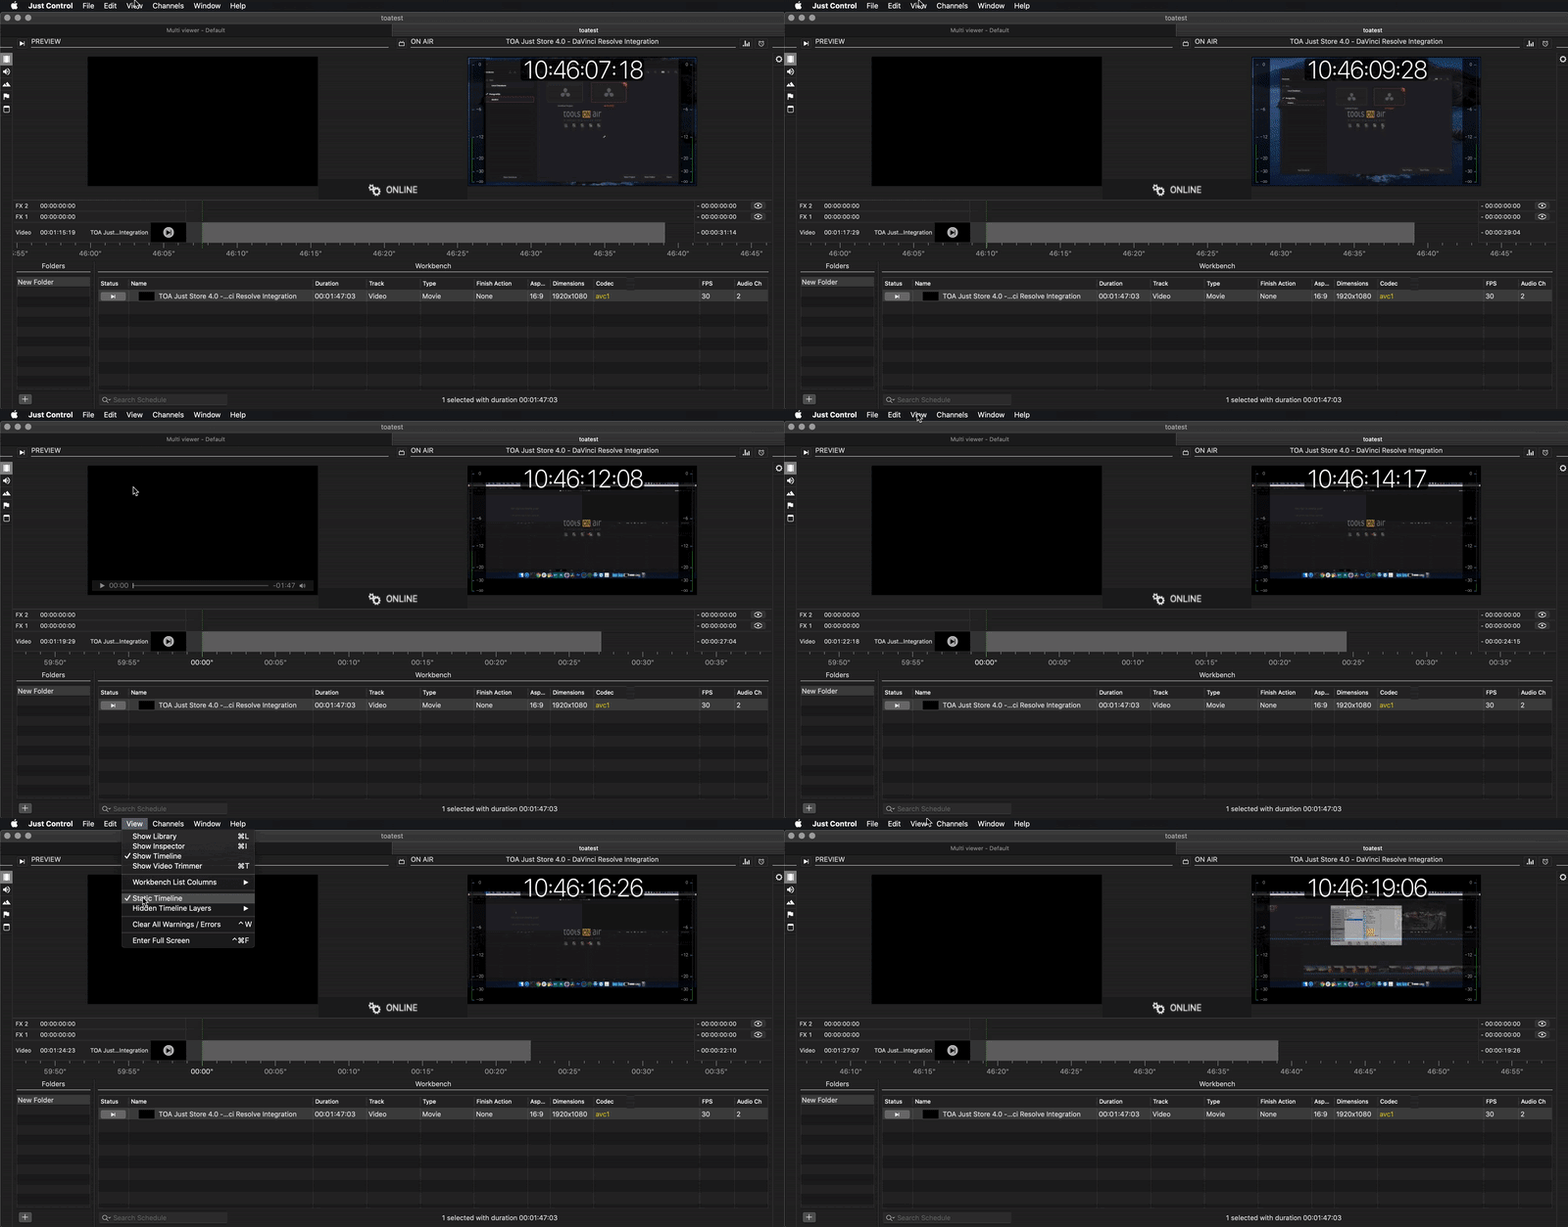
Hidden Timeline Layers: Show or hide timeline Layers. Depending on the configuration of your system administrator, the content of this menu may look different from the one shown here.
Toggle Visible Layers: Shows the available Toggle Visibility control and the corresponding keyboard shortcuts.
Clear All Warnings / Errors: Clears all warnings and errors that may have occurred.
Enter Full Screen: Brings the user interface into Full Screen mode
Collapsable Library and Inspector
You can collapse the Library and Inspector by clicking on the close button “X”, to gain more space. When collapsed, small icons will still be displayed, allowing quick access to the Library and Inspector tabs of your choice.
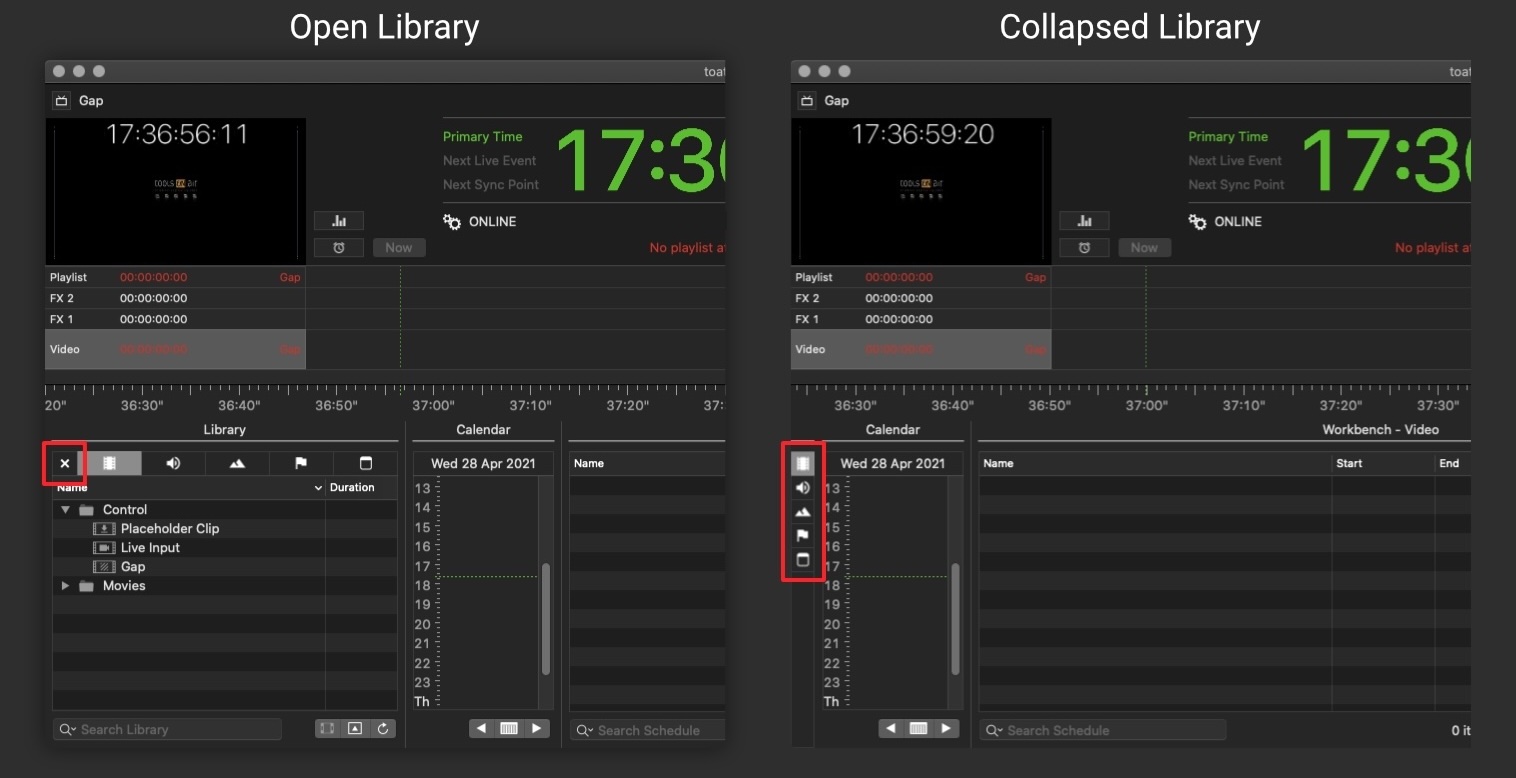
The picture above shows the Just Play Lite NDI application, but the functionality is the same in the Just Live Lite NDI application.
Open the Library and Inspector
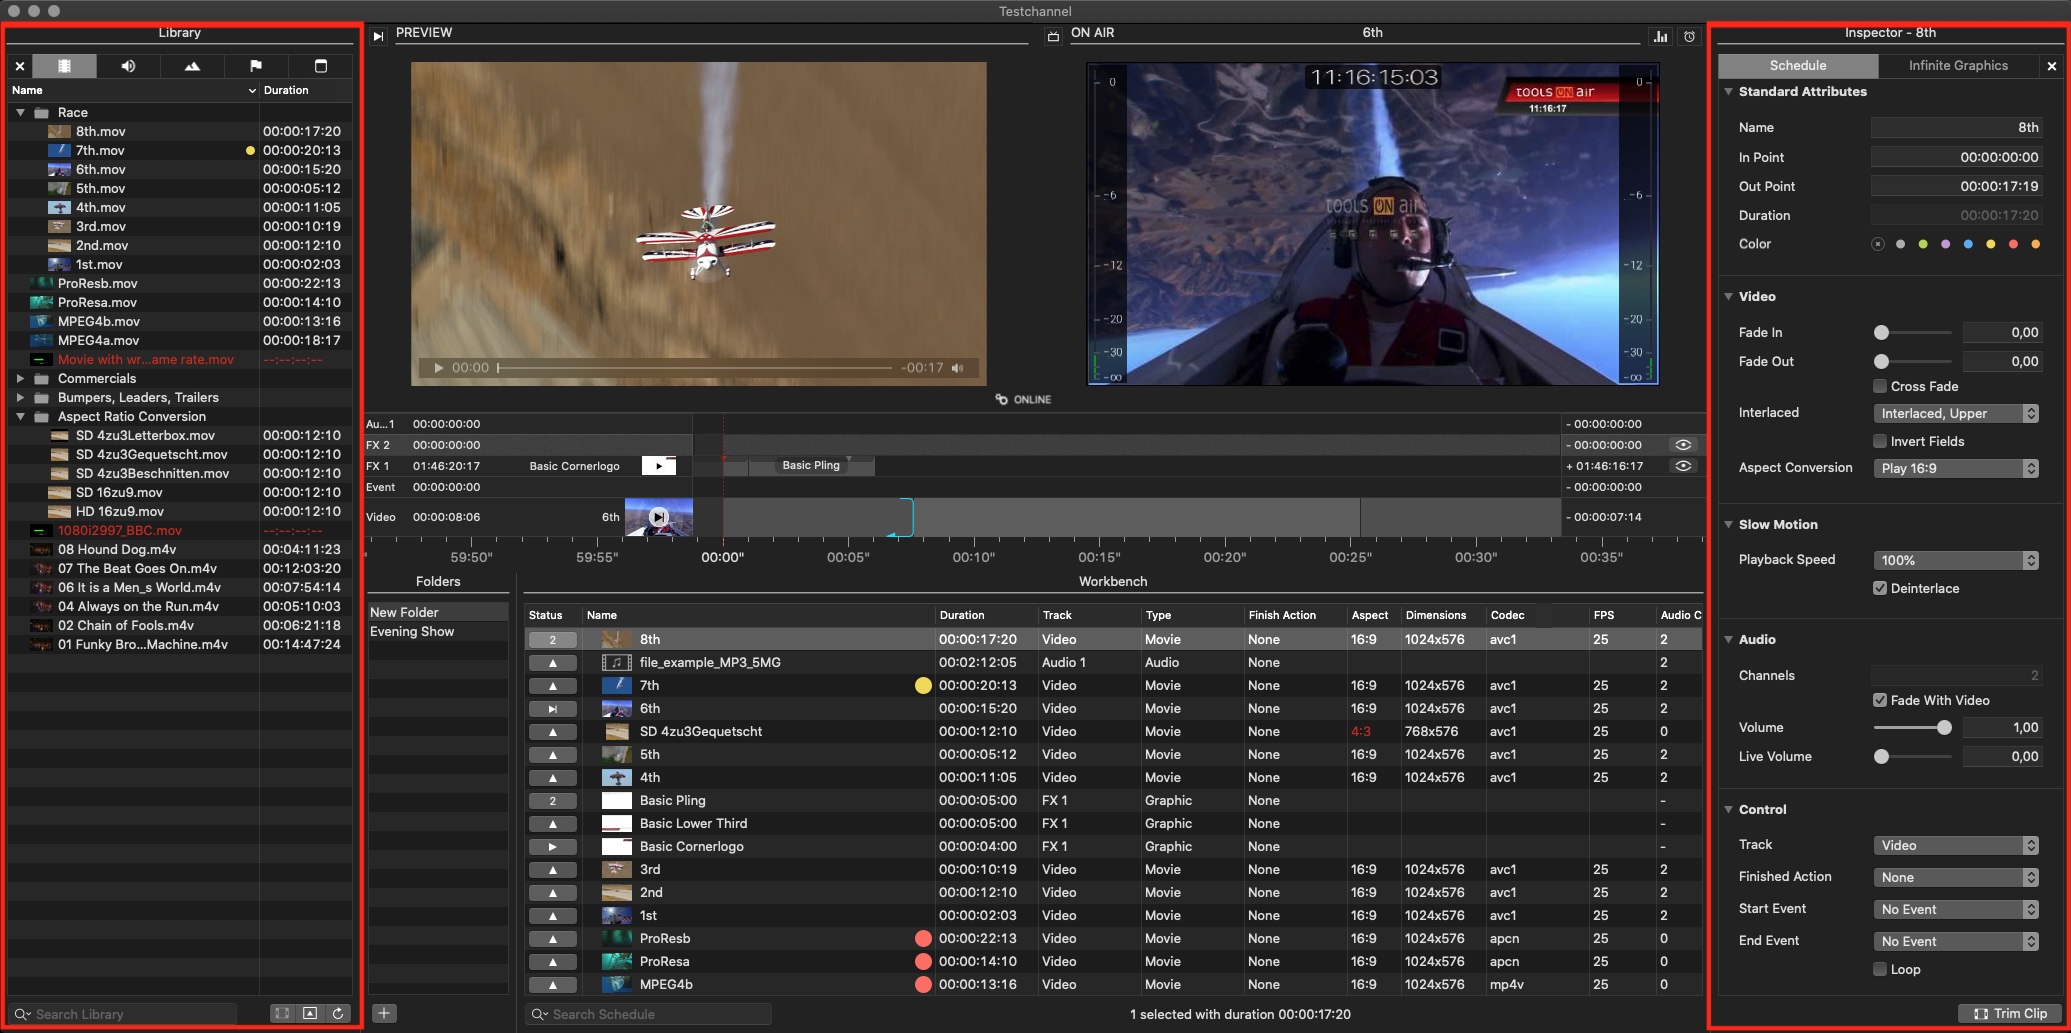
Collapsed Library and Inspector
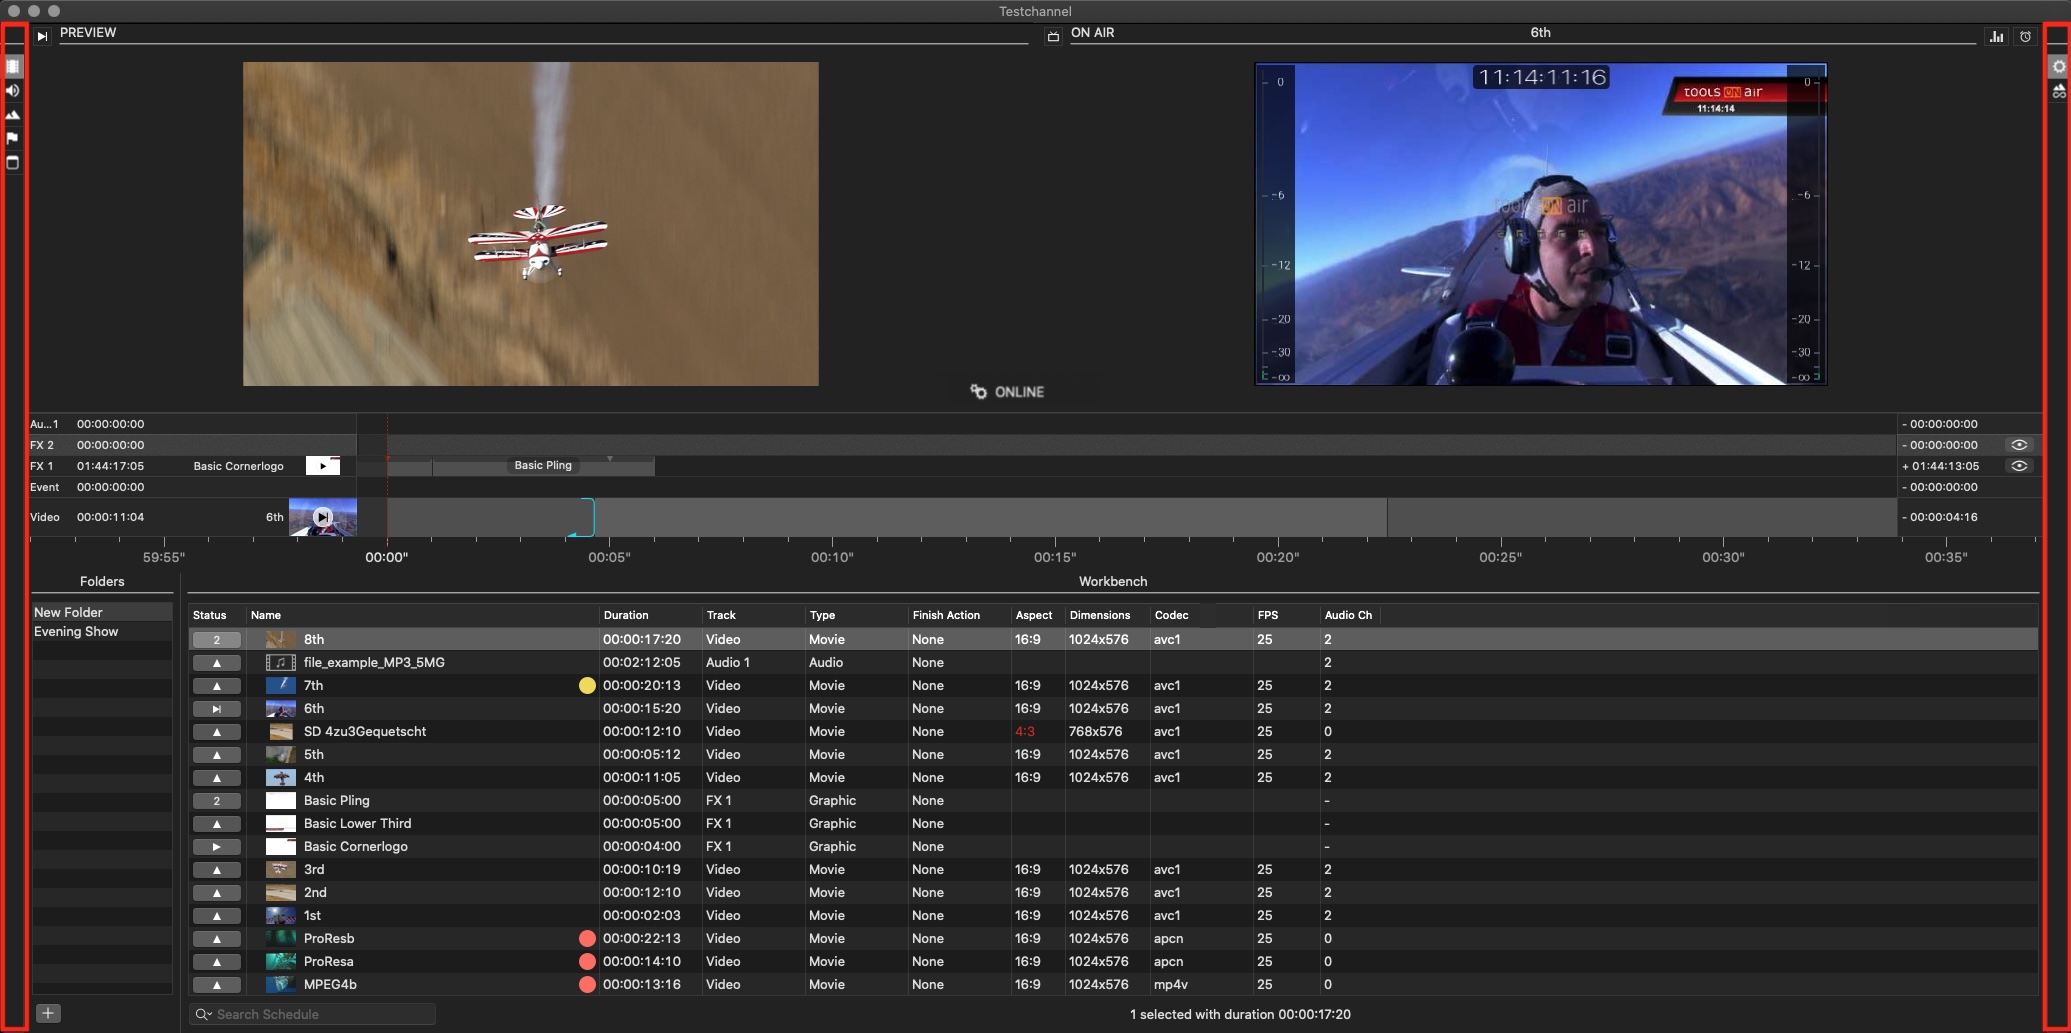
While closed, the remaining control area shows the available tabs, with the last used tab highlighted.
Using the Mouse to change the Size of an Area
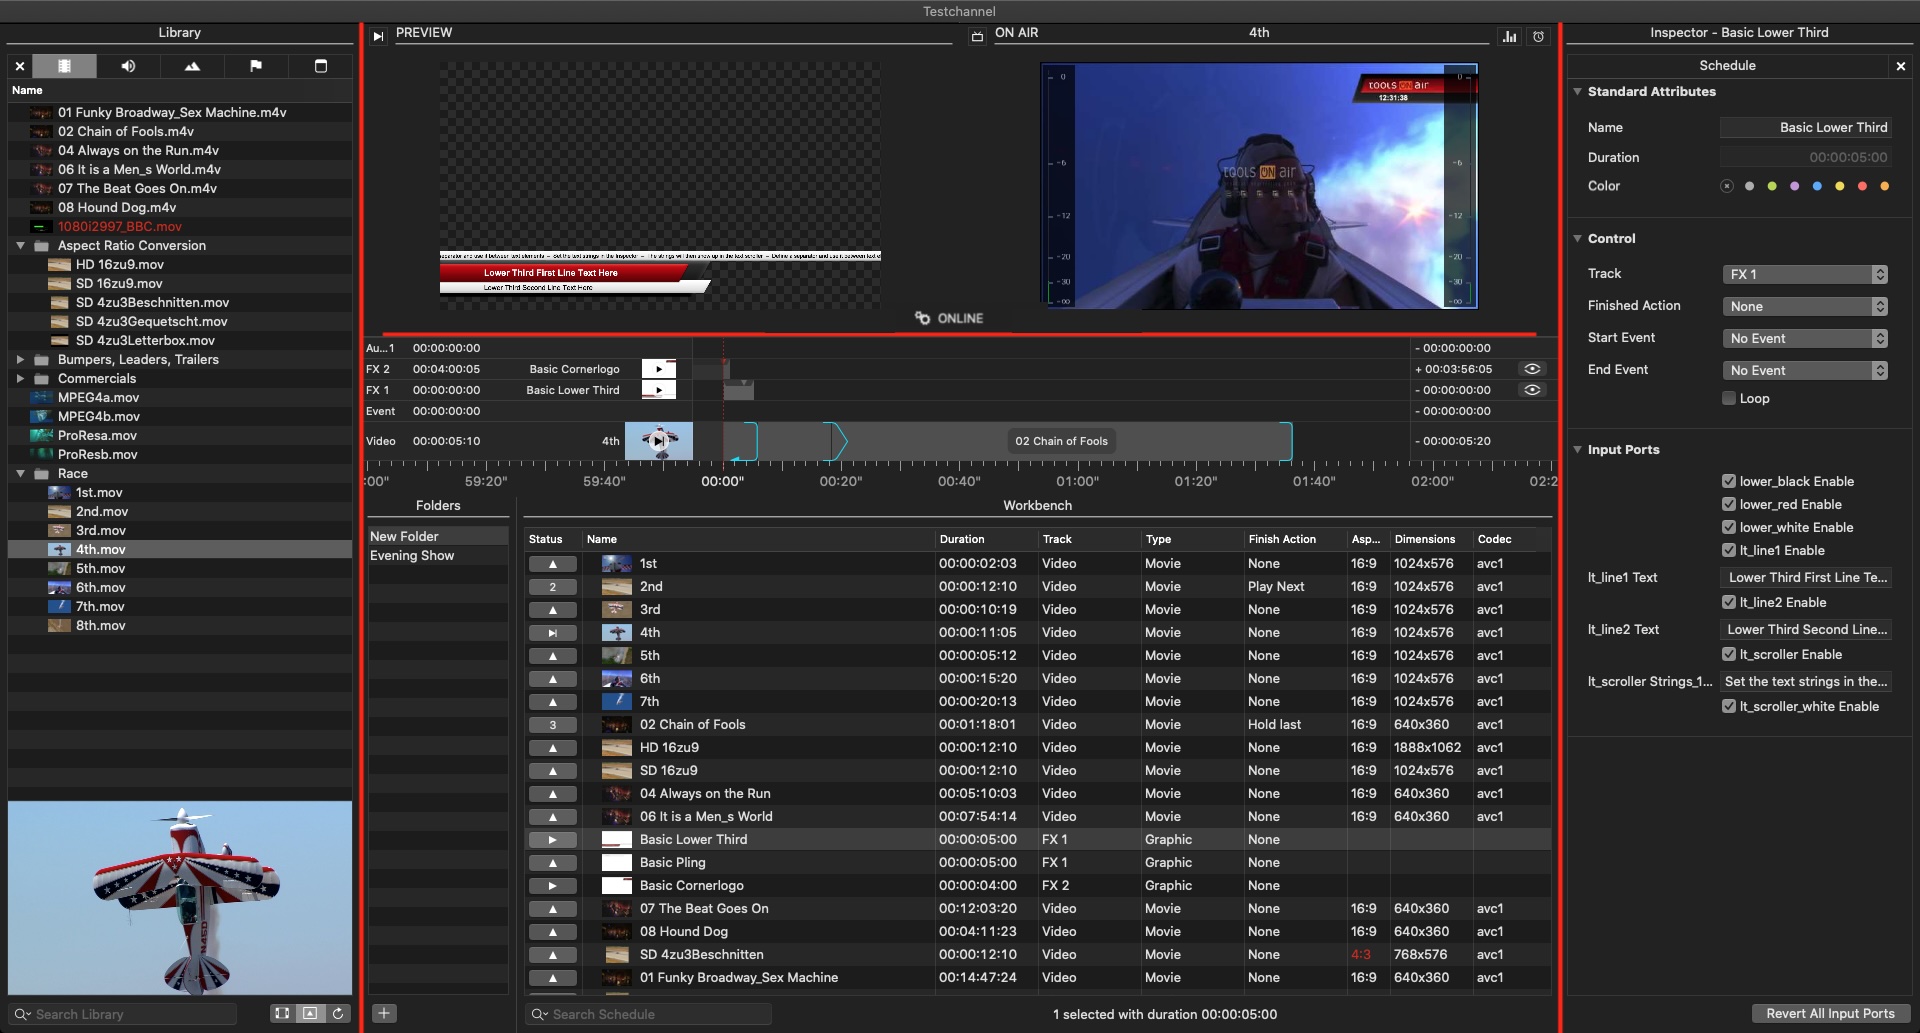
Use the Trim handles shown in red to adjust the size of the Control Area, the Library, and the Inspector.
Scroll up/down to change the Timeline Zoom Level
Position the mouse above the Timeline ruler and scroll with the mouse or trackpad up and down to change the zoom level of the Timeline.