You must unlock the Configuration panel first to perform any changes.
Before proceeding, you must stop the Channel by deactivating the checkbox. Stopping the channel will also stop the Just Out Primary engine output, unless there is a Redundant engine available.
Keep in mind, that the incoming live signal must match the Channel's frame rate and interlaced/progressive setting, otherwise it will not be visible in the final output.
Each Channel has a certain output format (frame size, frame rate, and bit depth) in which the engines connected to this Channel are "rendering" the final output.
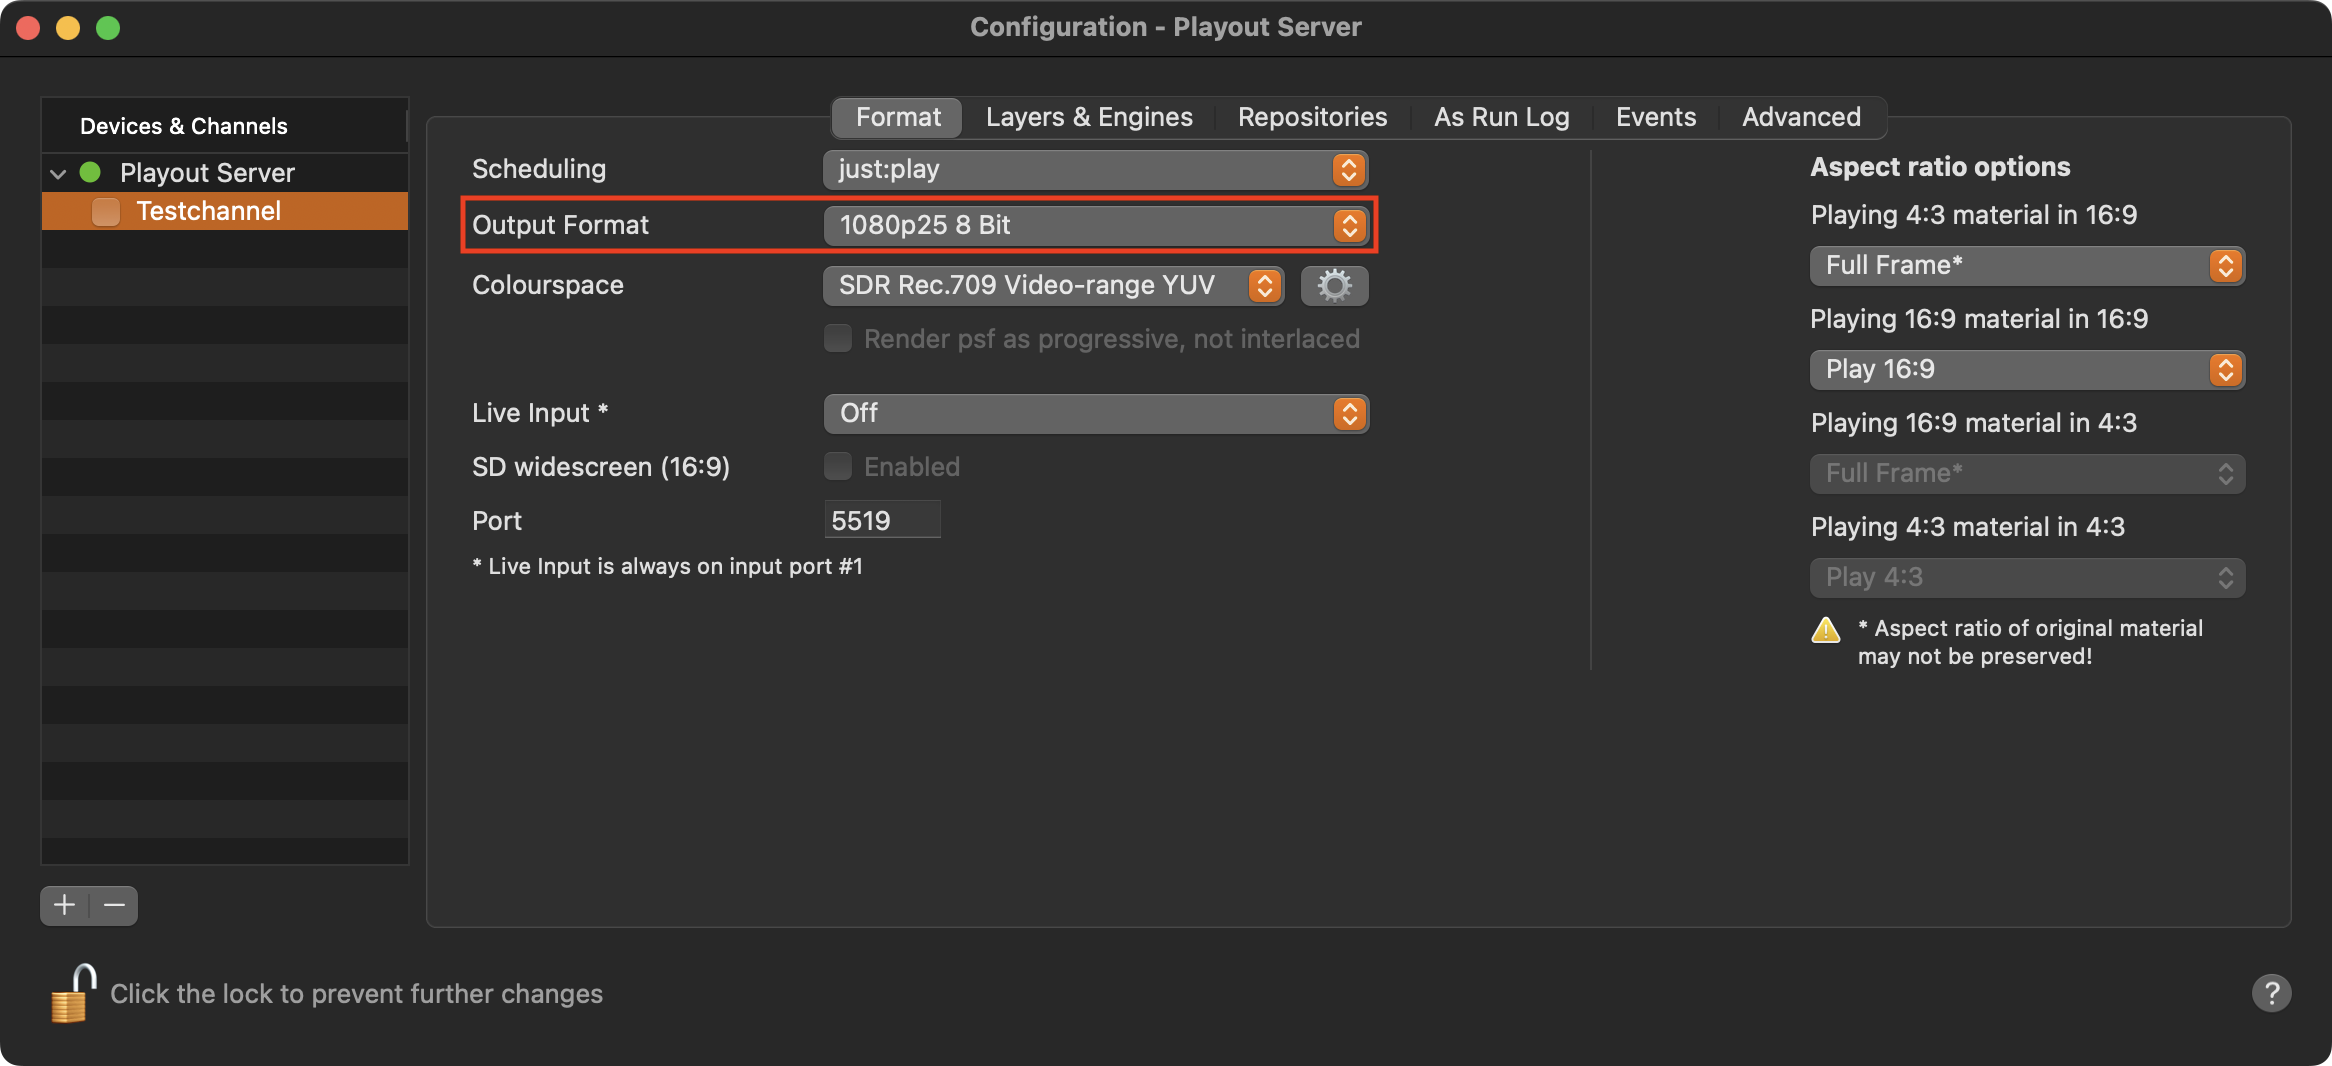
Stop the desired Channel by deactivating the checkbox in front of it. Stopping a Channel will also stop the Just Out engine and therefore the final output.
Select the Channel in the “Devices & Channels” list.
Click on the “Format” tab.
Select the desired output format in the “Output Format” drop-down menu.
Select 8 Bit for standard video playout and all outputs based on a streaming format.
Select 10-Bit for maximum quality and HDR playout (only available using Virtual/AJA/Blackmagic Design).
Select RGBA for Fill+Key playout
Activate the checkbox in front of the Channel to start it again and to take over the changes you just made.
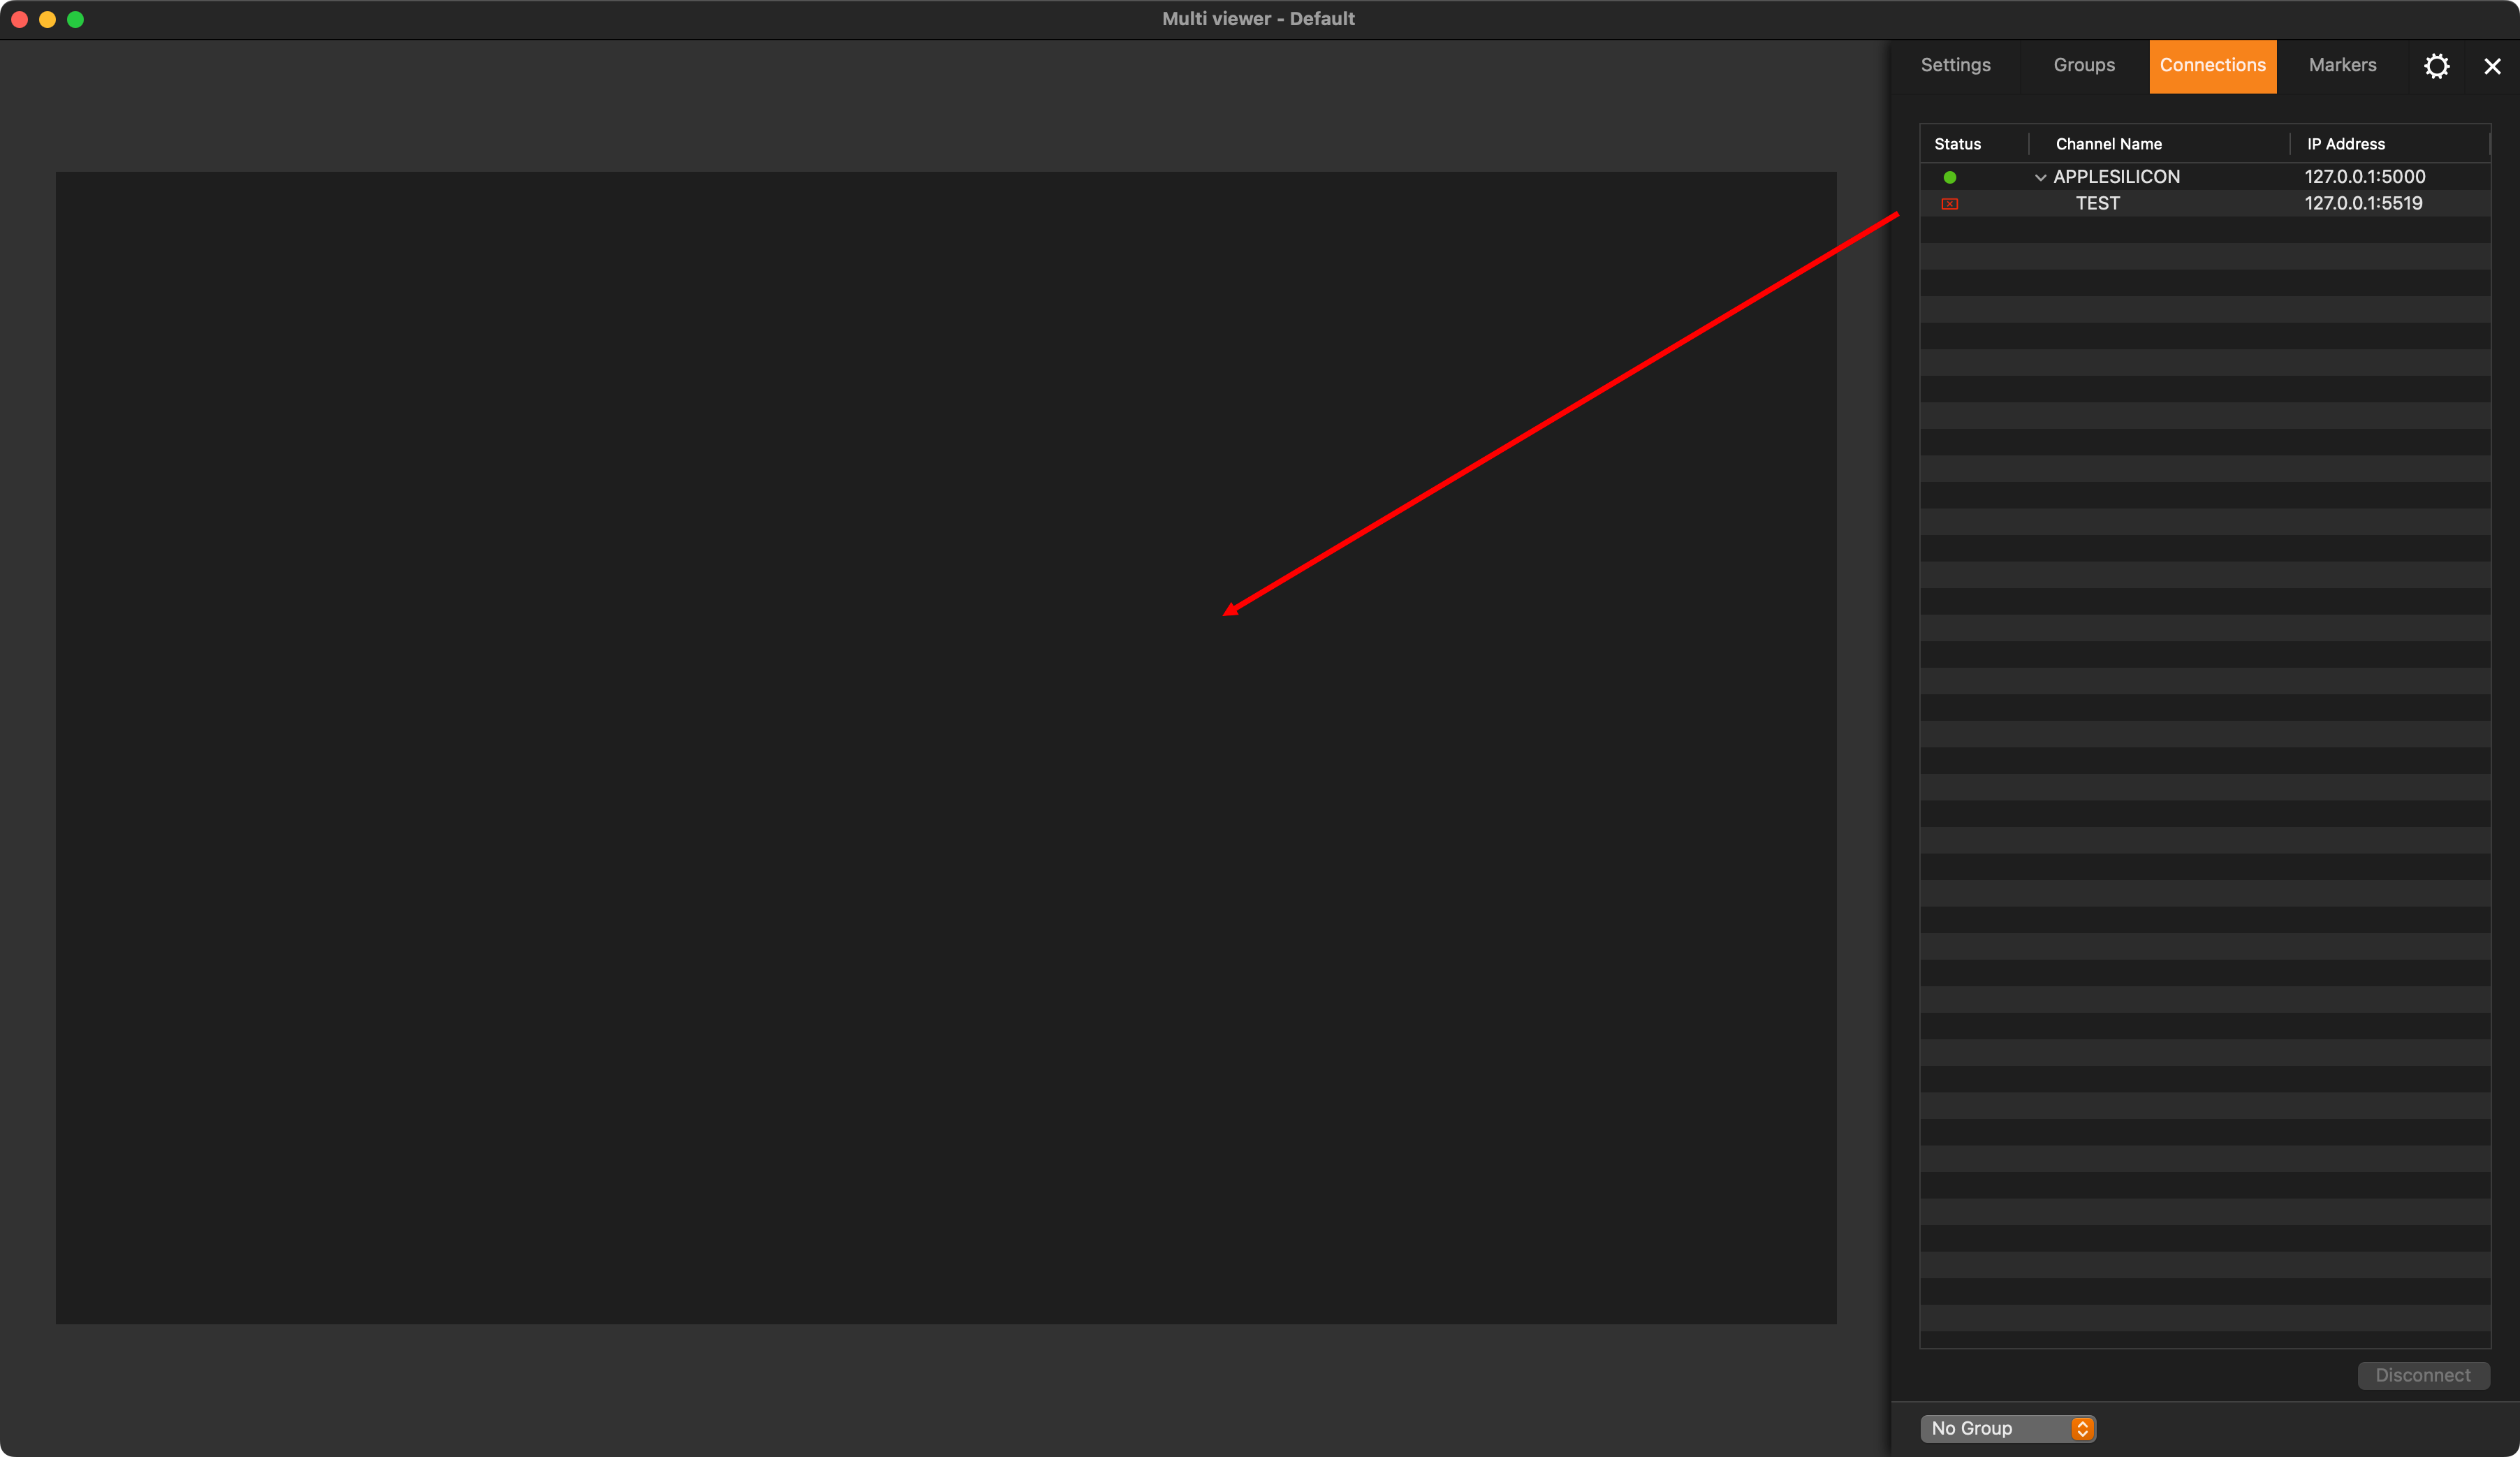
Close the Just Control Configuration panel and drag the Channel from the “Connections” tab to the Multi viewer area, or select the empty viewer you would like assign the channel to, then select the Settings tab in the Inspector and choose the channel under “Contents” - “Channel”.