
Since version 1 we support QTZ and .composition based real-time graphic files (as well as still images) to be played on top of Video clips or the incoming live signal. It is also possible to play out such graphics as a Fill+Key signal, using a supported SDI based video device.
Starting with v.2025.1 it is also possible to render HTML graphics originating from systems (referred to as “Output URL”) such as singular.live, Viz Flowics or SPX in addition to the methods supported so far.
You can find more details on how this works below:
This works independently of the chosen output method (Virtual Device, SDI, NDI®, SRT, UDP, RTMP, HLS or ST-2110).
This works independently of the selected user interface (Just Live Pro or Just Play Pro).
This works independently of the Channel's output format, but the resolution should match for the best output quality.
We have tested solutions from singular.live (Cloud), Viz Flowics (Cloud) and SPX (On-Prem and Cloud).
To be able to process and render the Output URL of the HTML template, an available and licensed Base FX layer is required.
The setup is done in the Multi viewer Inspector, so that the Output URL can be entered/changed without interrupting the playout.
The features which are available depend on the editor provided by the supported companies (singular.live and Viz Flowics).
Changes made in the web based user interface are taken over as soon as our rendering engine Just Out receives them.
Example setup: singular.live/UNO
First, you will need to sign up for a singular.live/UNO account to gather the related Output URL for the chosen HTML template. Please refer to the singular.live/UNO documentation for detailed instructions.
Once you have selected your preferred HTML Template from the Template Library, click on the “Copy Output URL” button in the singular.live/UNO interface. The Output URL will be copied to your clipboard.
Next, switch to the “Setup” tab in the Inspector, scroll down until you see a “FX Layer FX…” section and click on the “Choose…” button in the “Infinite FX” table, followed by a click on the “Show Options” button to open the Output URL entry field. Paste the copied Output URL in this field and click on the “Confirm” button to complete the Output URL setting.
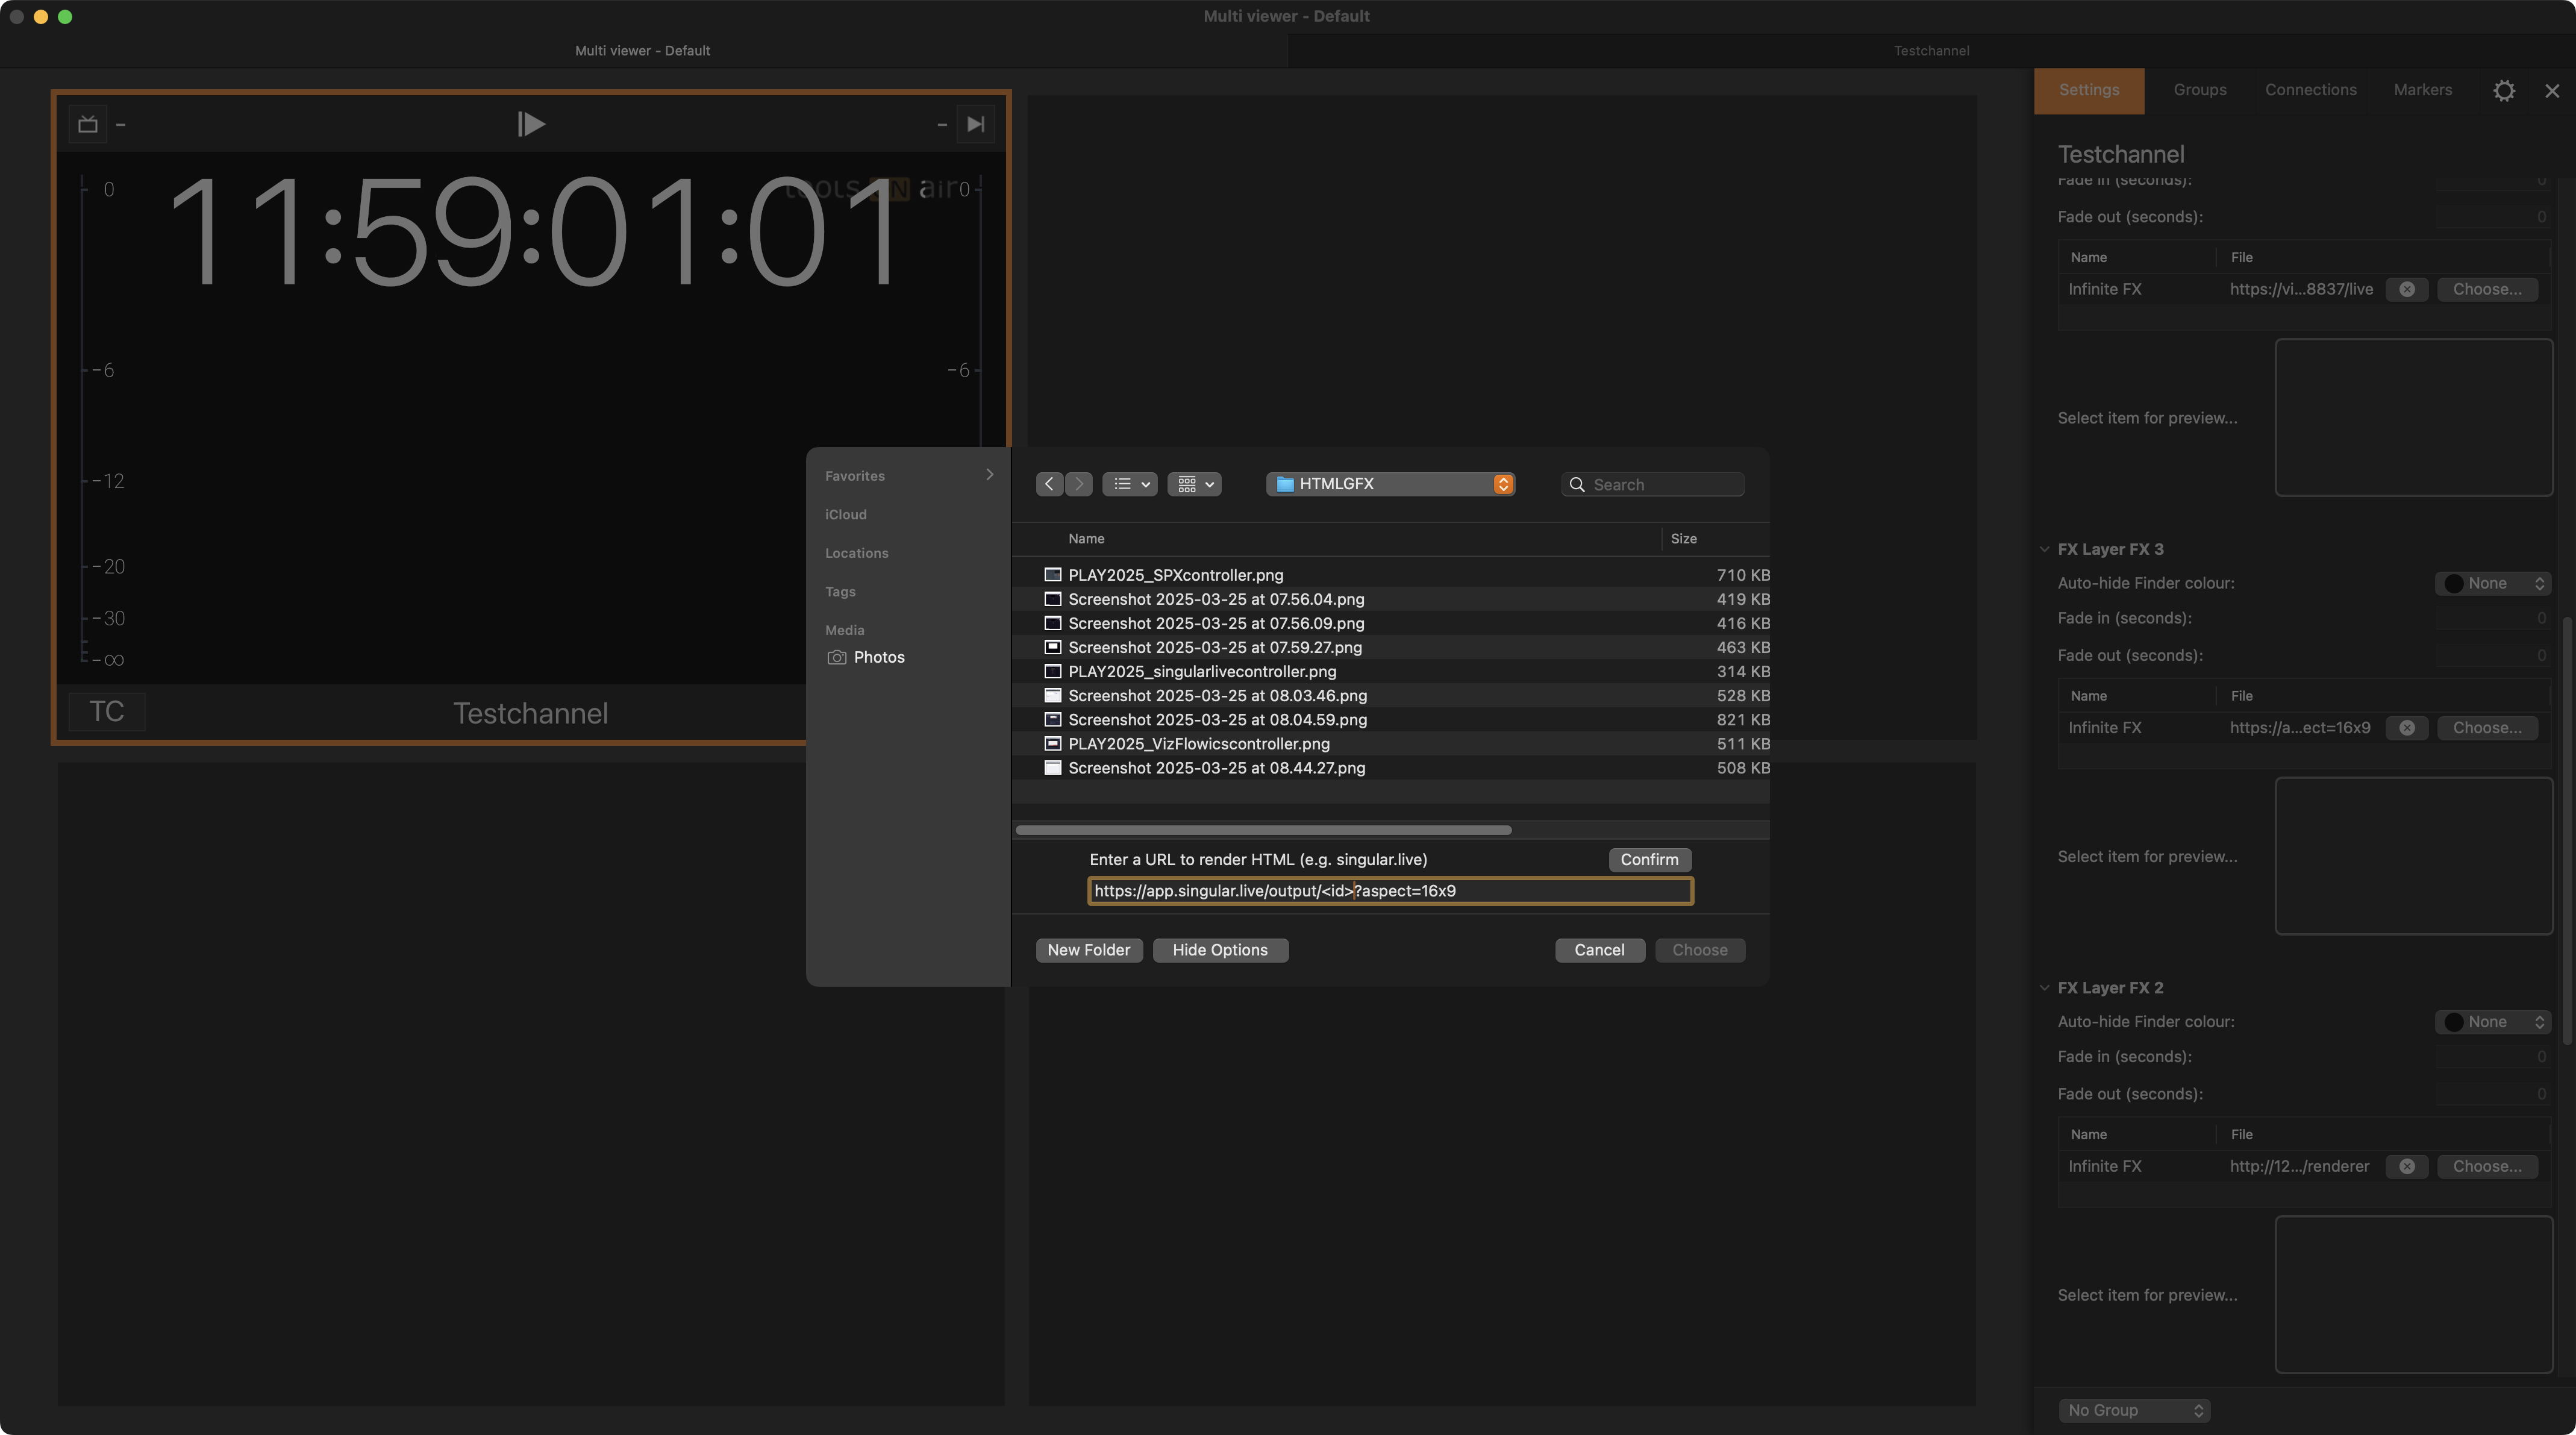
The Output URL is now active, and you can use the singular.live/UNO interface to control the template elements by turning them “ON” or “OFF”.
Example setup: Viz Flowics
First, you will need to contact Vizrt to request a Viz Flowics demo account in order to gather the related Output URL for the chosen HTML template. Please refer to the Viz Flowics homepage for detailed information.
Once you have selected your preferred HTML Template, click on the “Publish” button in the Viz Flowics interface, then “Open Rundown Control” button and finally on the “Enable Live” button to activate the Template. The Output URL can be retrieved by clicking on the selection button next to the “Open Output” button (see below) and then on the “Copy” button next to the “GRAPHICS OUTPUT” field. The Output URL will be copied to your clipboard.
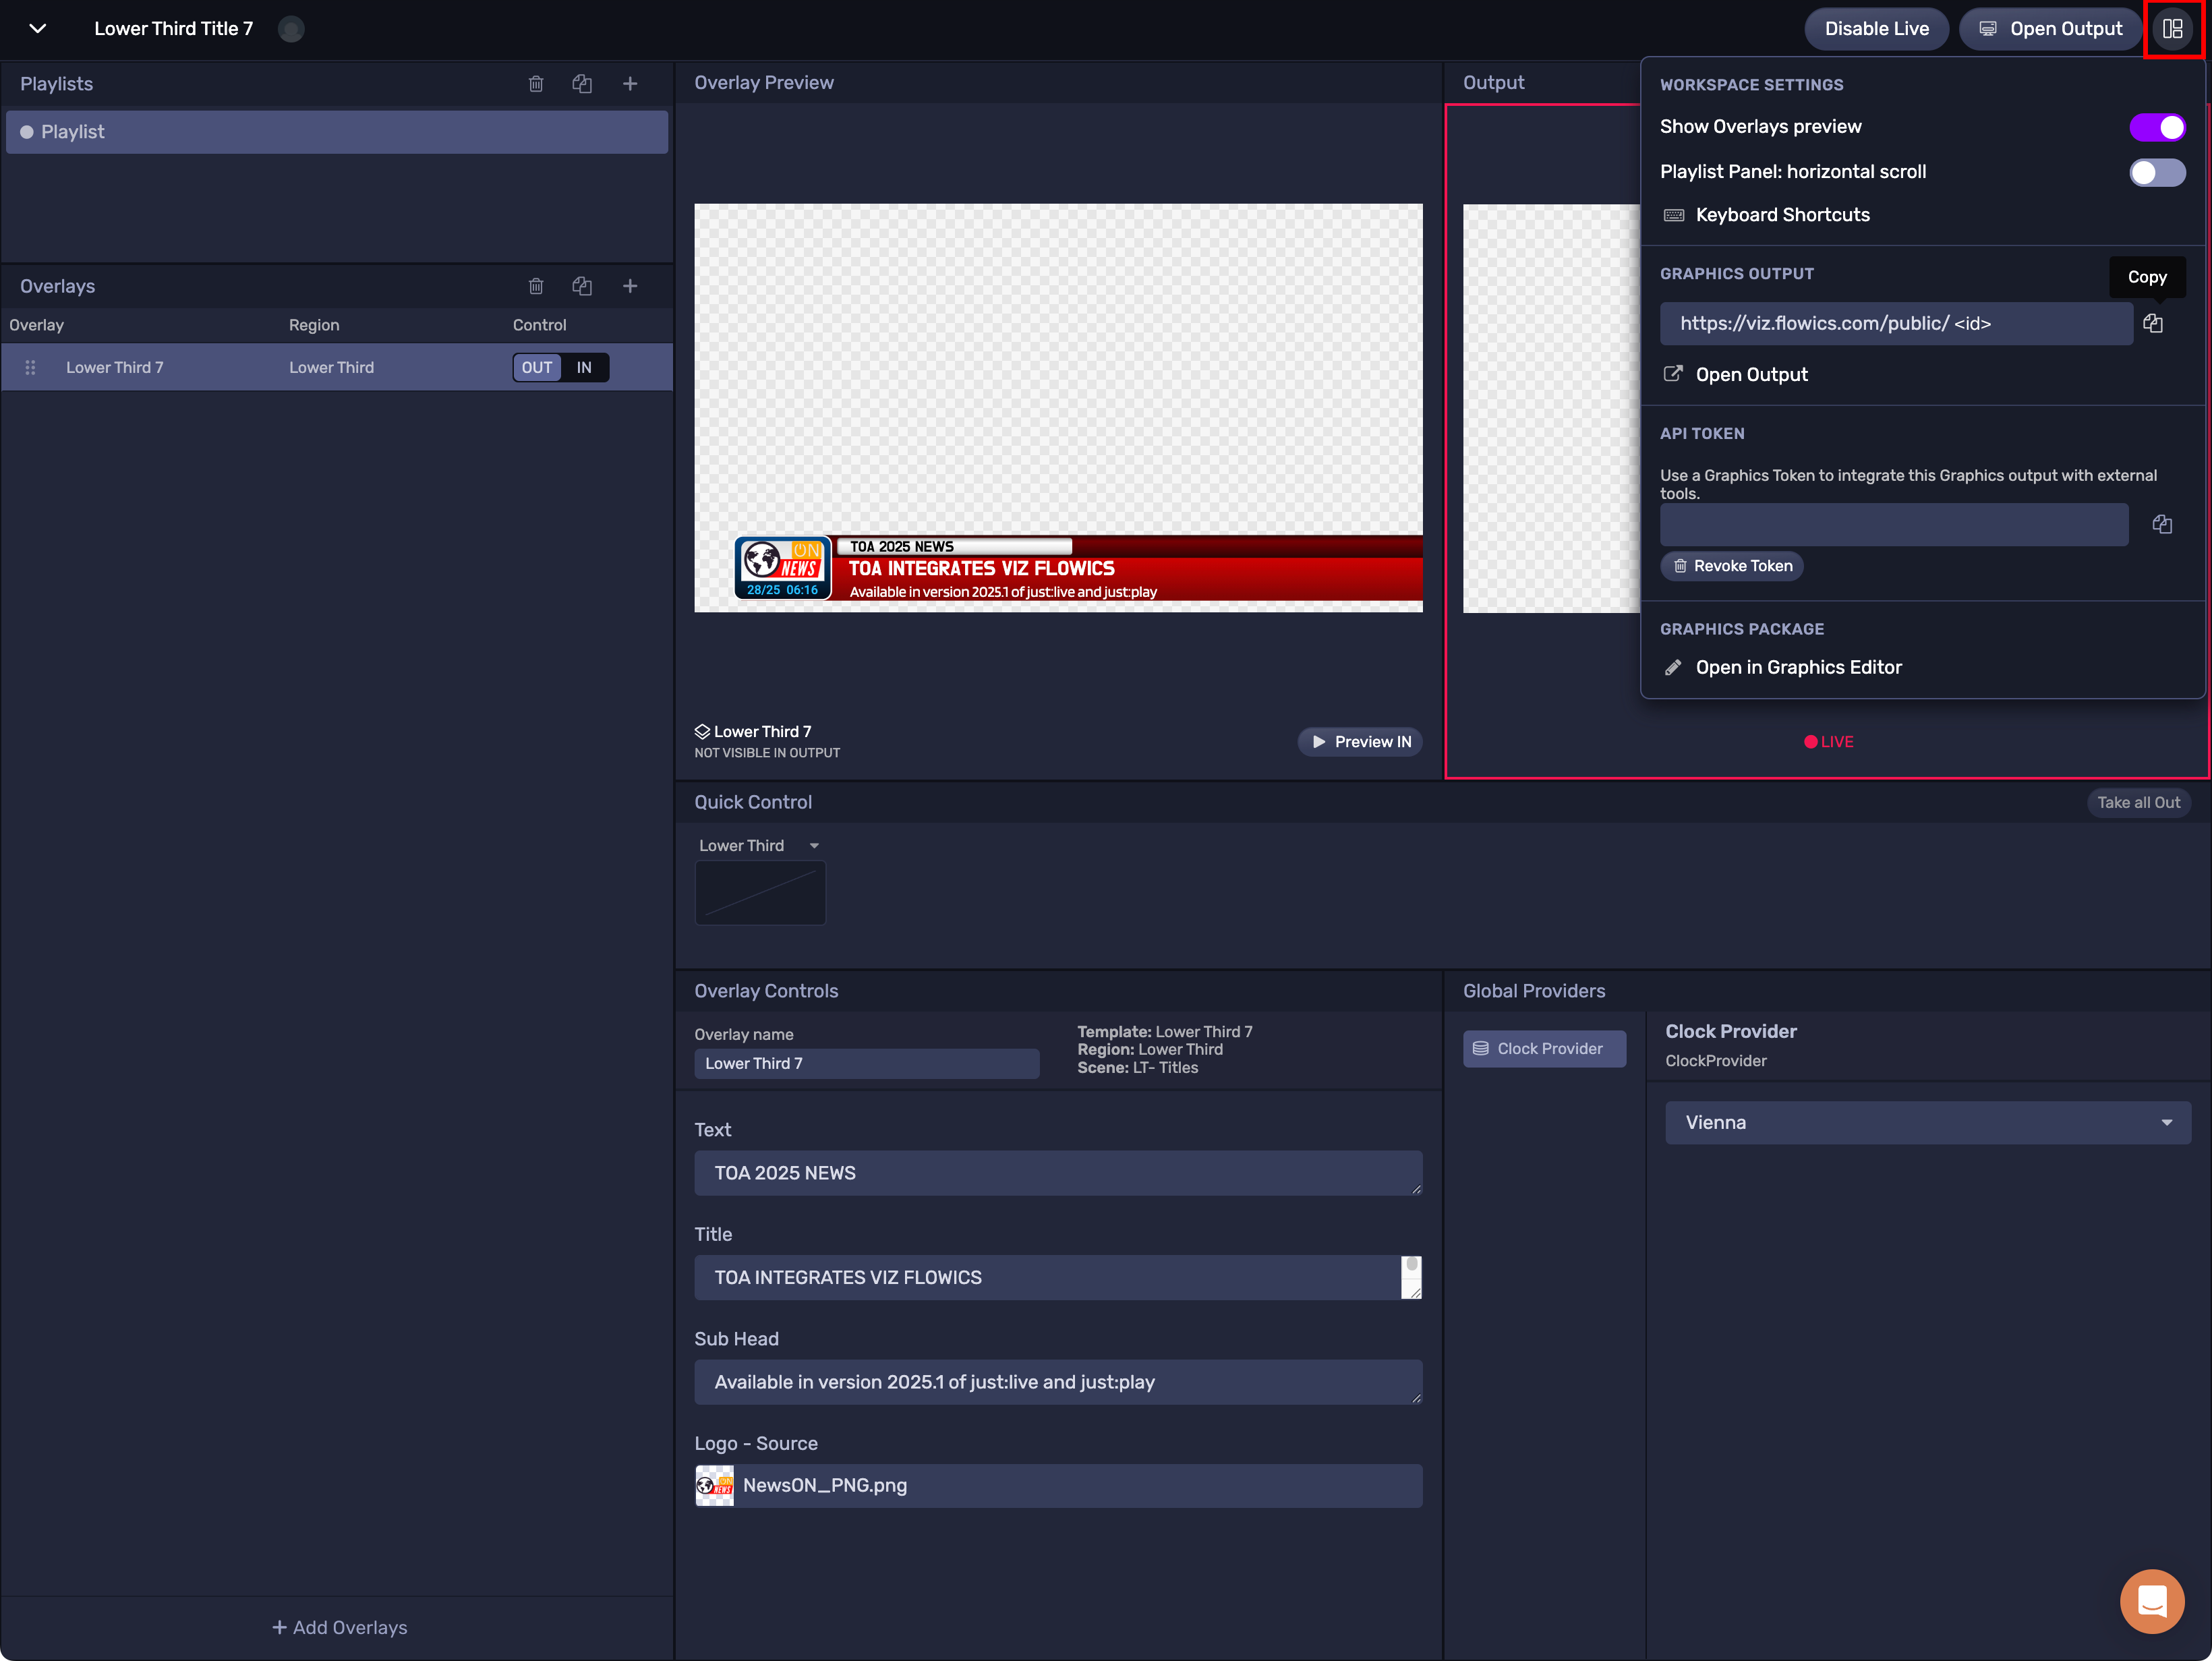
Next, switch to the “Setup” tab in the Inspector, scroll down until you see any “FX Layer FX…” section and click on the “Choose…” button in the “Infinite FX” table, followed by a click on the “Show Options” button to open the Output URL entry field. Paste the copied Output URL in this field and click on the “Confirm” button to complete the Output URL setting.

The Output URL is now active, and you can use the Viz Flowics interface to control the template elements by toggling between “IN” and “OUT”.

Example setup: SPX Graphics Controller
First, you will need to download the SPX Controller package for the SPX Graphics website (preferred) or follow the download instruction provided here. Alternatively, you can visit their Cloud offer at https://spxcloud.app/.
The macOS installation for local deployments is straightforward. Run the SPX Controller installer and if asked by macOS confirm that you want to open/run the SPX Controller application (opens as a Terminal process). You might need to click on “Open Anyway” and “Allow Anyway” in the macOS “Privacy & Security” panel.
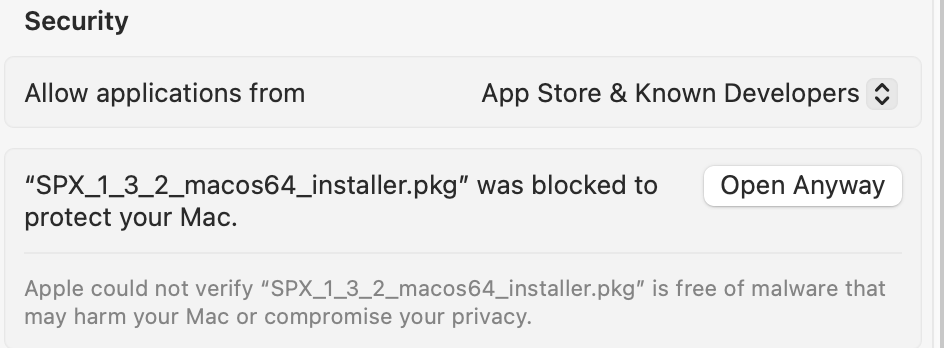
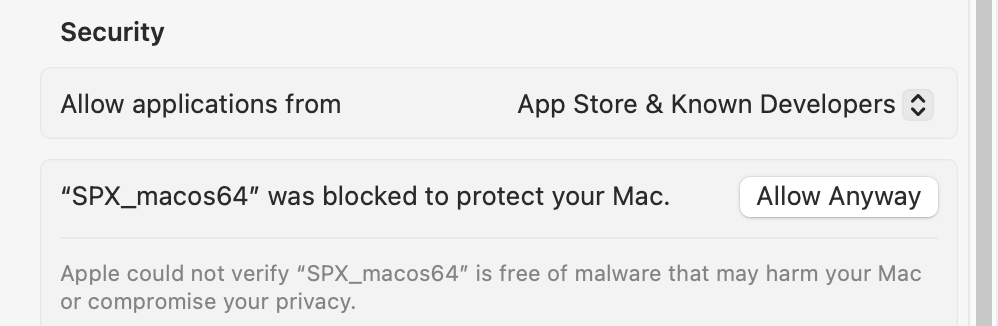
The SPX.app executable (opens as “Terminal” process can be found in the macOS “Applications” folder. The SPX components will be installed in the “/Library/SPX” folder,

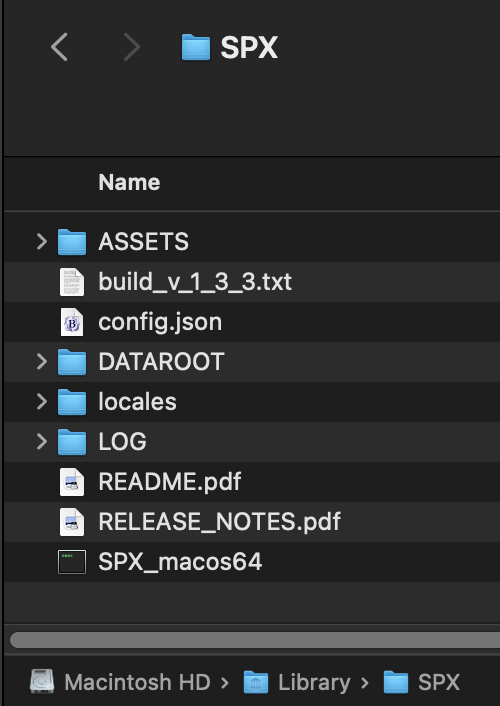
Once installed, please follow these steps to get yourself familiarized with the SPX Controller web application:
Open SPX in your browser, typically at http://localhost:5656 or http://<yourIPAddress>:5656
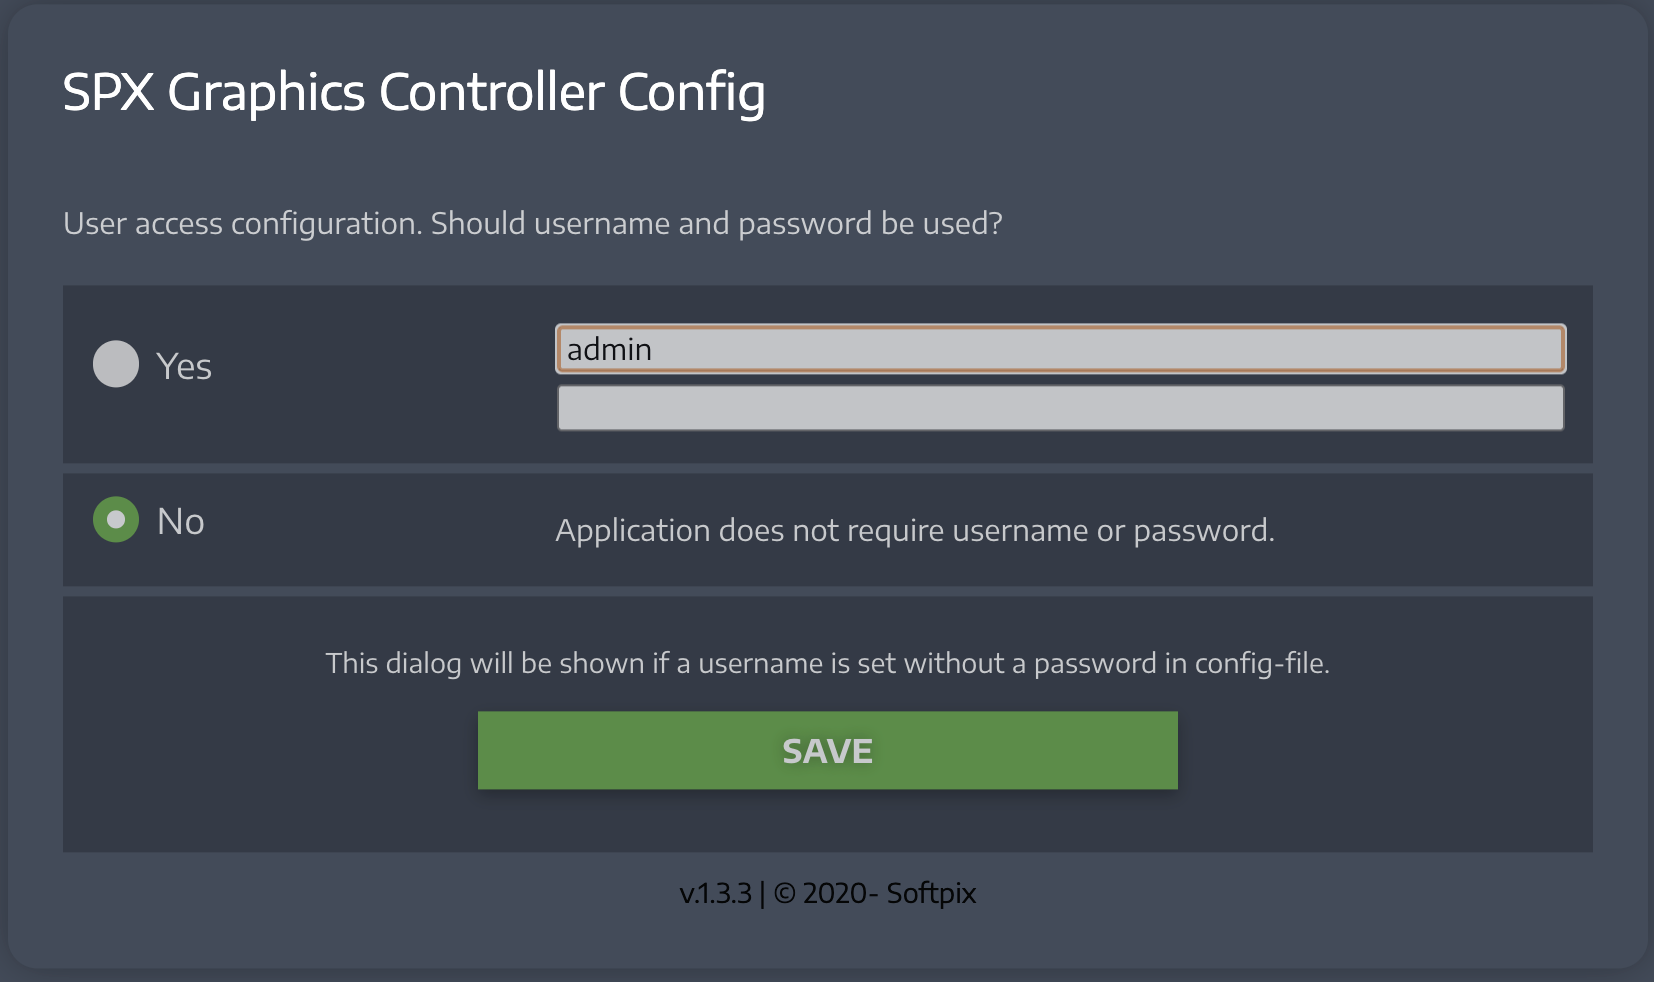
To ease up the login logic, select the “No” option and click on the “Save” button to proceed.
On the SPX Welcome screen, click on the “Projects” button, select the preinstalled “My First Project” entry from the project list and click on the “Open Project” button to open it.
Select one of the preinstalled rundown, in our case “MyFirstRundown” and click on the “Open Rundown” button.
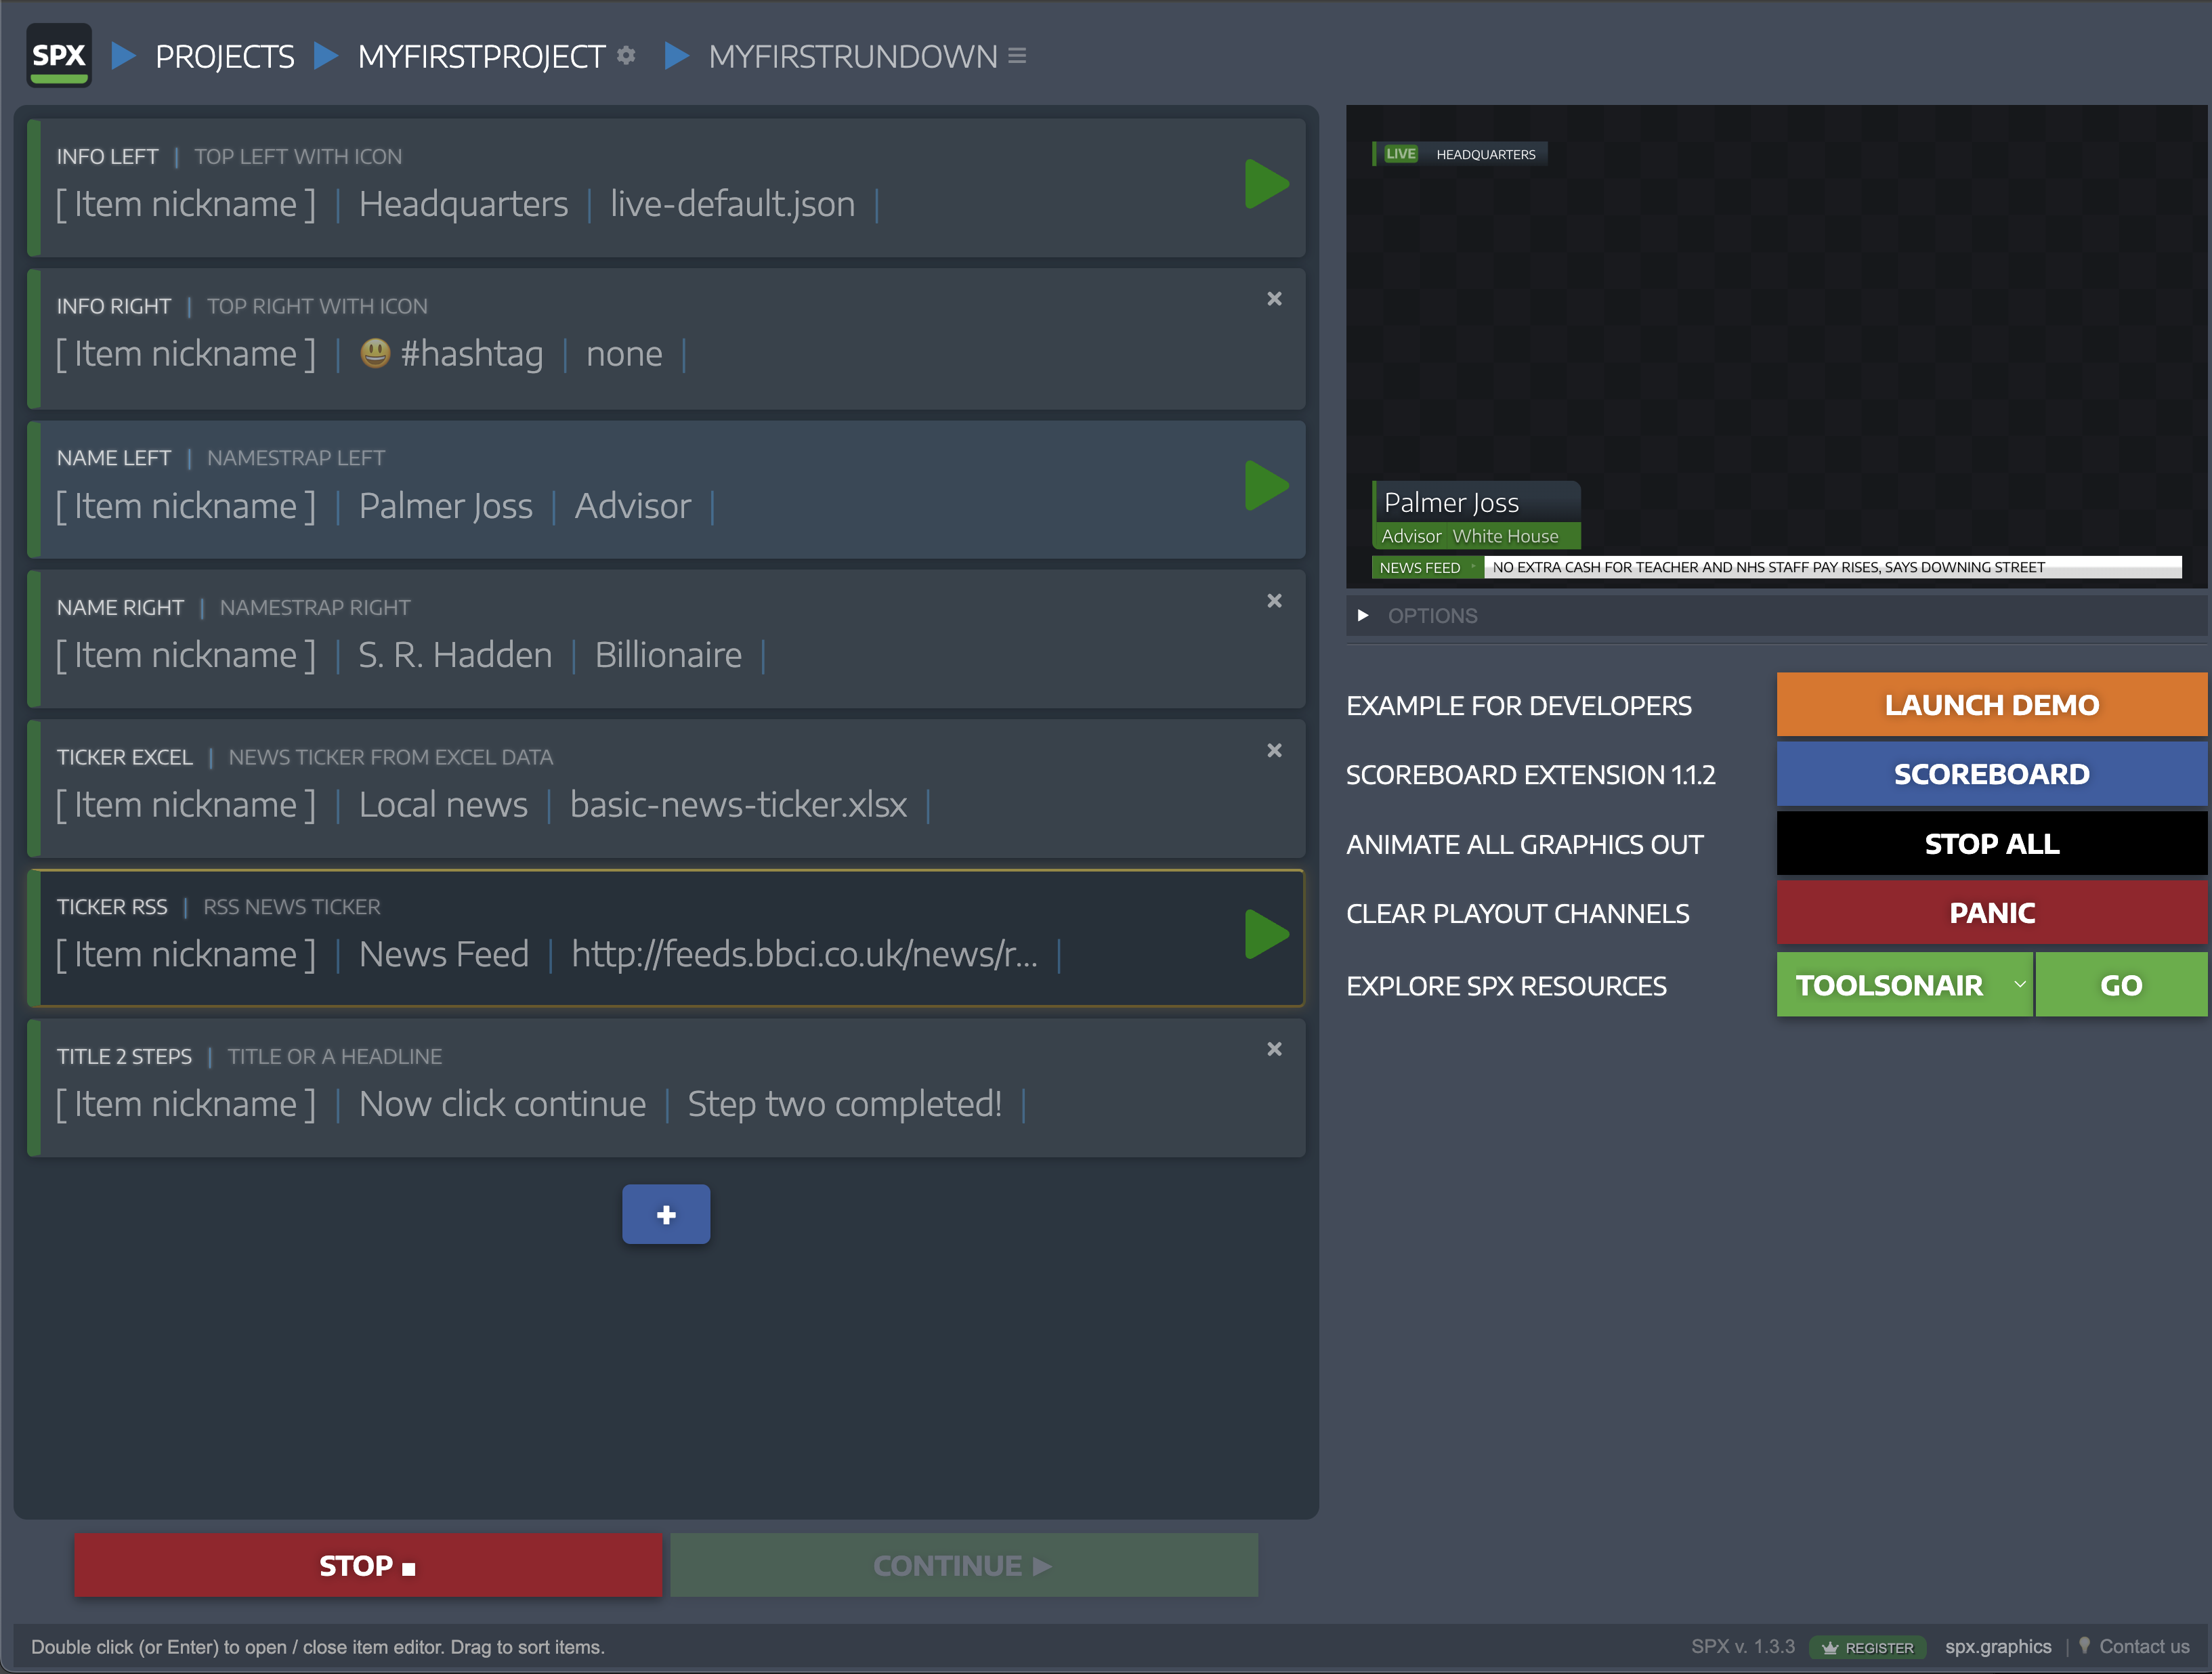
Select any template in the rundown list, for example “NAME_LEFT”, and double-click on this rundown item to edit it. Click on the “Save” button to confirm the changes.
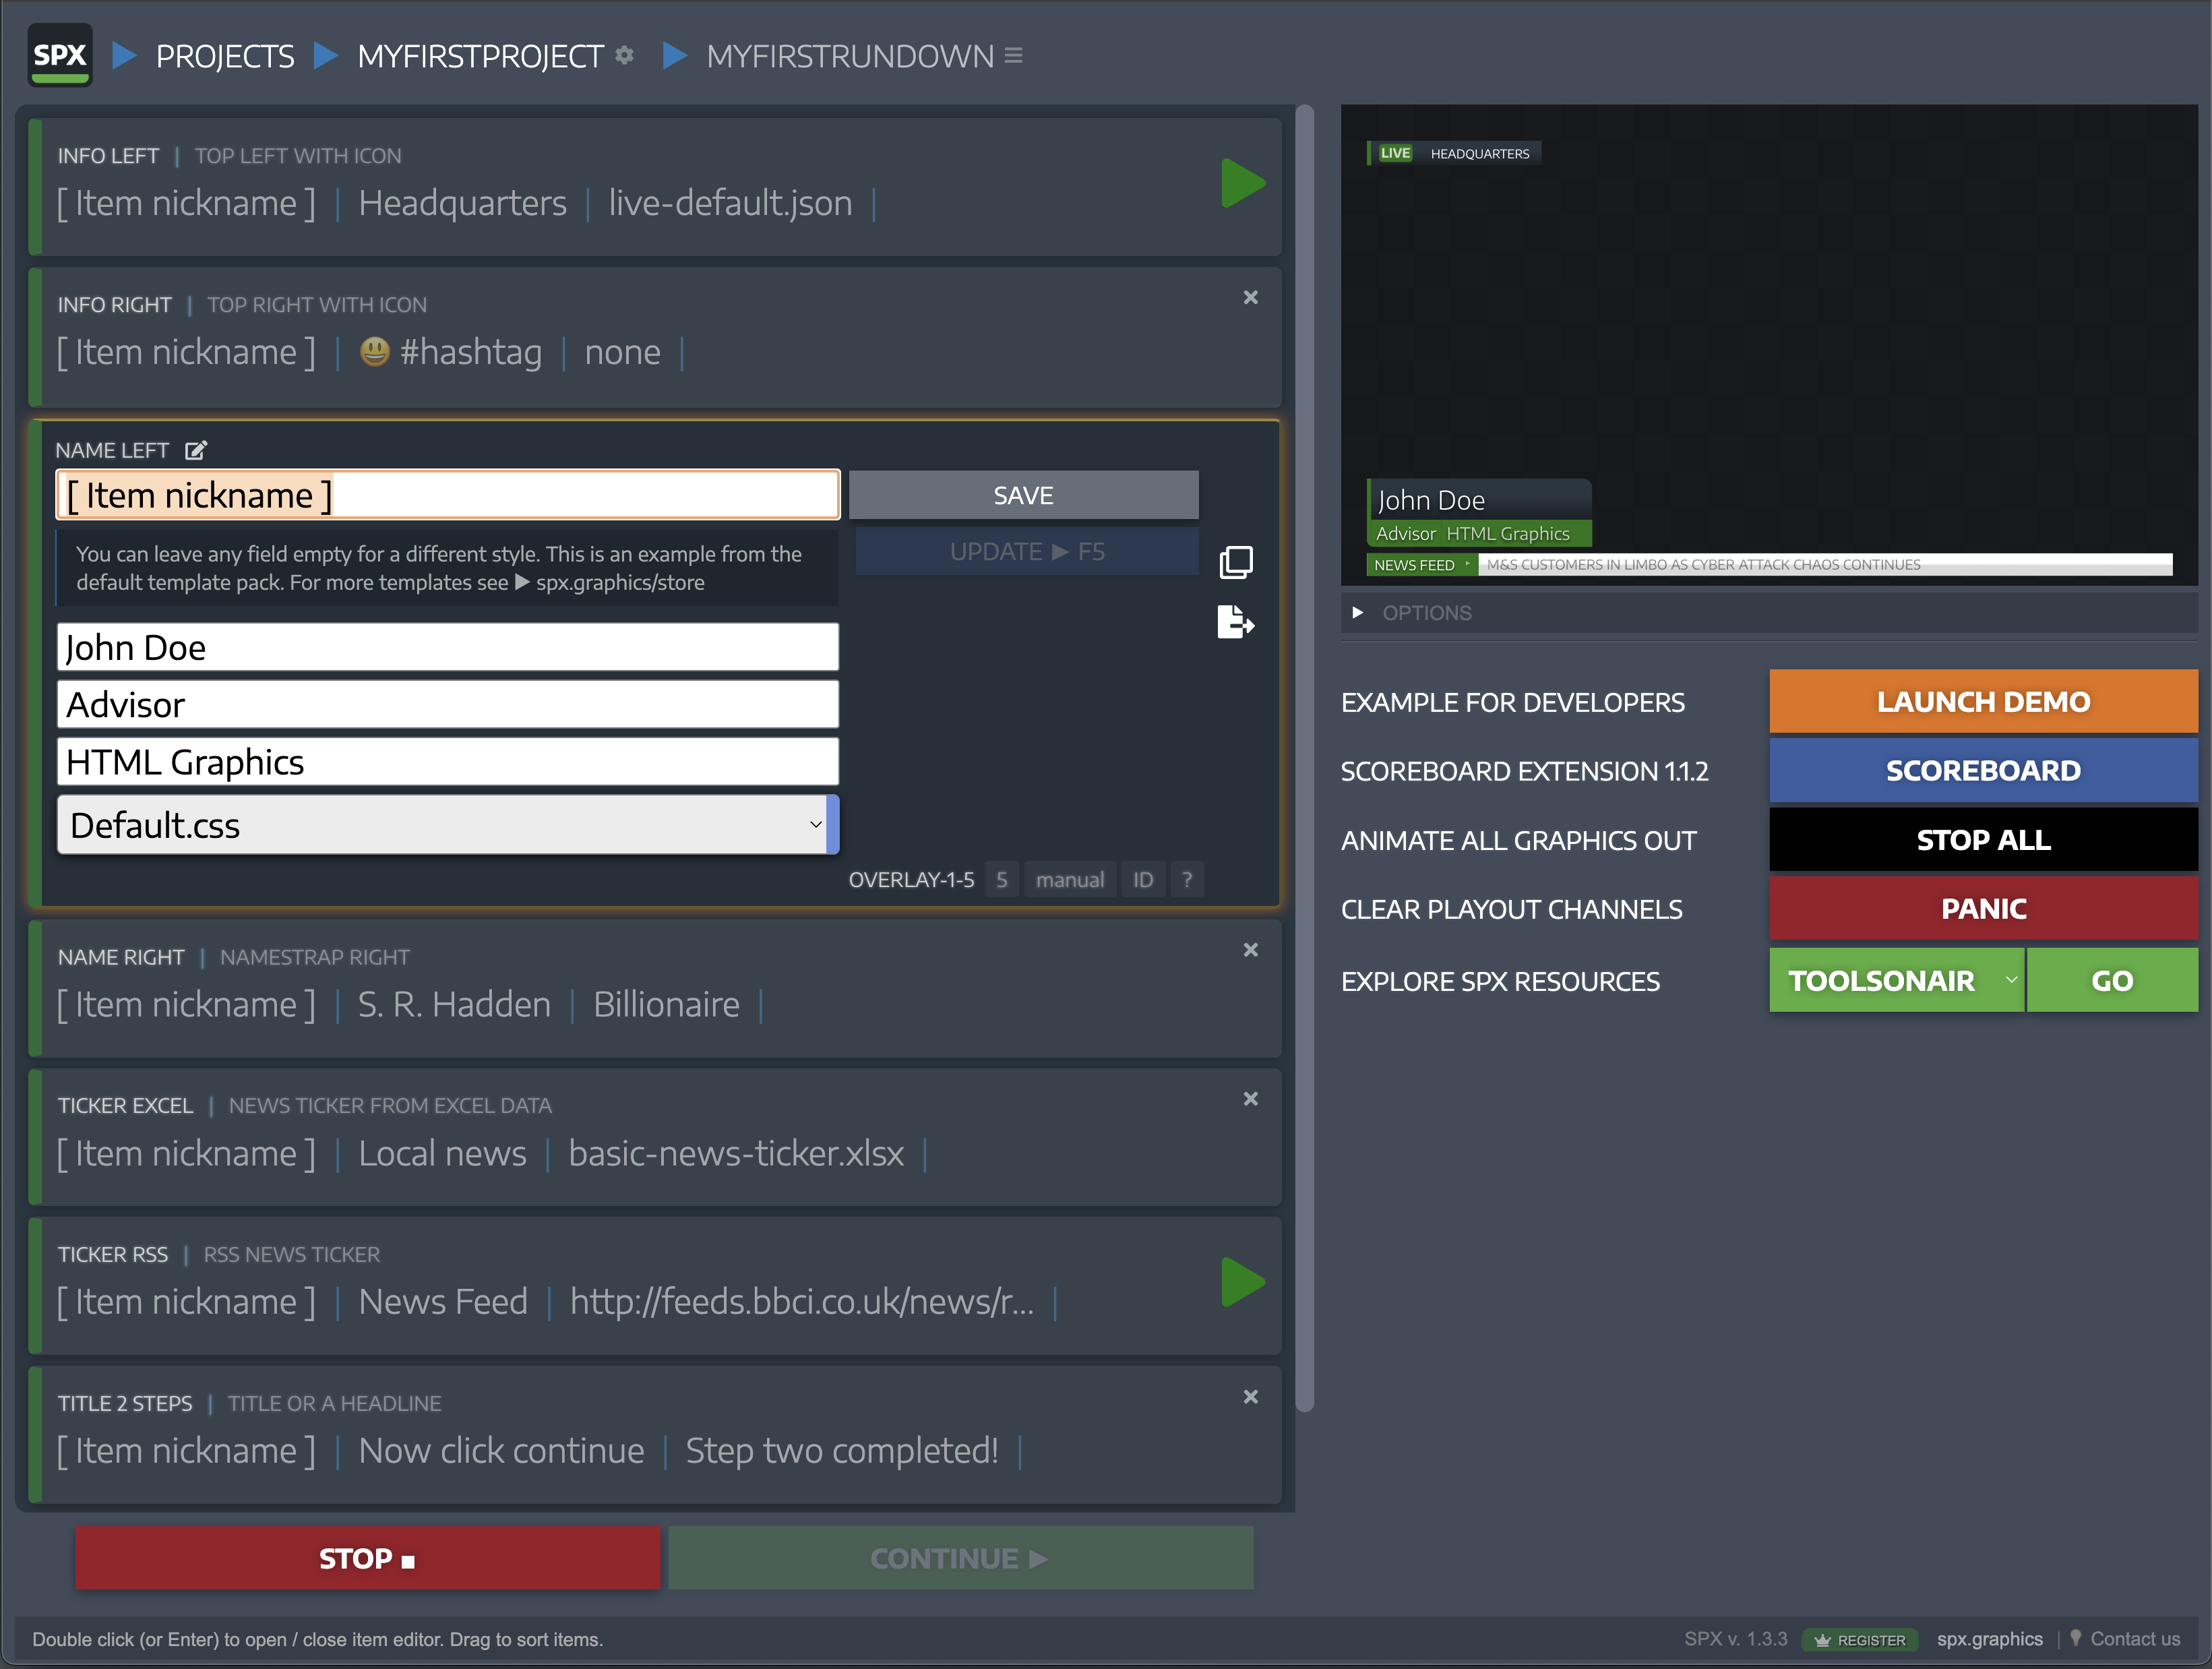
Play the item by hitting the SPACE BAR or by clicking on the PLAY button at the bottom of the rundown list.
Once you have verified that the SPX setup is working correctly, switch back to the “Setup” tab in the Inspector. Scroll down until you see any “FX Layer FX…” section and click on the “Choose…” button in the “Infinite FX” table, followed by a click on the “Show Options” button to open the Output URL entry field. Enter the following Output URL (either the localhost address or your IP address) in this field and click on the “Confirm” button to complete the Output URL setting. Please ensure to always use Port 5656 for the standard setup.
http://127.0.0.1:5656/renderer
http://<yourIPAddress>:5656/renderer
The Output URL is now active, and you can use the SPX Controller interface to control the rundown item by toggling between “START” and “STOP”.