
You can customize the user interface using the “View” menu and the mouse, to adjust the size of some parts of the user interface.
The View Menu
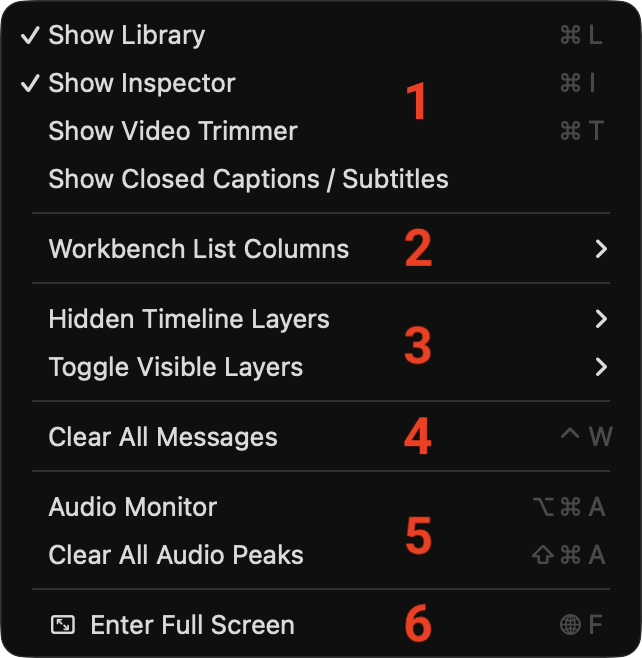
Interface Areas: Show or hide the main areas of the user interface.
Show Closed Captions / Subtitles: Defines if available closed captions are shown as overlay in the On Air window or not.
Workbench List Columns: Show or hide Workbench list columns. You can also show or hide all columns at once.
Hidden Timeline Layers: Show or hide Timeline Layers. Depending on the configuration of your system administrator, the content of this menu may look different from the one shown here.
Toggle Visibility Layers: Shows the control and keyboard shortcuts, to toggle the visibility of the available Layers.
Clear All Messages: Clears all Messages (Errors and Warnings) shown in the Channel tab.
Audio Monitor: Activate to hear the On Air audio thru the Macs speakers.
5. Clear All Audio Peaks: Clear the Audio Peak markers shown in the On Air window.
6. Enter Full Screen: Brings the user interface into Full Screen mode
Show Library and Inspector
You can open and close the Library and the Inspector by clicking on the close button “X”.
Opened
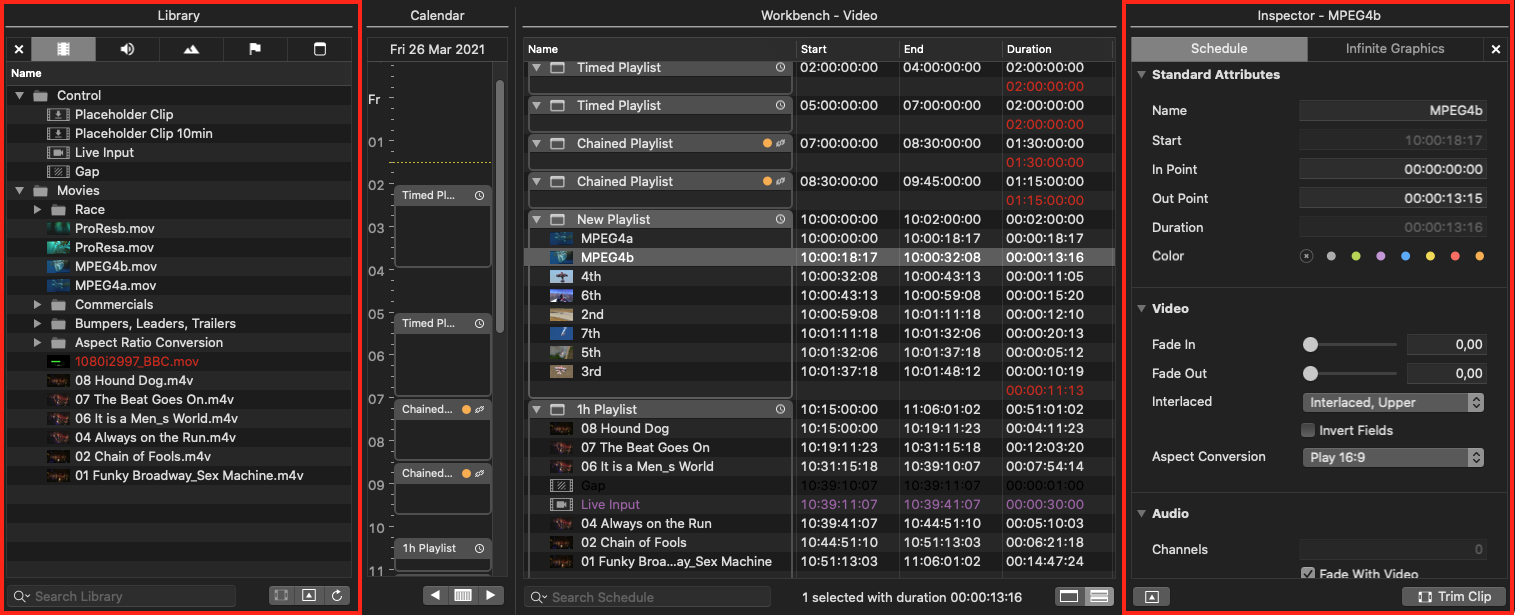
Closed
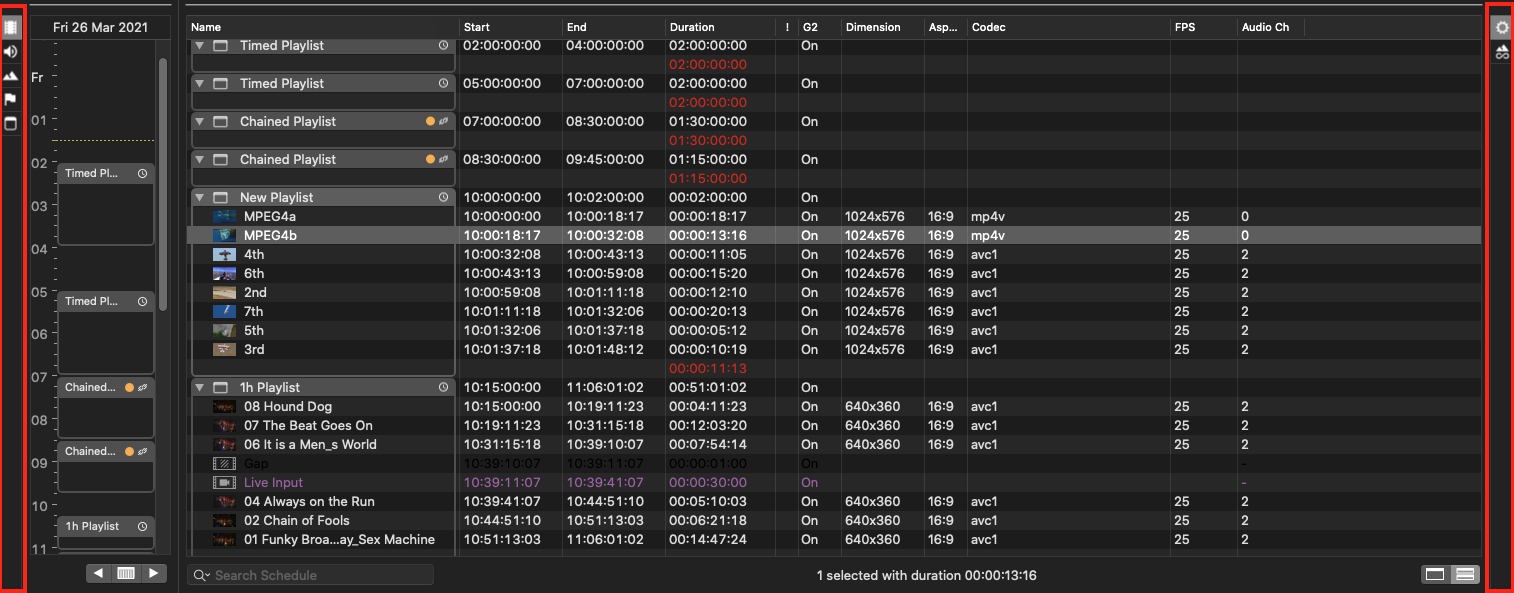
While closed, the remaining control area shows the available tabs, with the last used tab highlighted.
Using the Mouse to change the Size of an Area
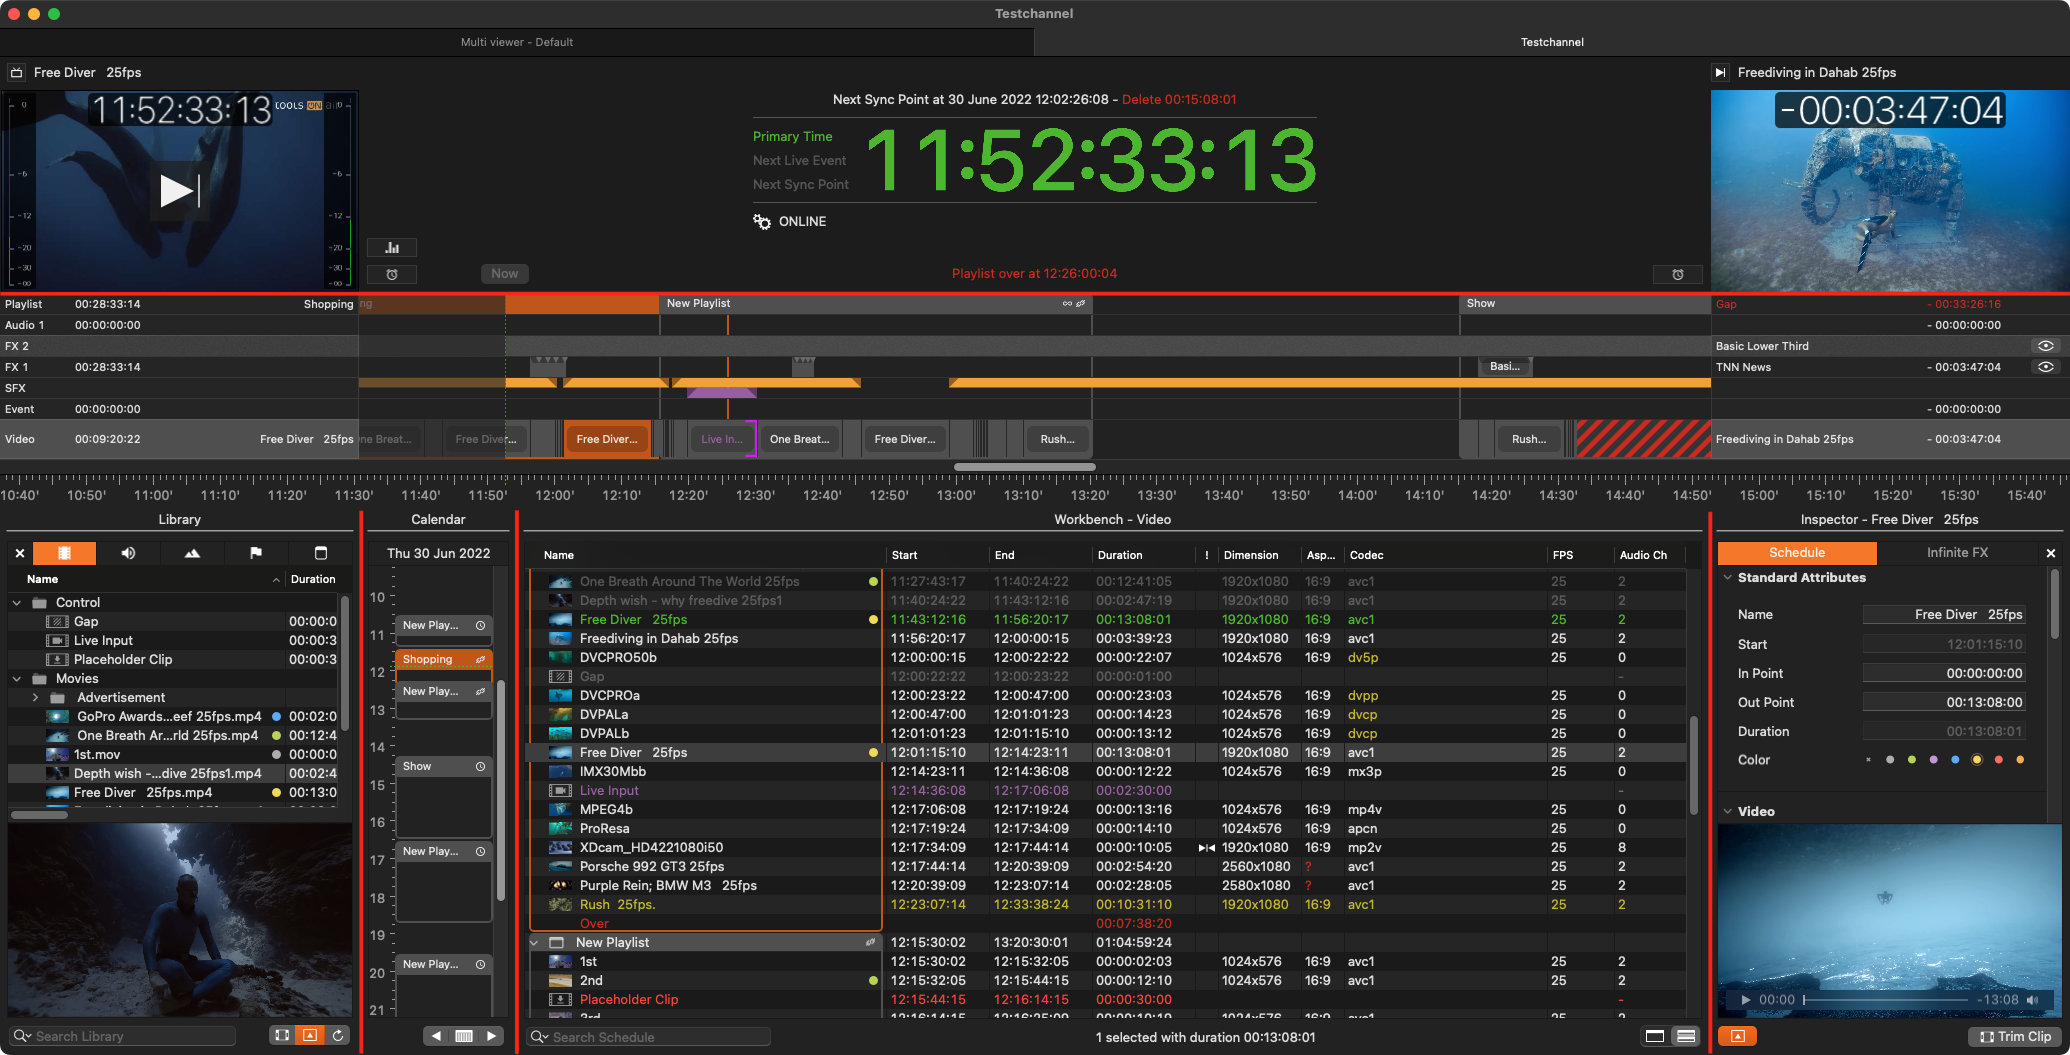
Use the trim handles shown in red to adjust the size of the Control Area, the Library, the Calendar View and the Inspector.
Timeline Zoom Level
Click the scroll bar and move the mouse to the left and right to change the zoom level of the Calendar View
Using the Mouse to change the Timeline Zoom Level
Click the scroll bar and move the mouse to the left and right to change the zoom level of the Calendar View.
Click the scroll bar and move the mouse up and down to change the zoom level of the Timeline.